Hall bench

Tags

, ,

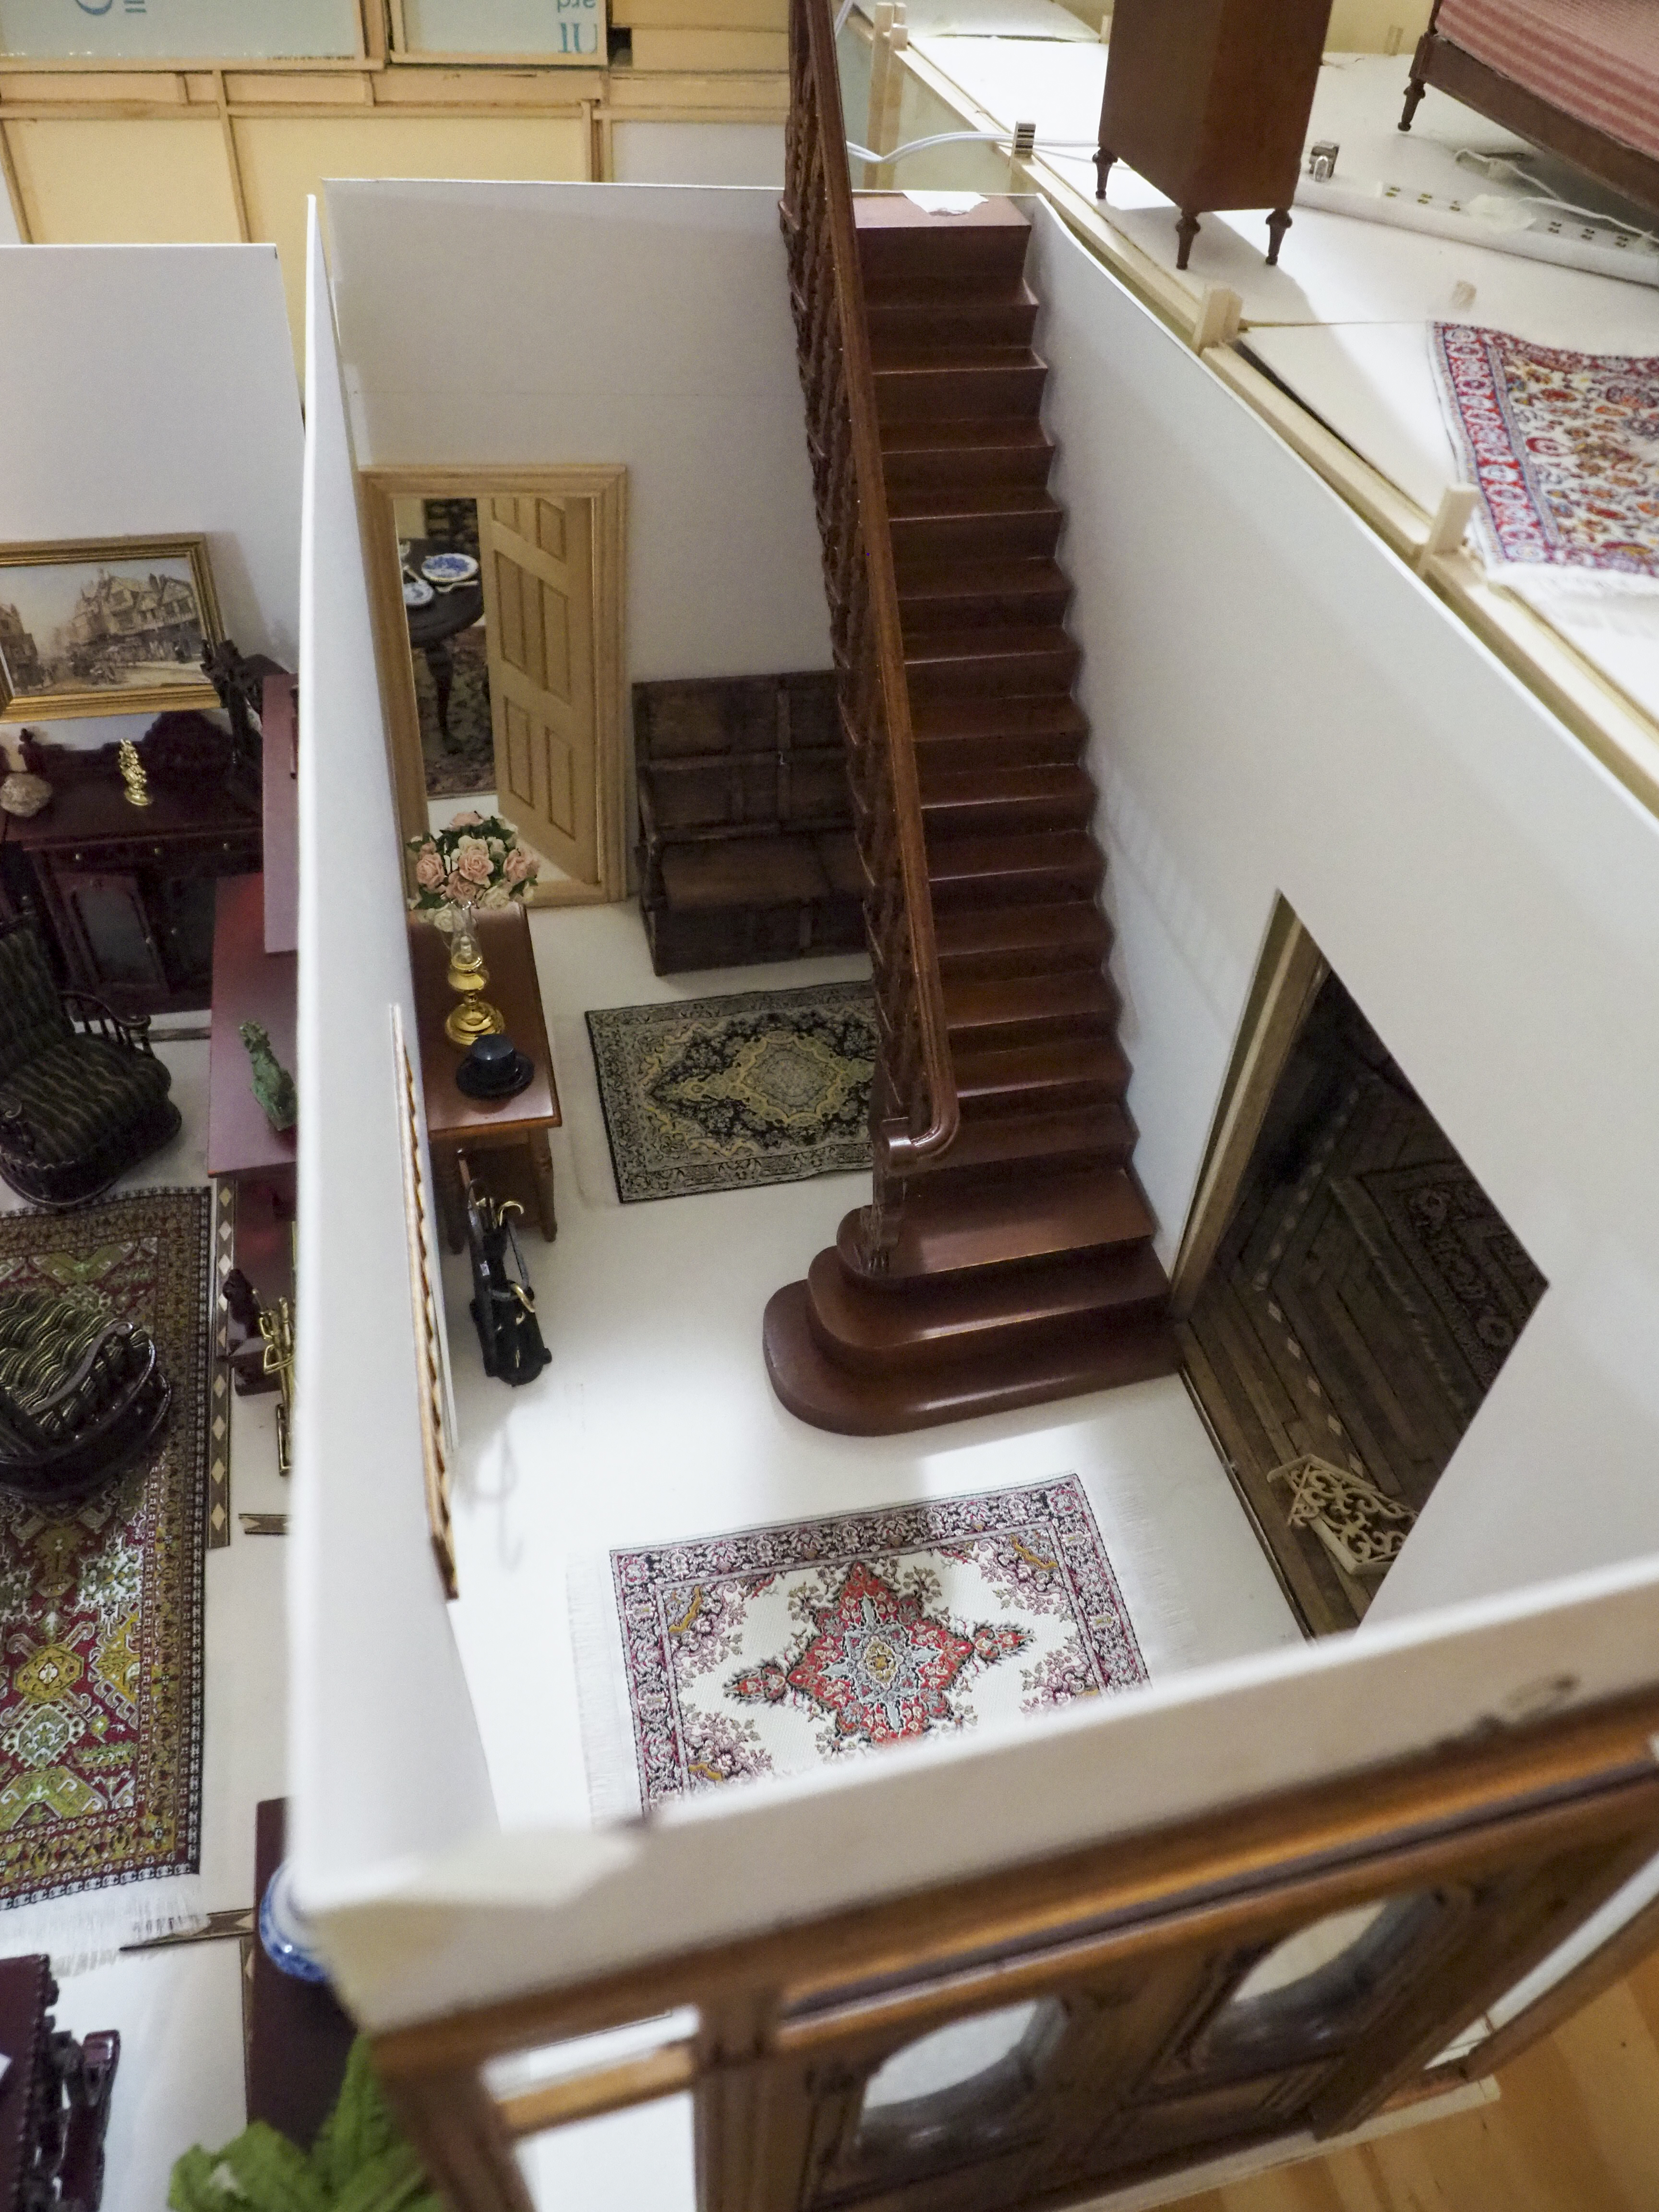
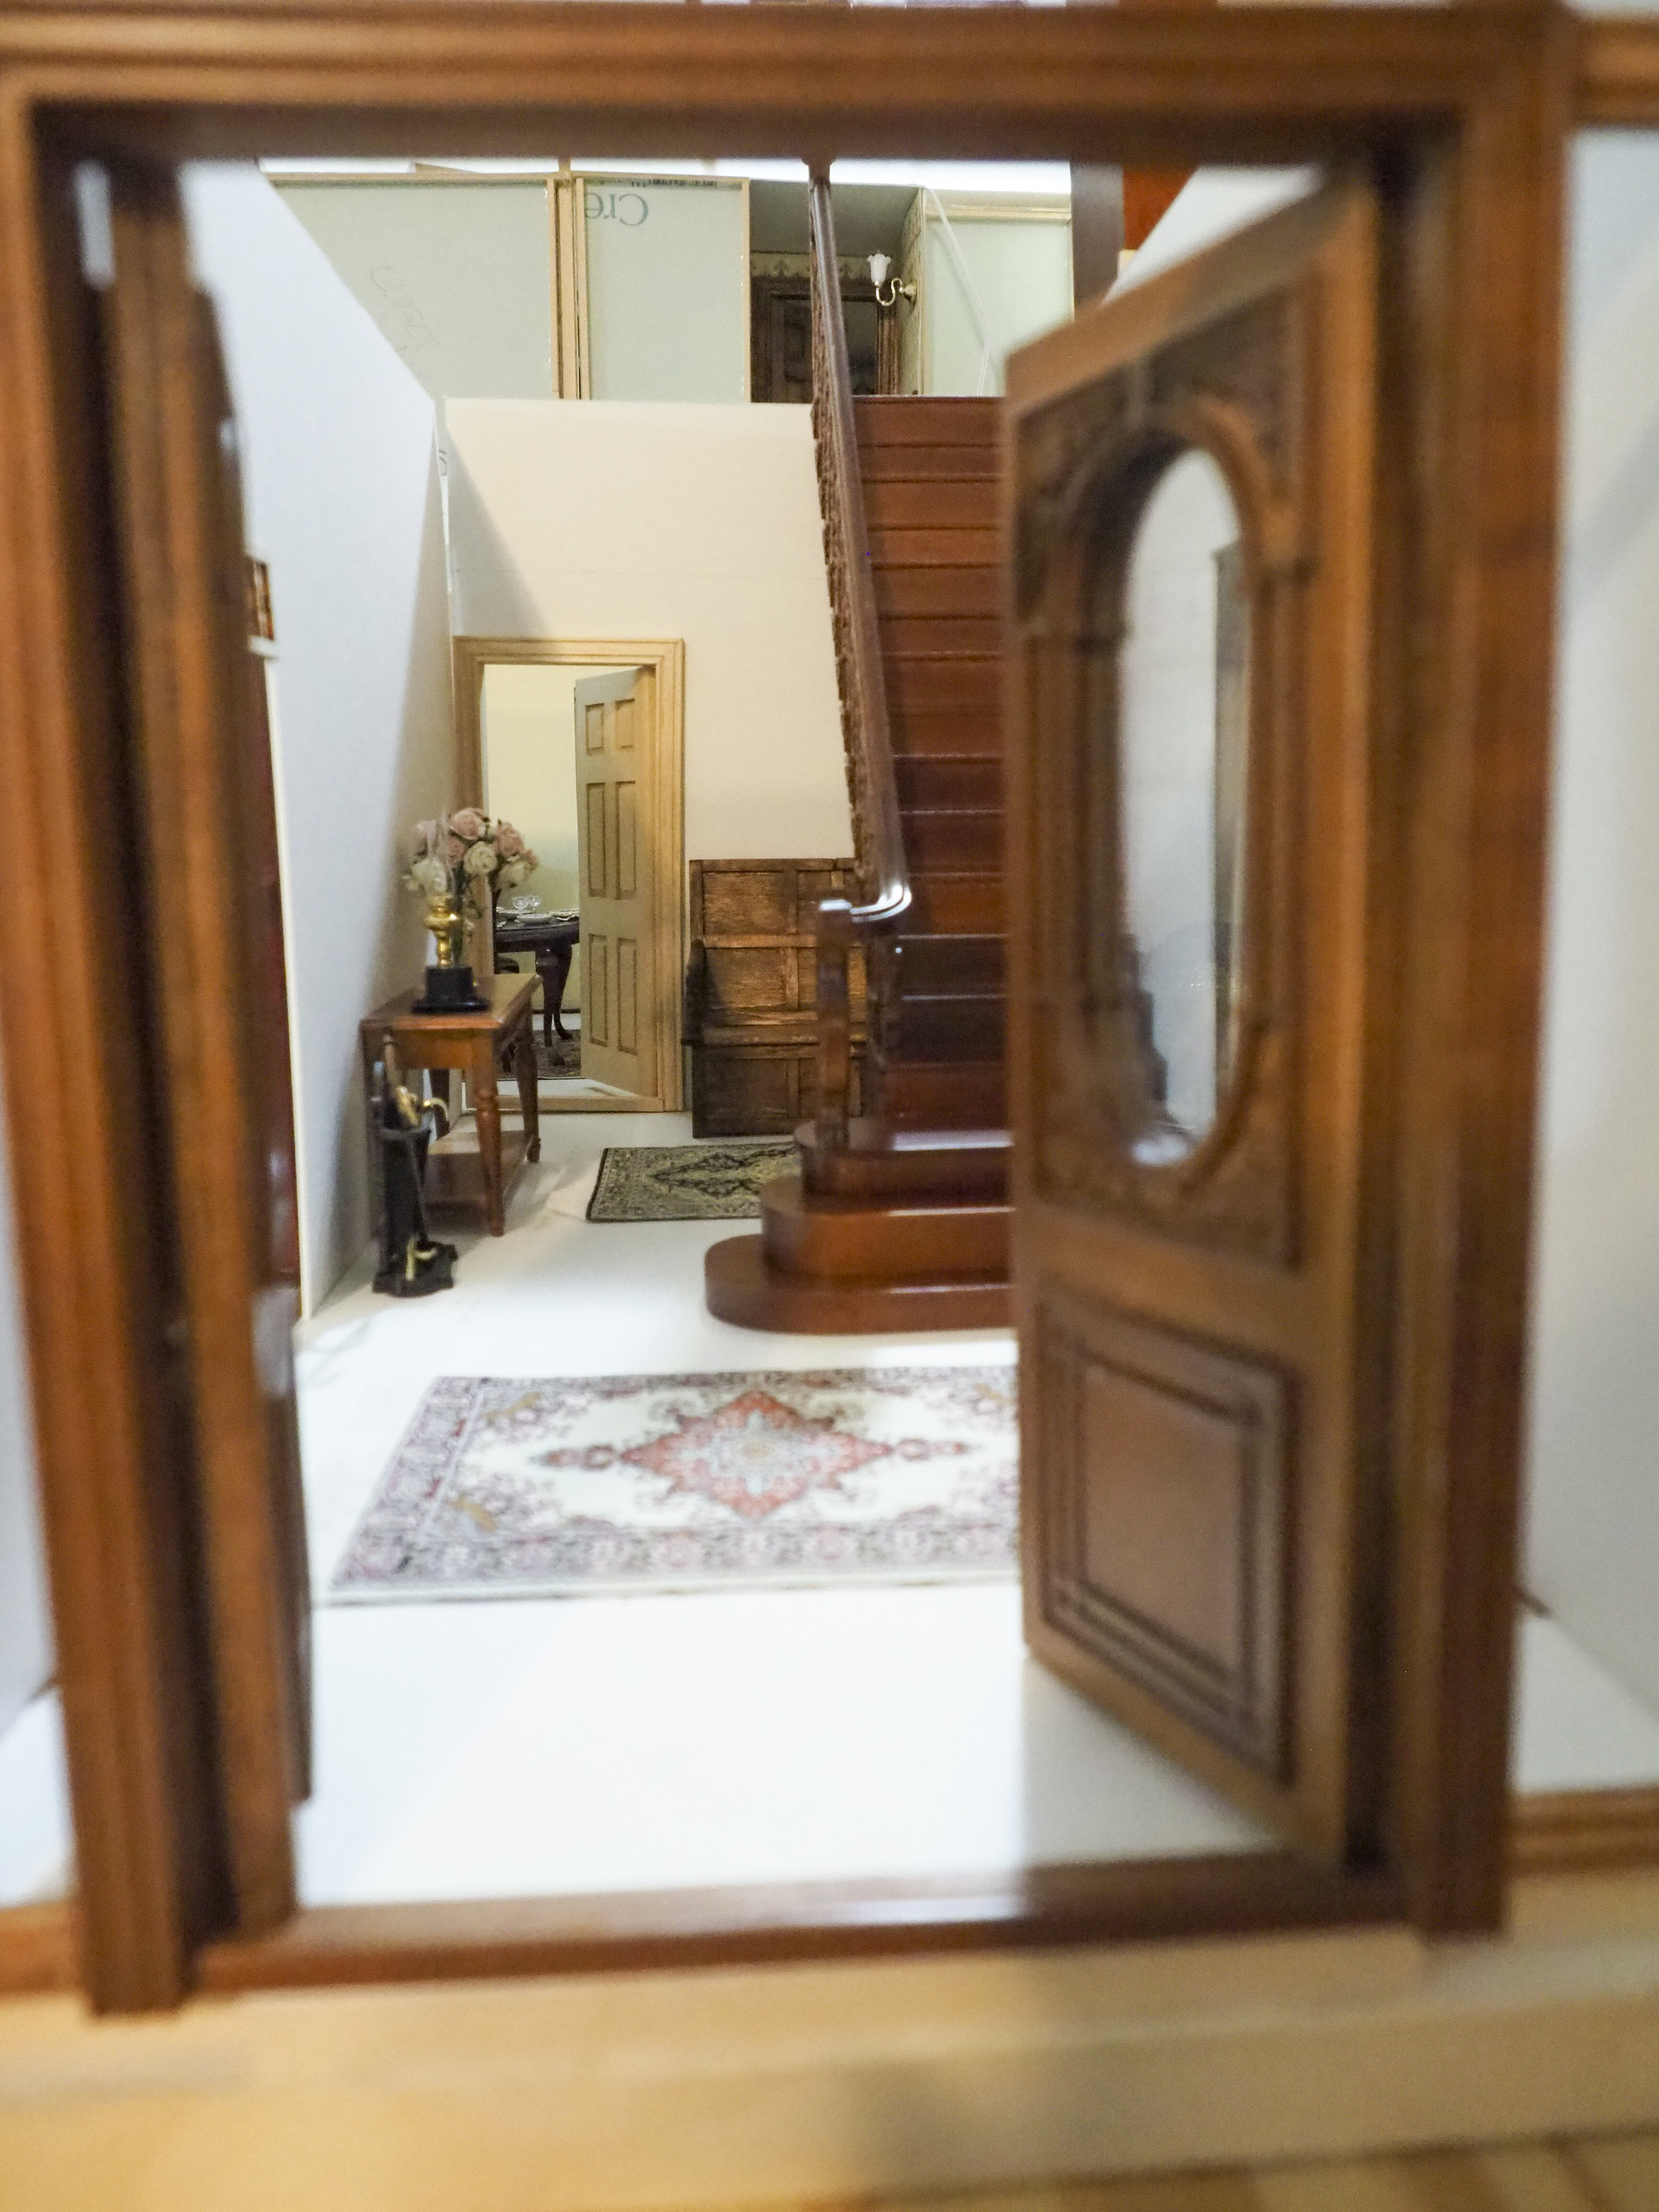
It’s been a little while since I worked on the dollhouse. Helping a first-grader do schooling online has become a full-time job. But today, I thought I’d fix up a bench for the downstairs hallway.

I was thinking of having a bench under the stairway in the front hall, but the ones I found were all too big.

So I decided to cut this one through the middle to make it fit.

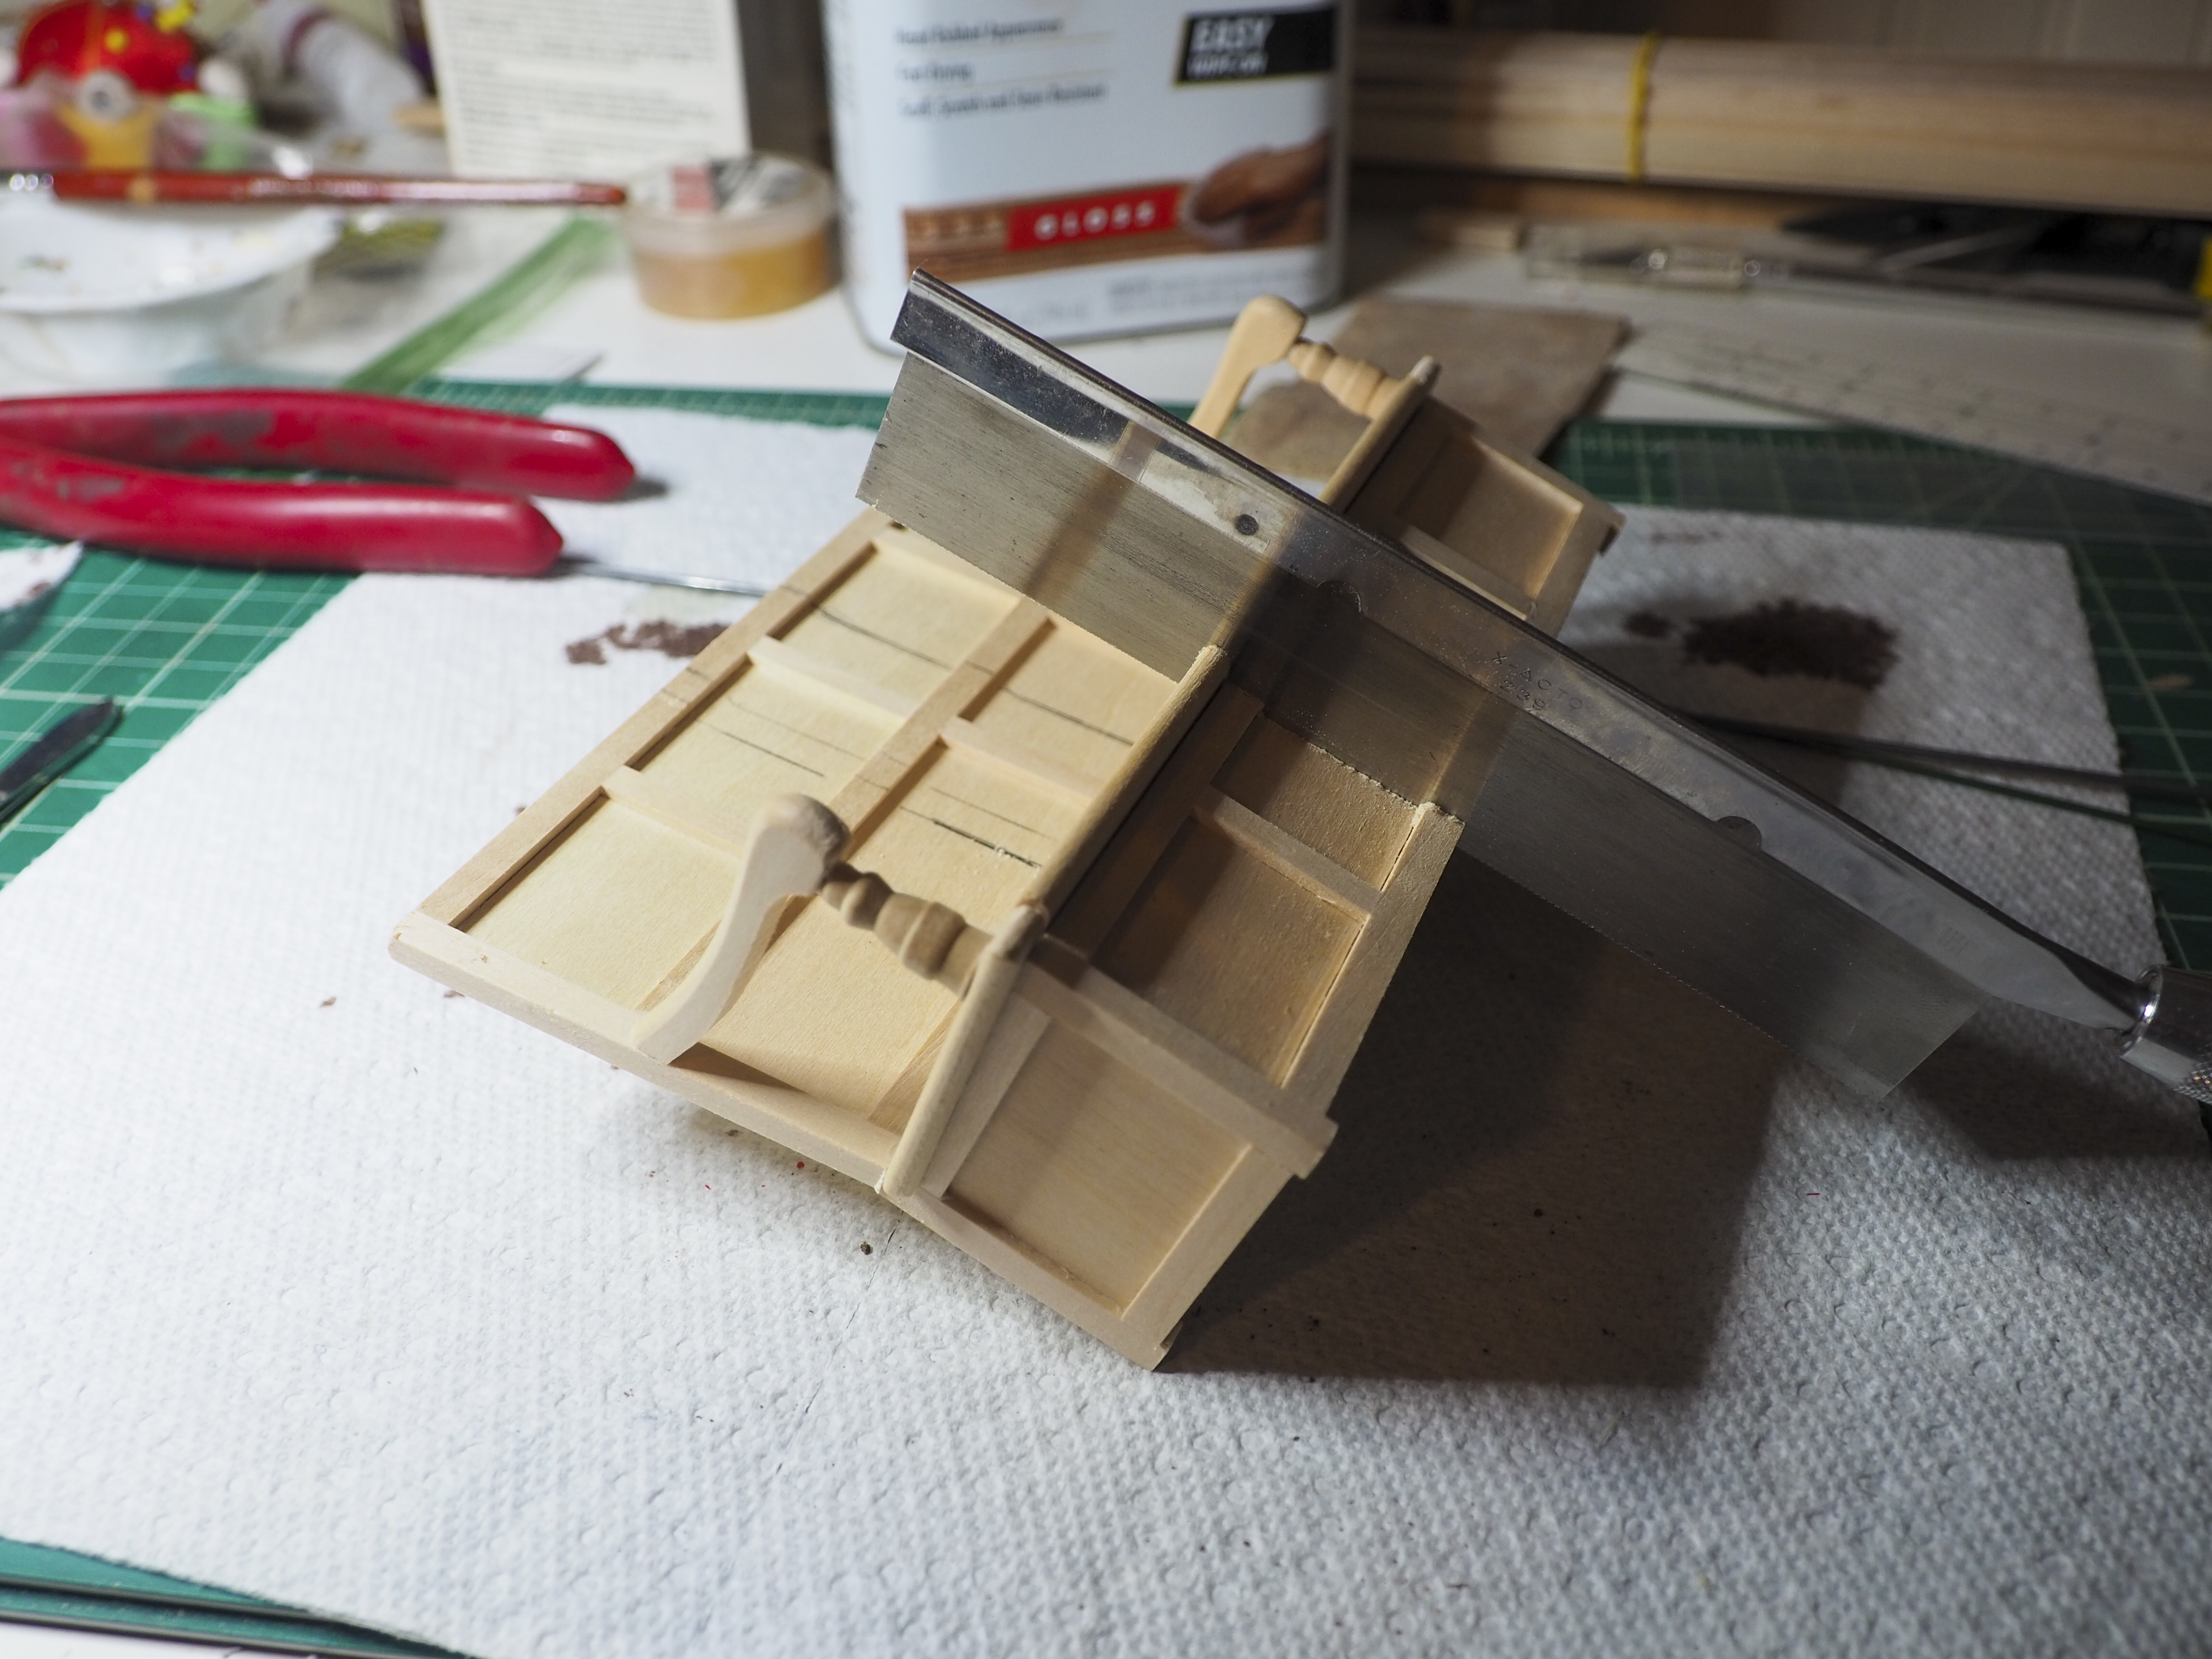
I cut out a center section of the bench.

Then I sanded both sides so they would fit together well.

Before gluing the pieces back together, I stained the bench.

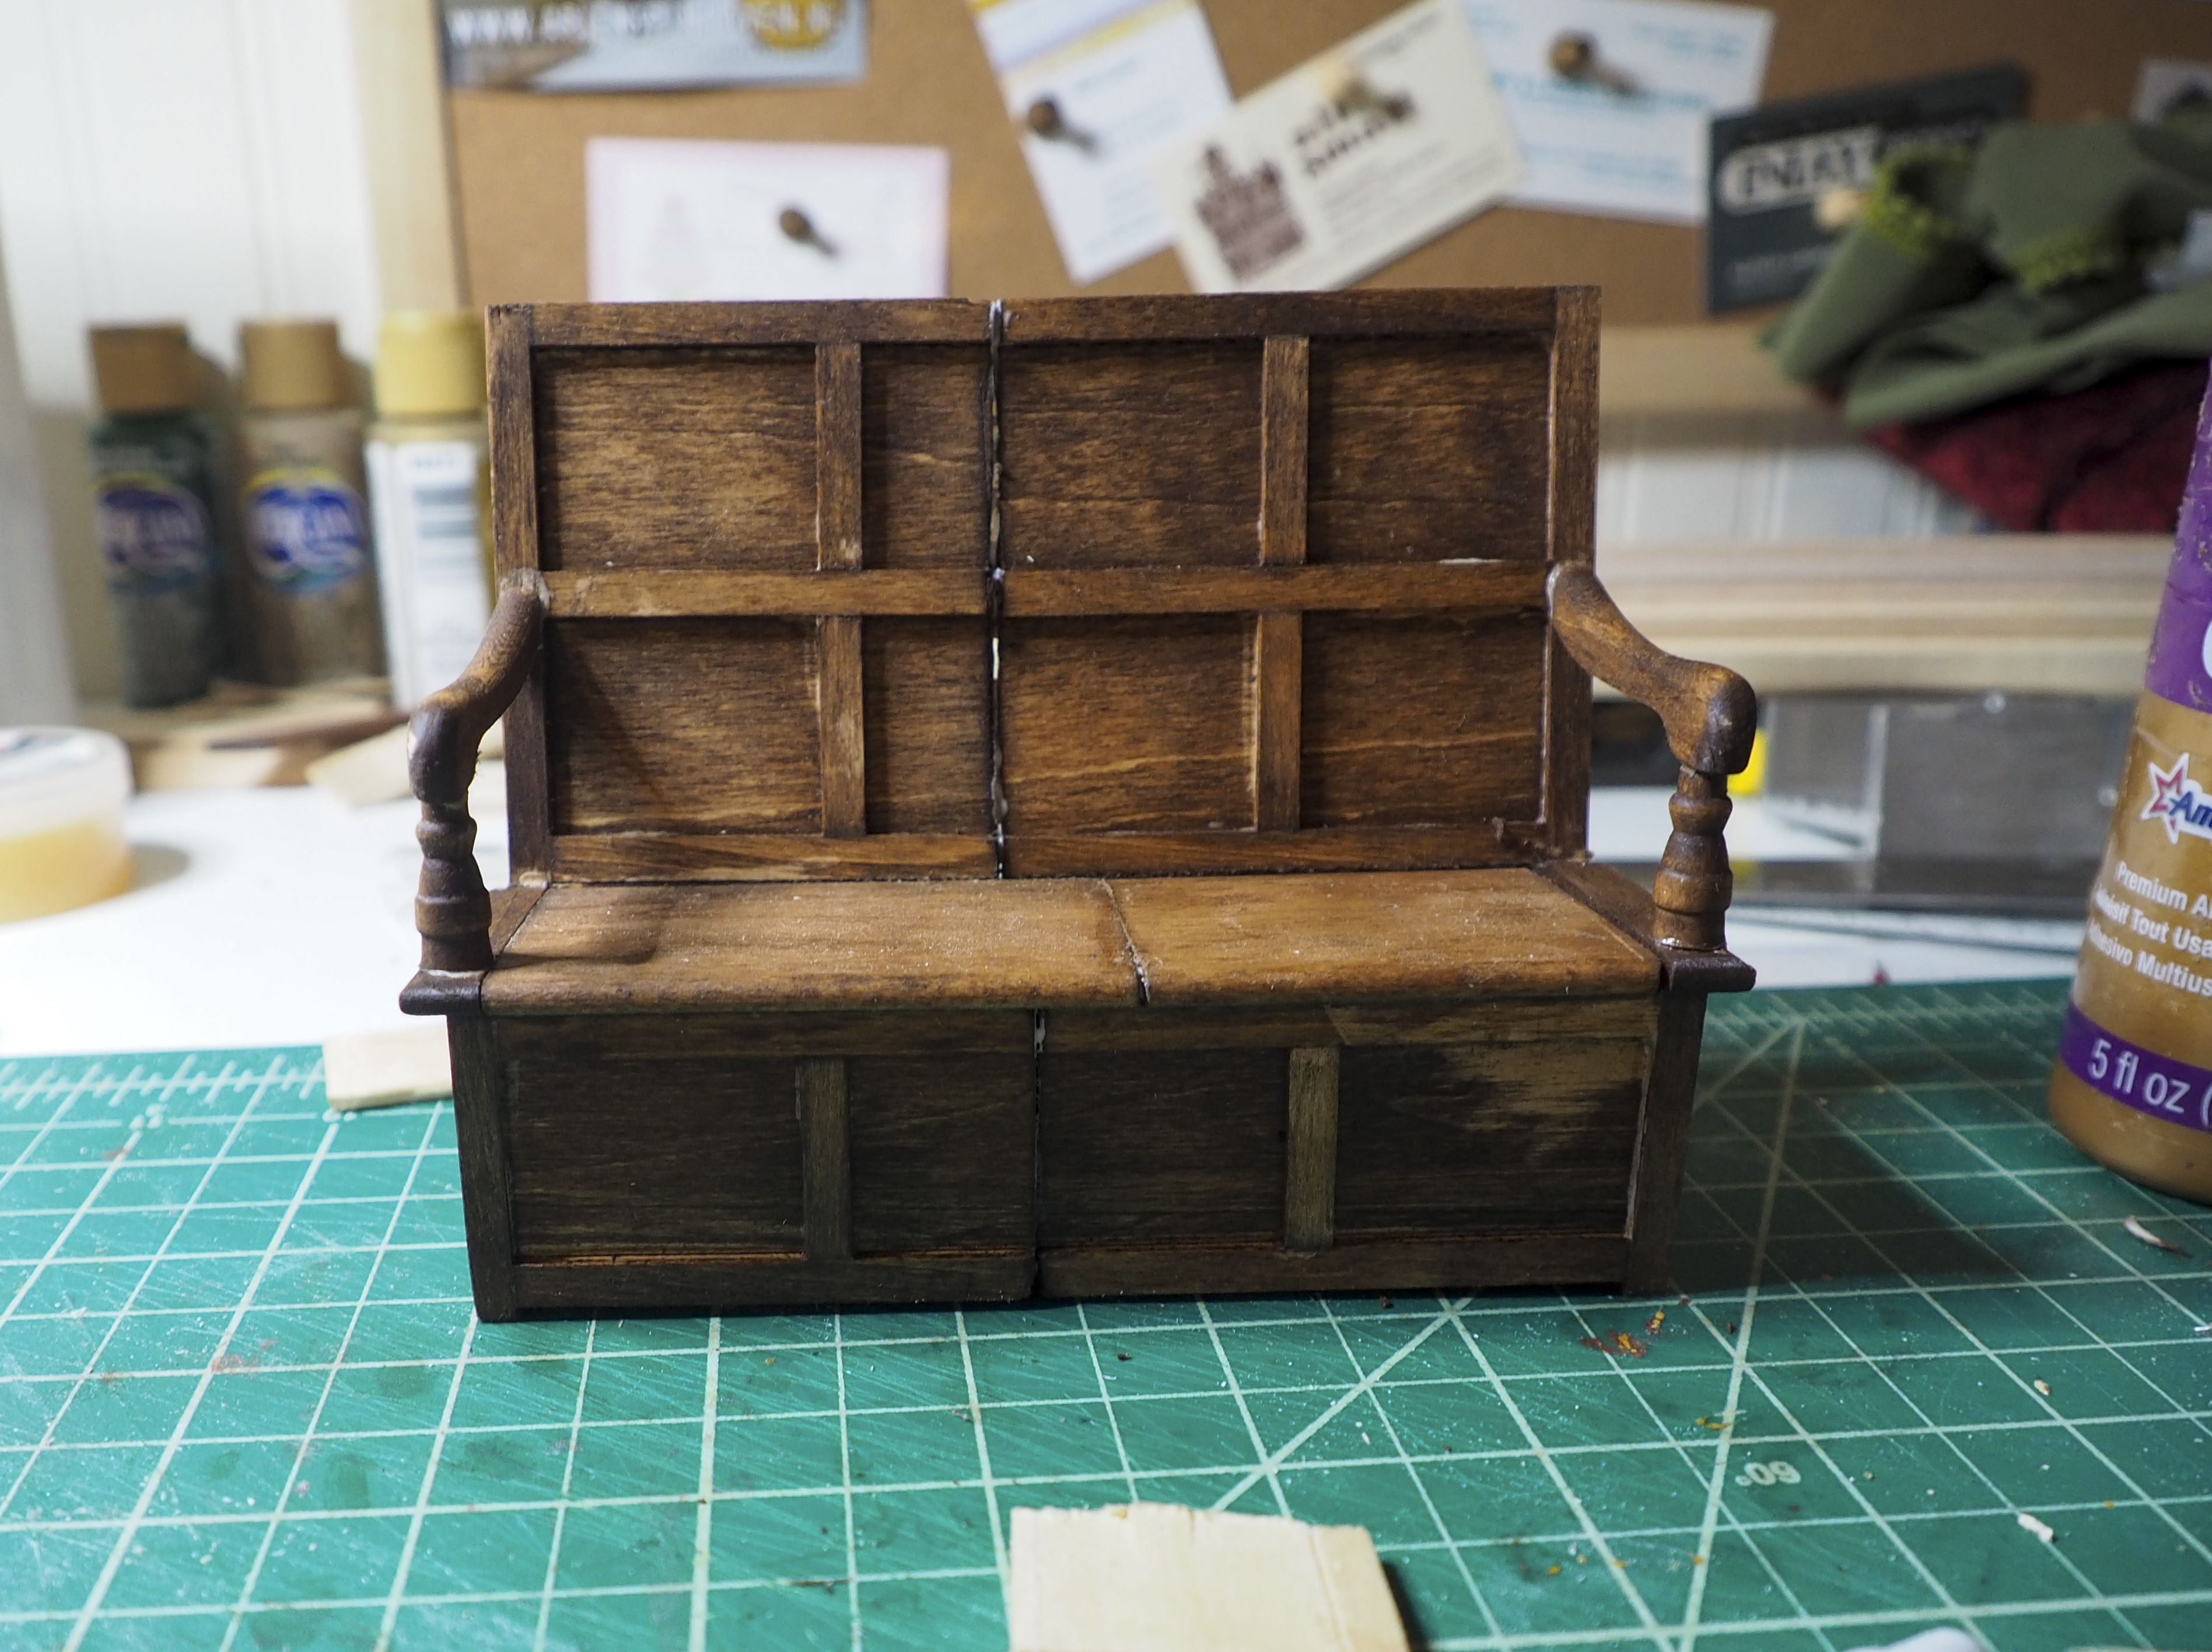
Then I glued it together and used extra strips of trim to cover the cracks.

After it dries, I’ll varnish it so it becomes shiny. I’ll probably also add a few more trim pieces to balance out the design. But for now, it fits beautifully in the area under the stairs.

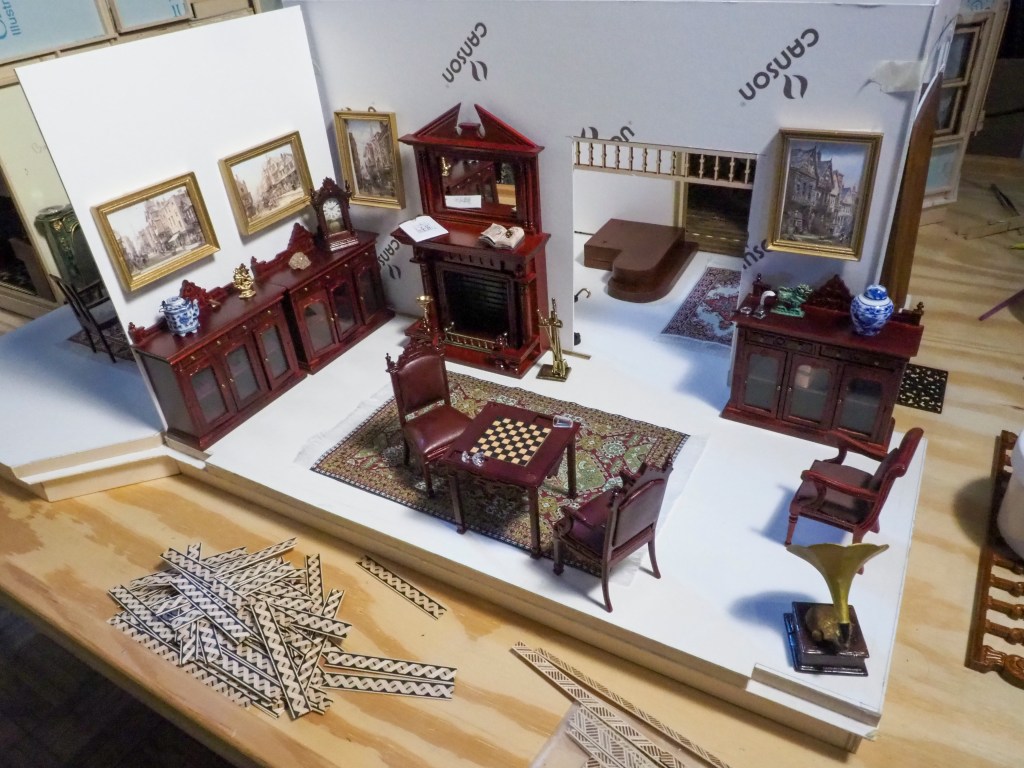
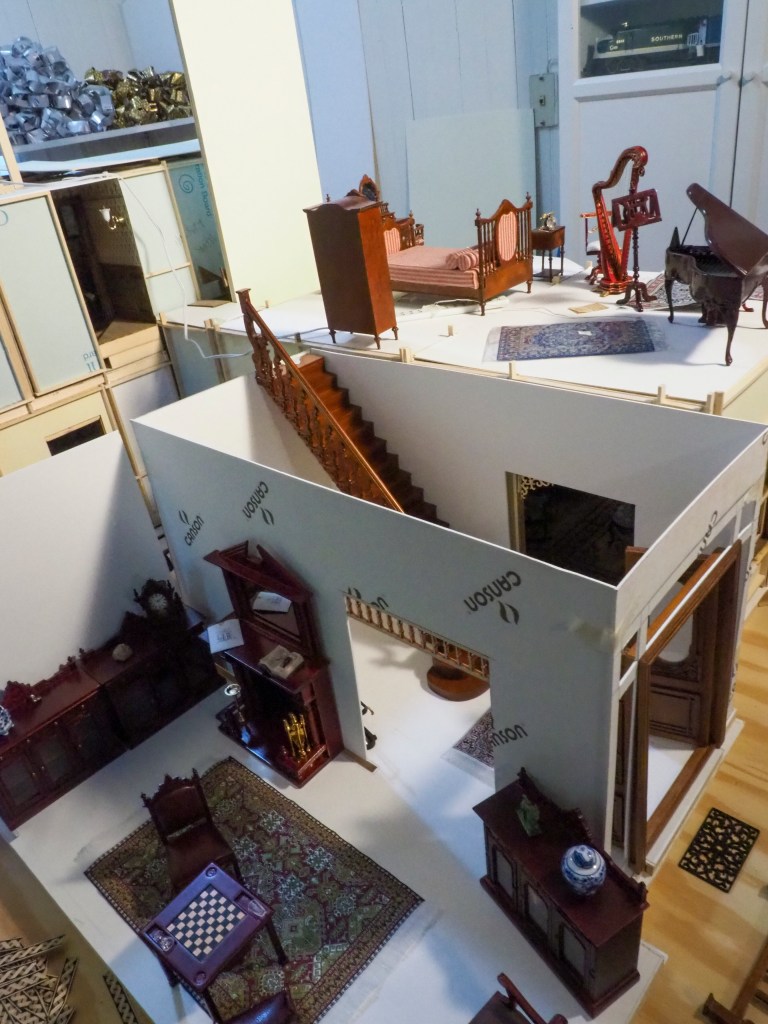
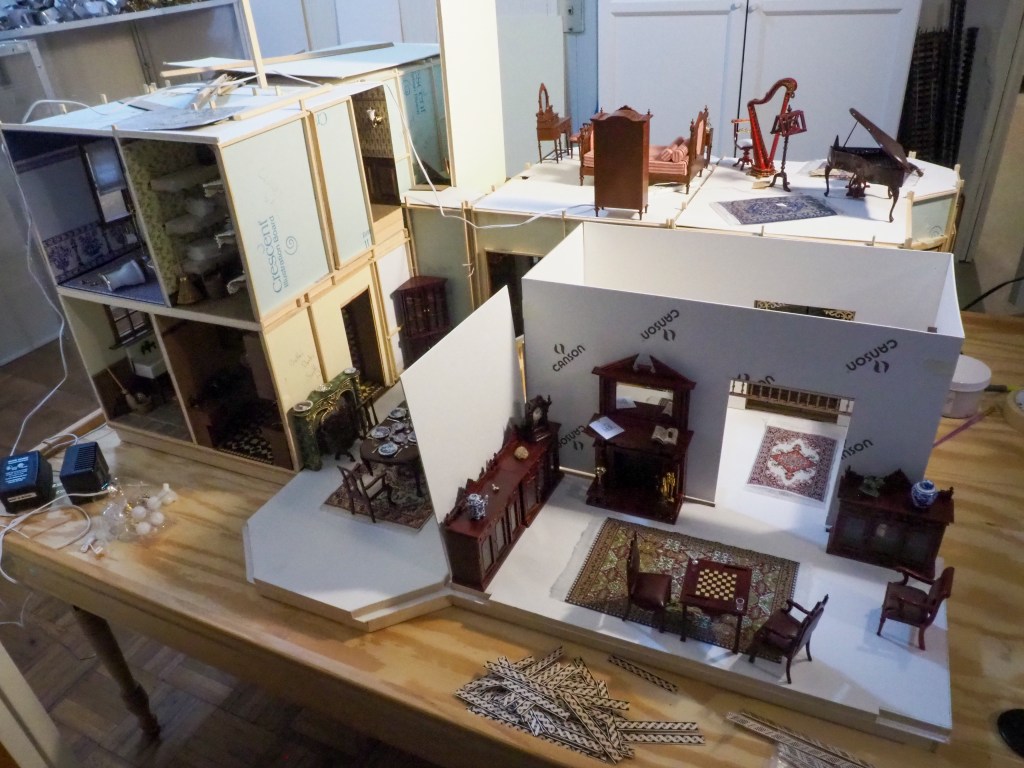
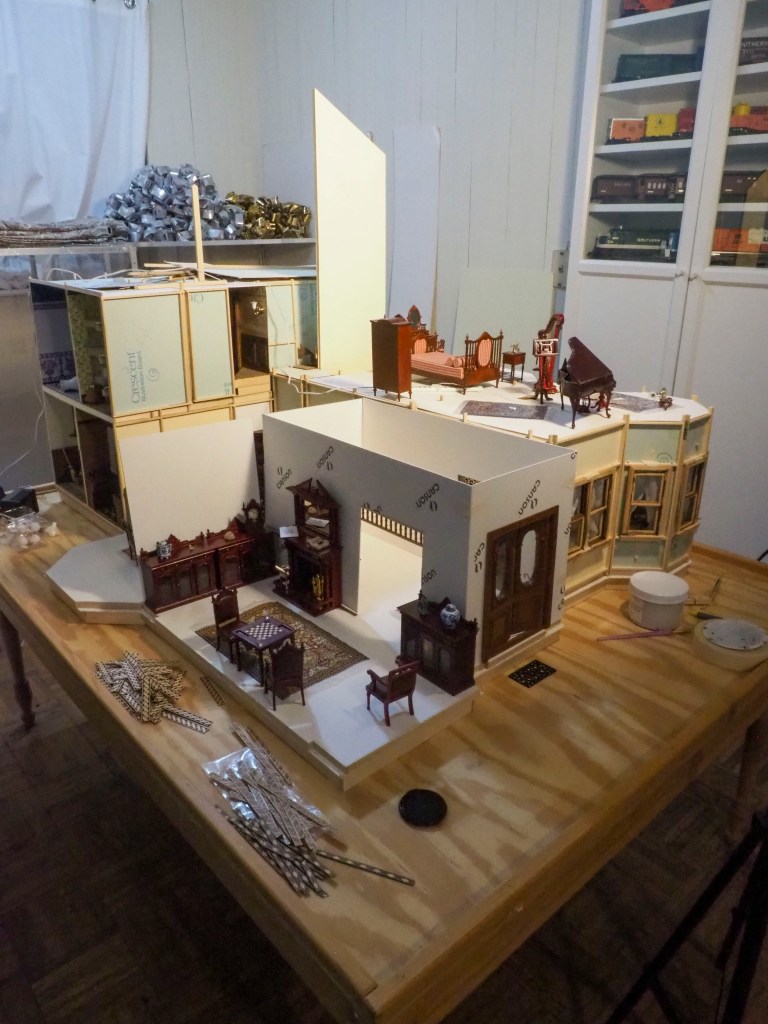
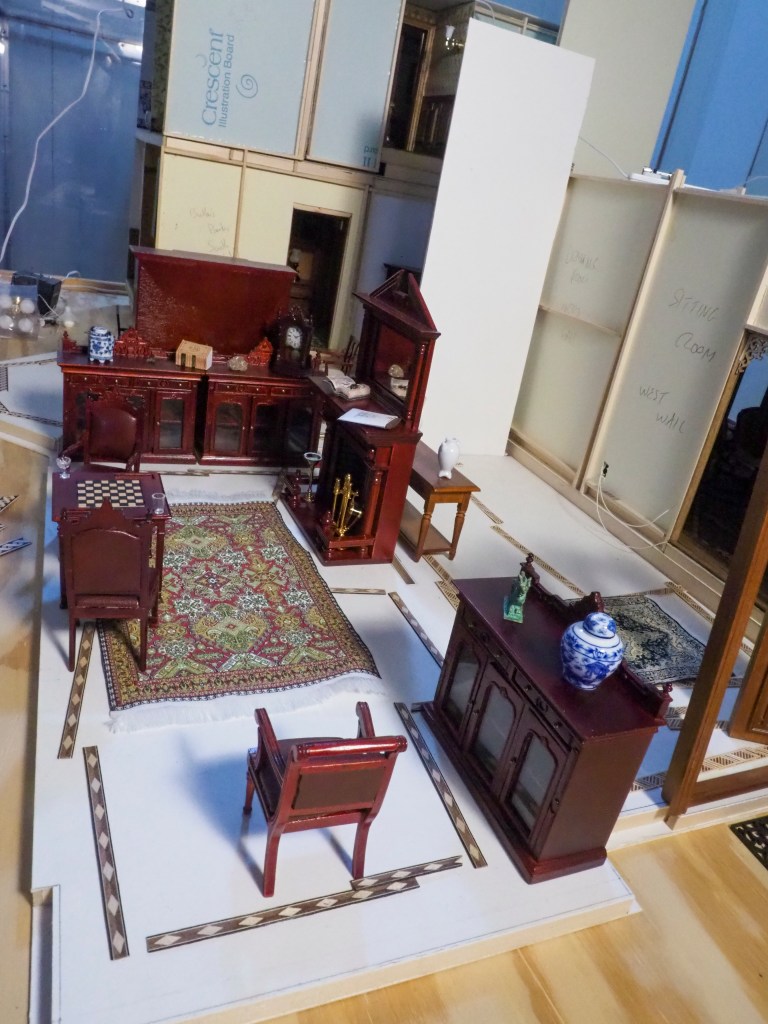
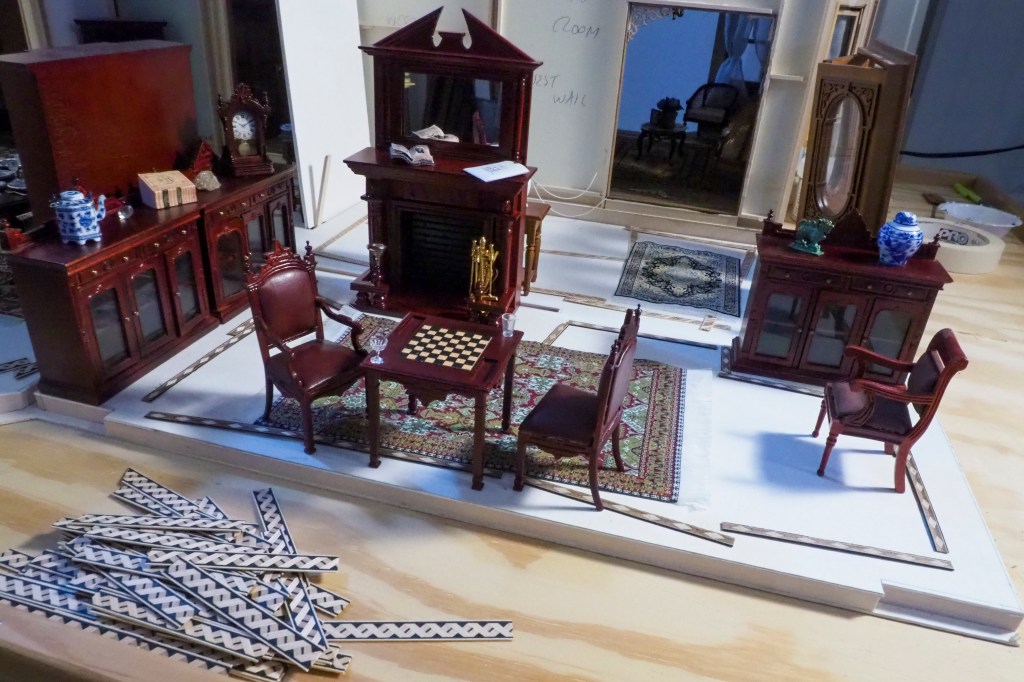
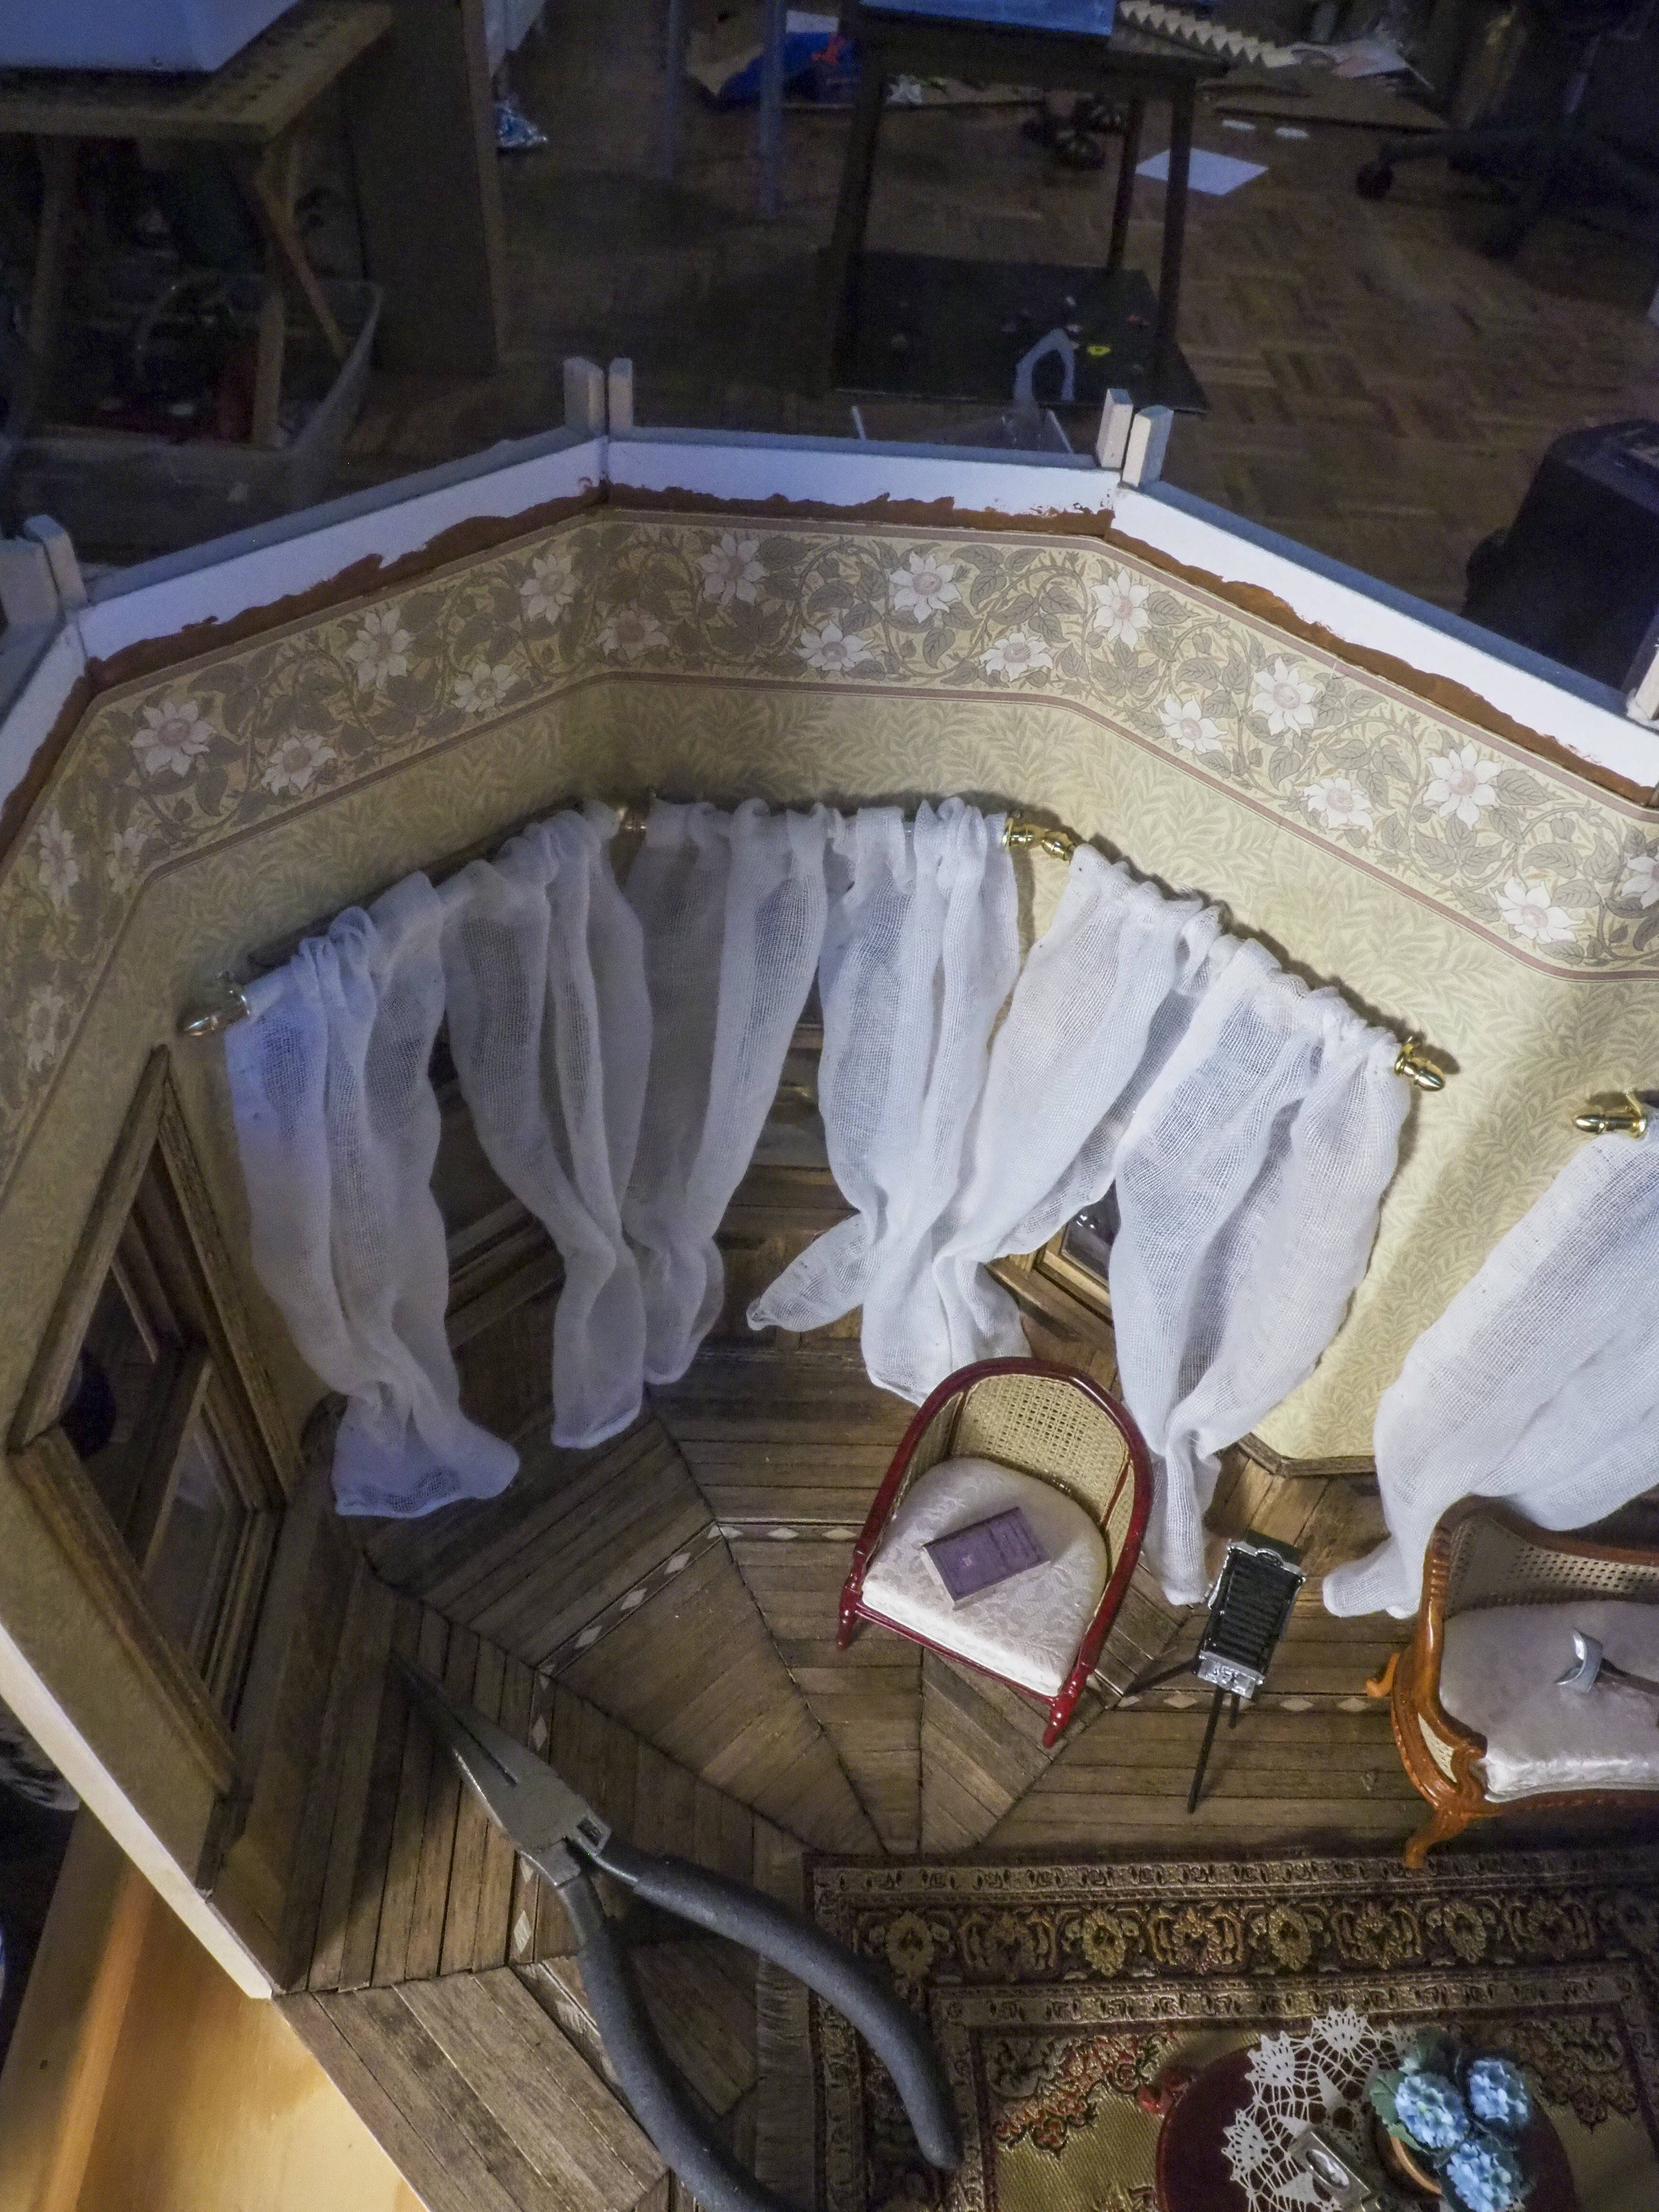
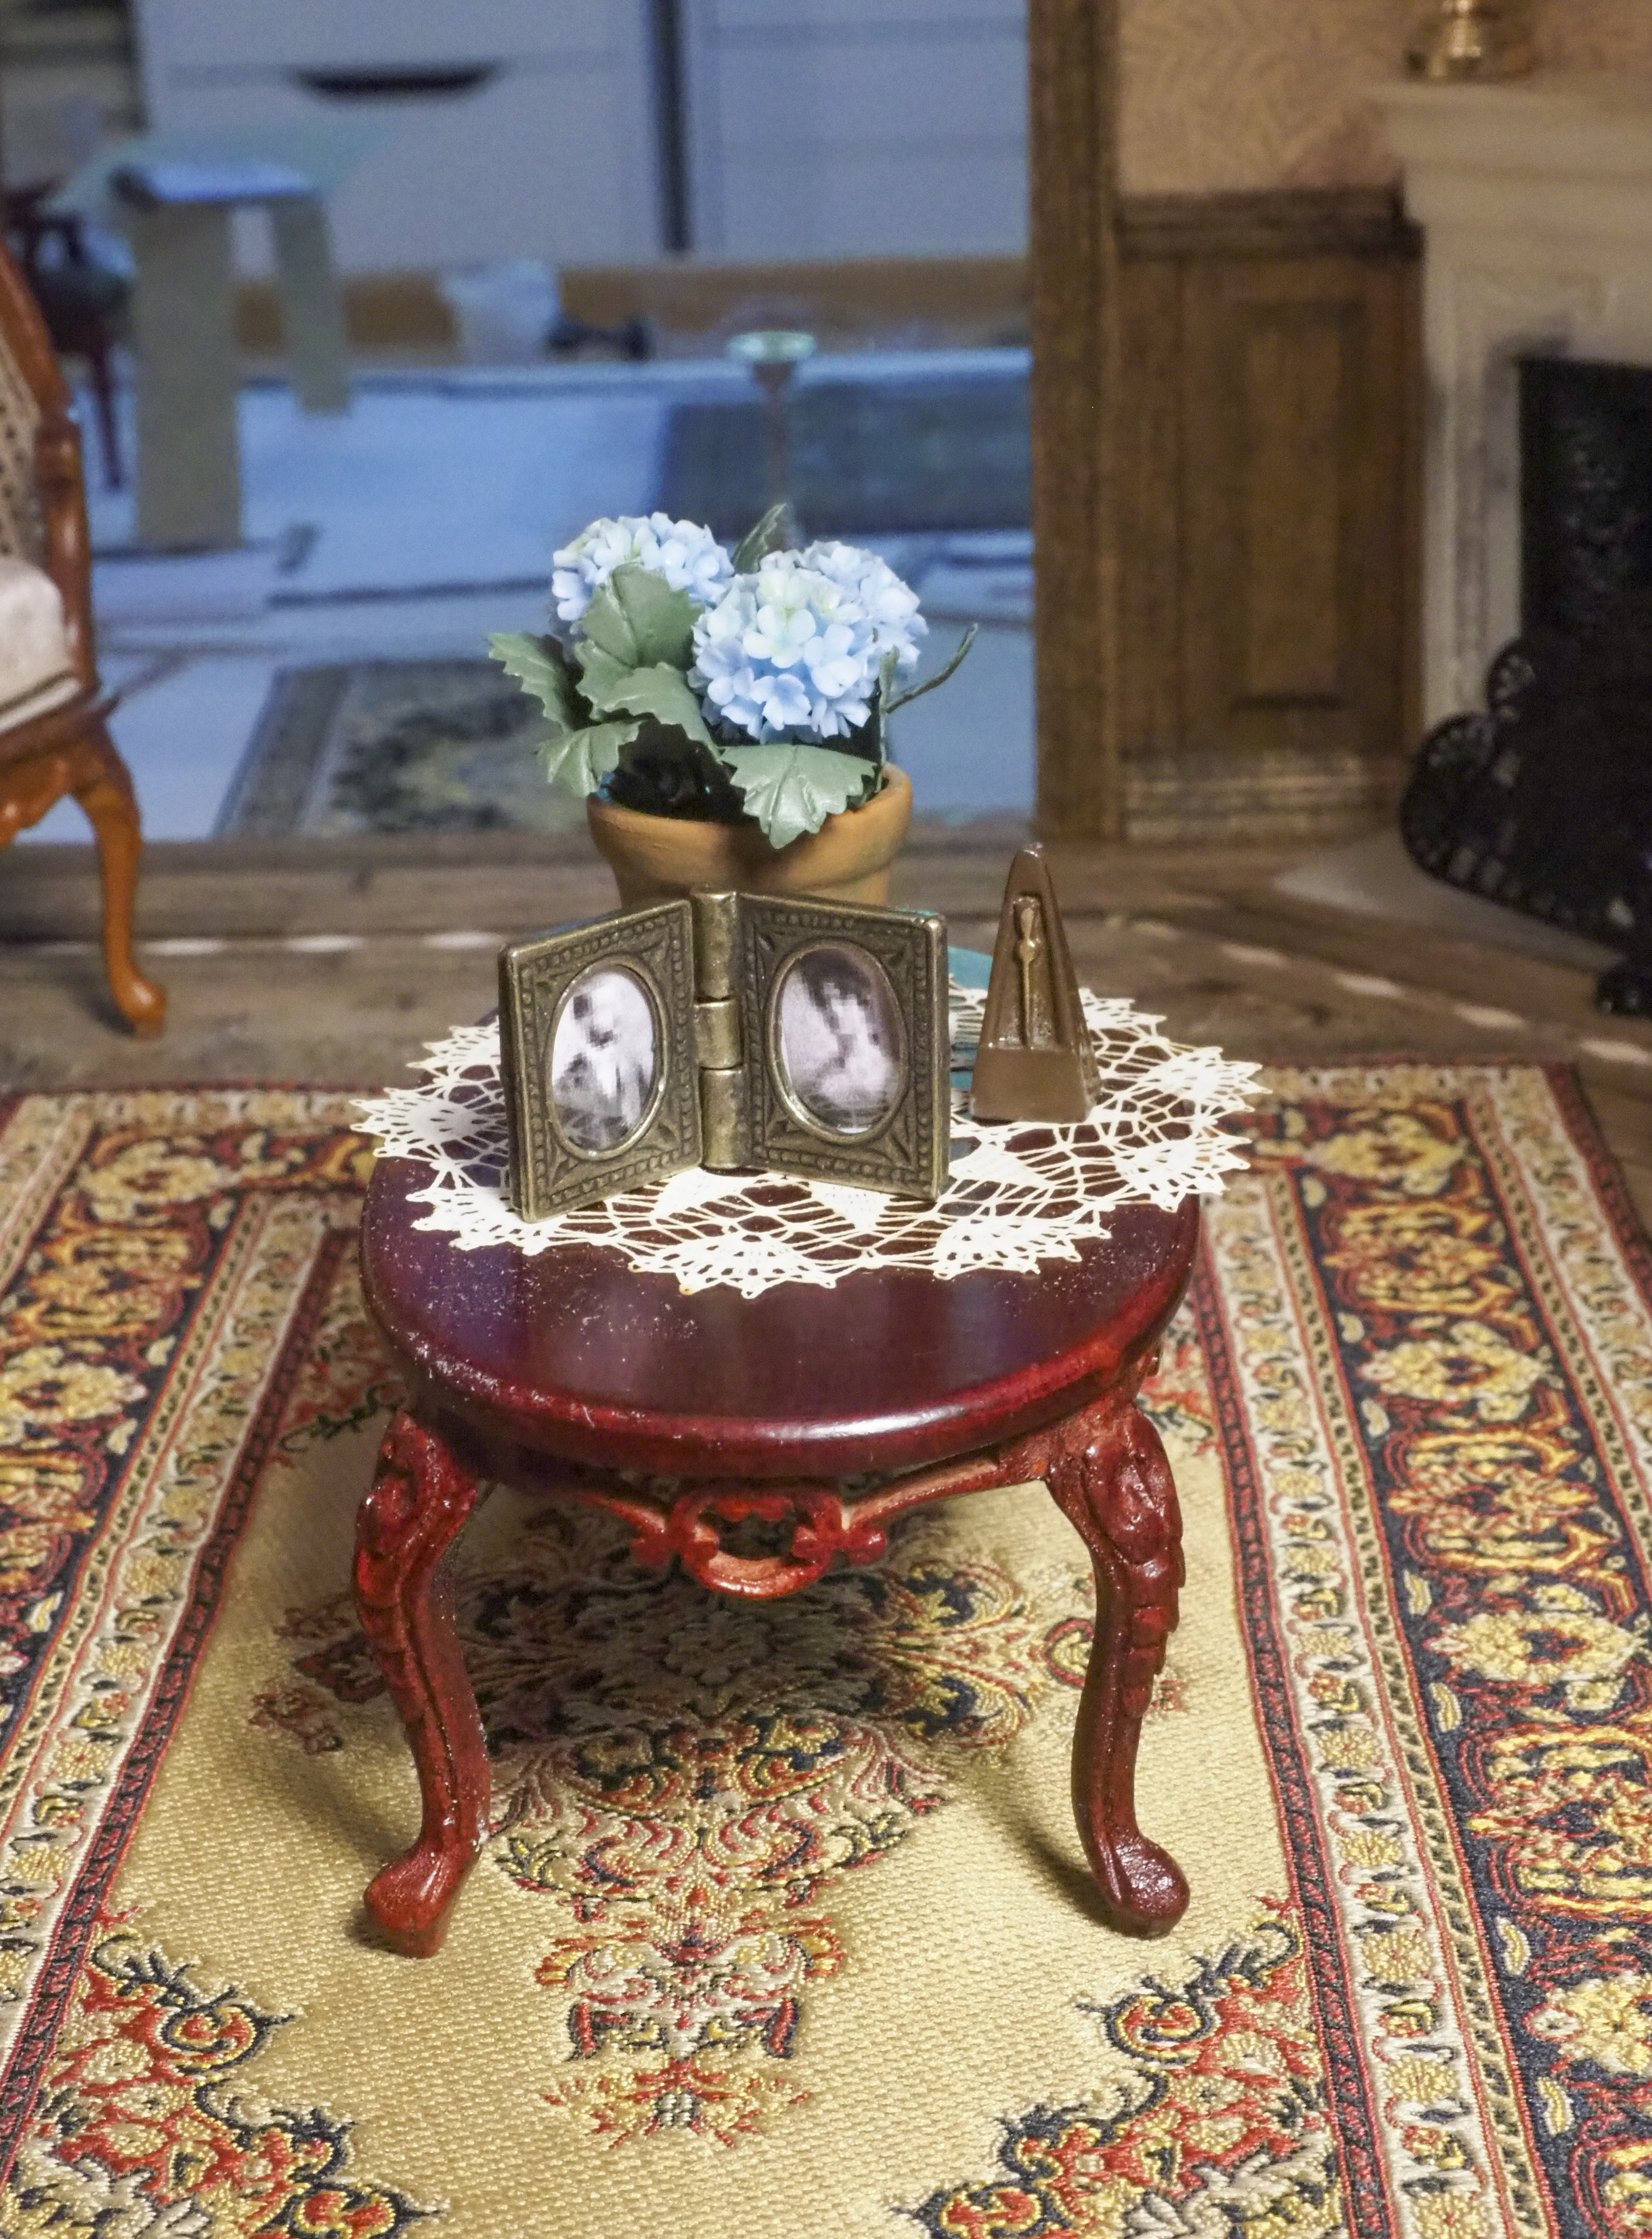
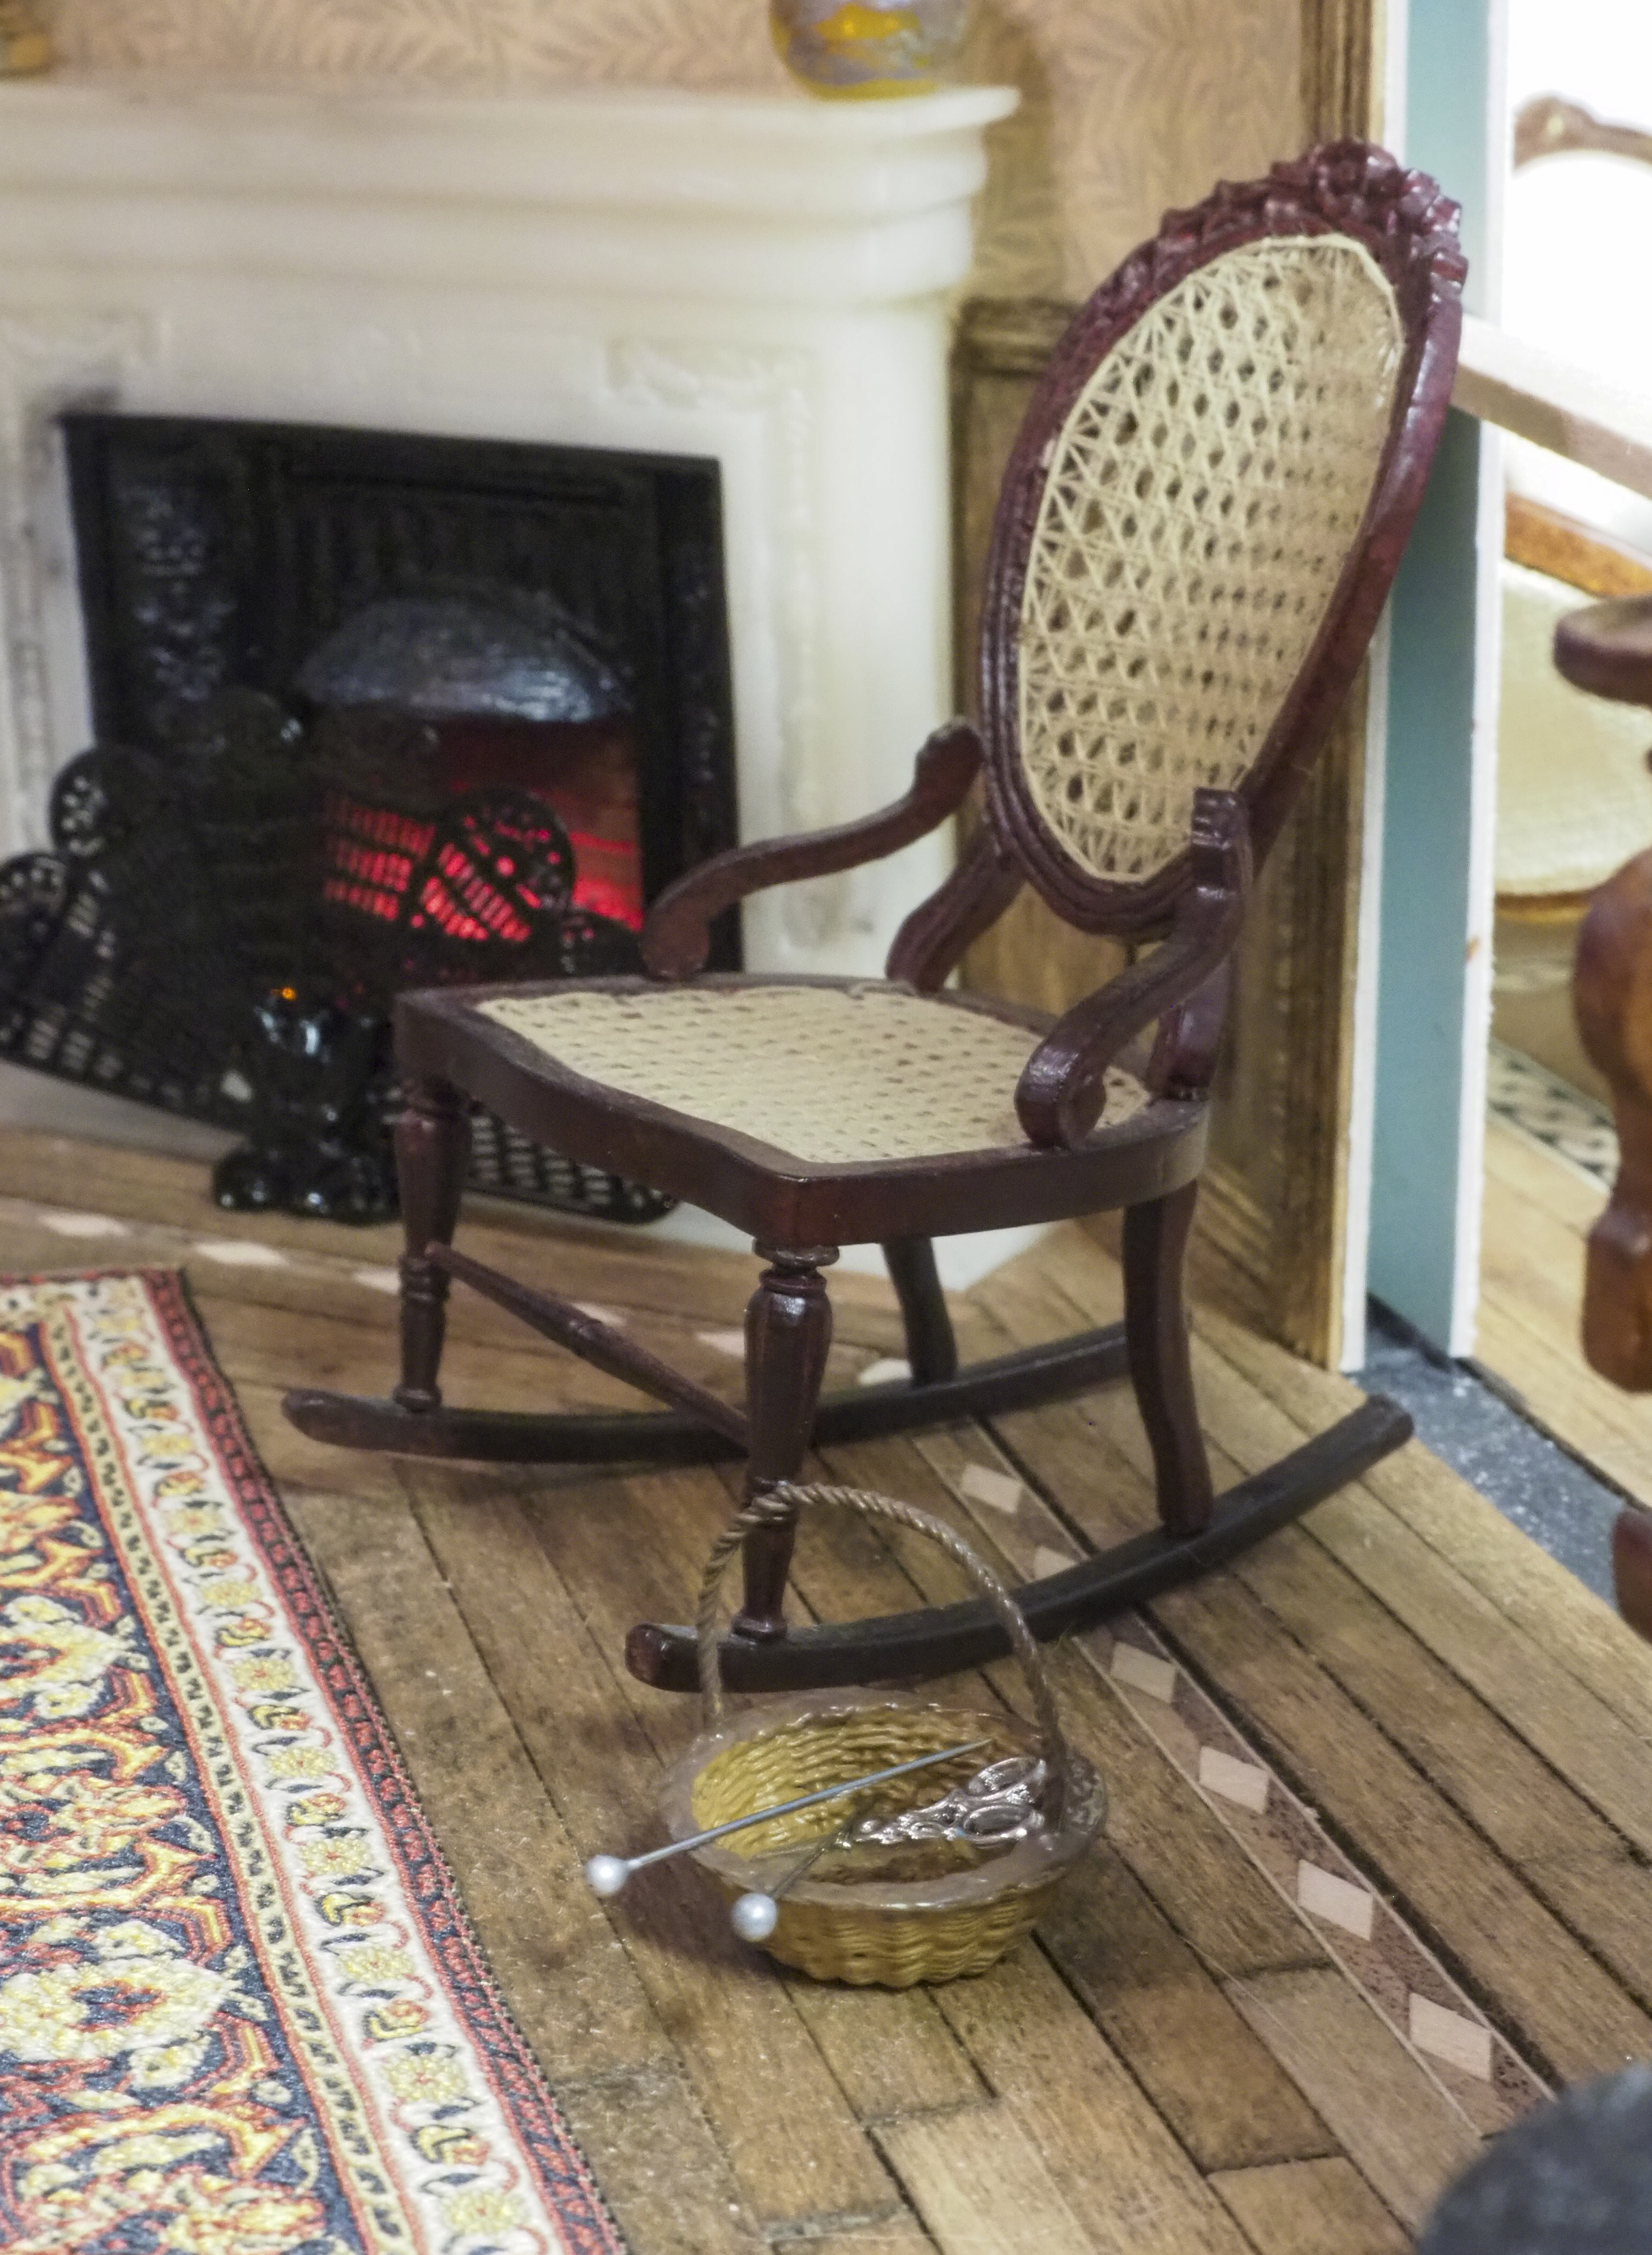
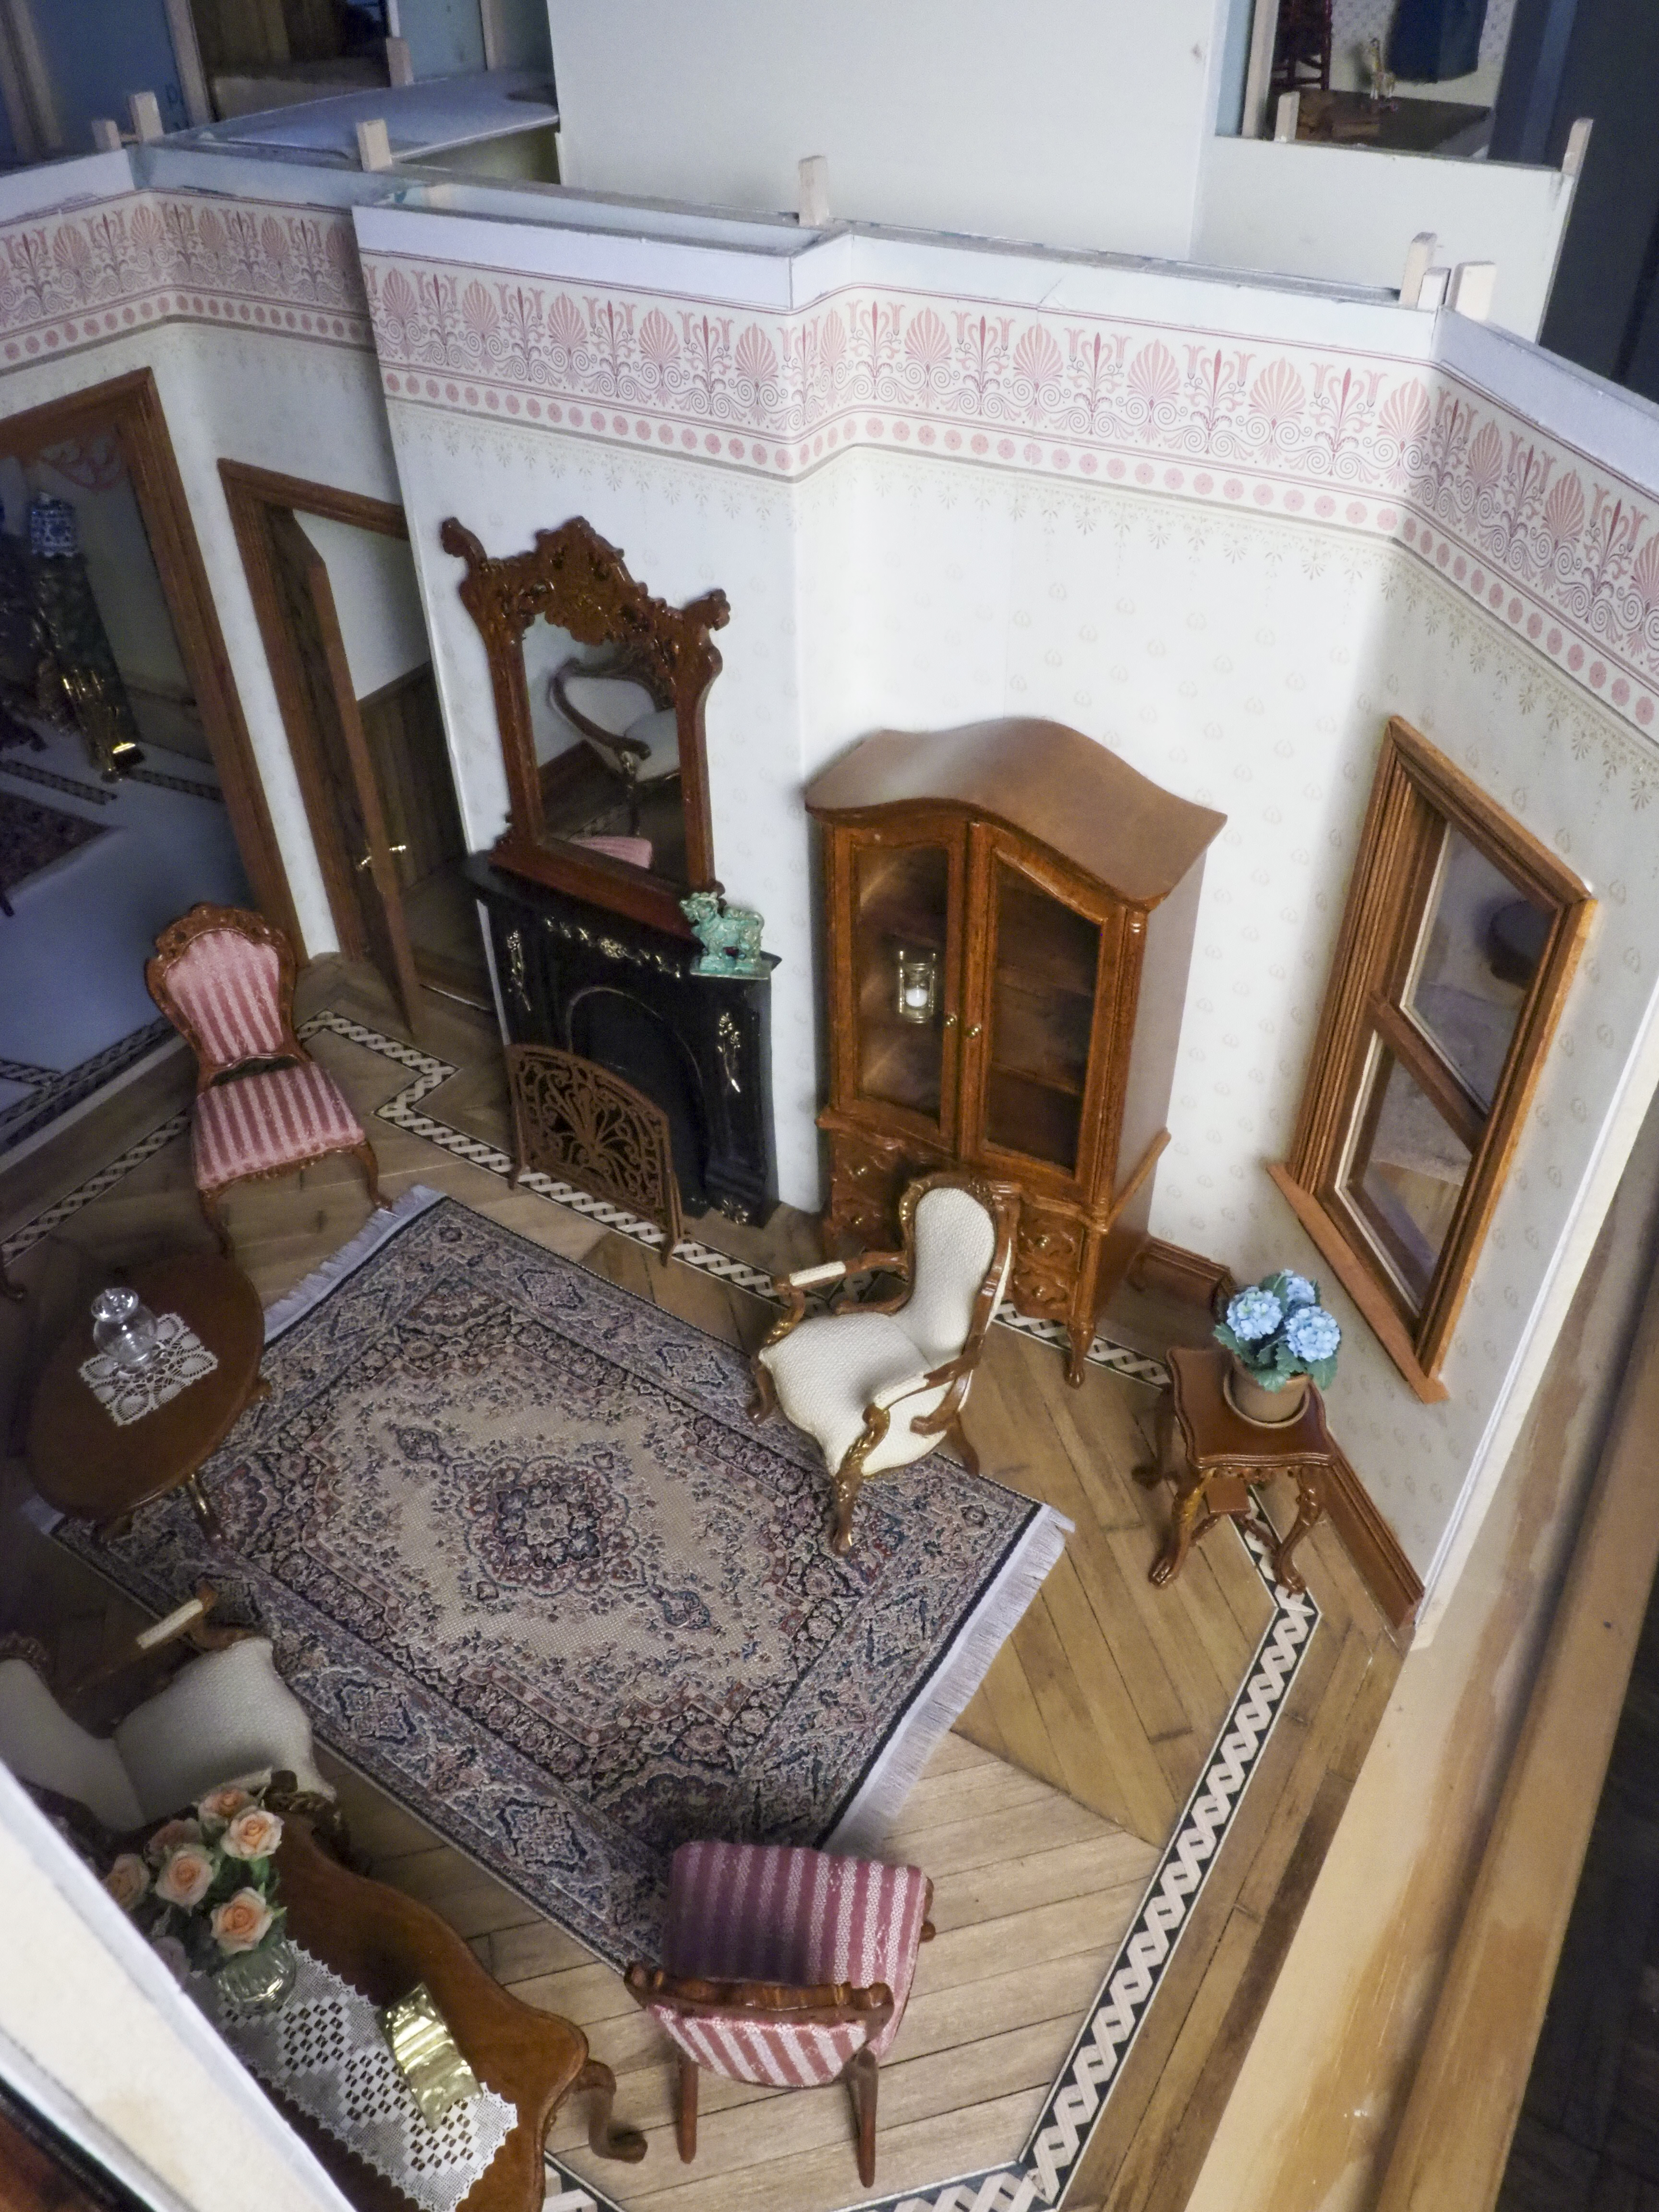
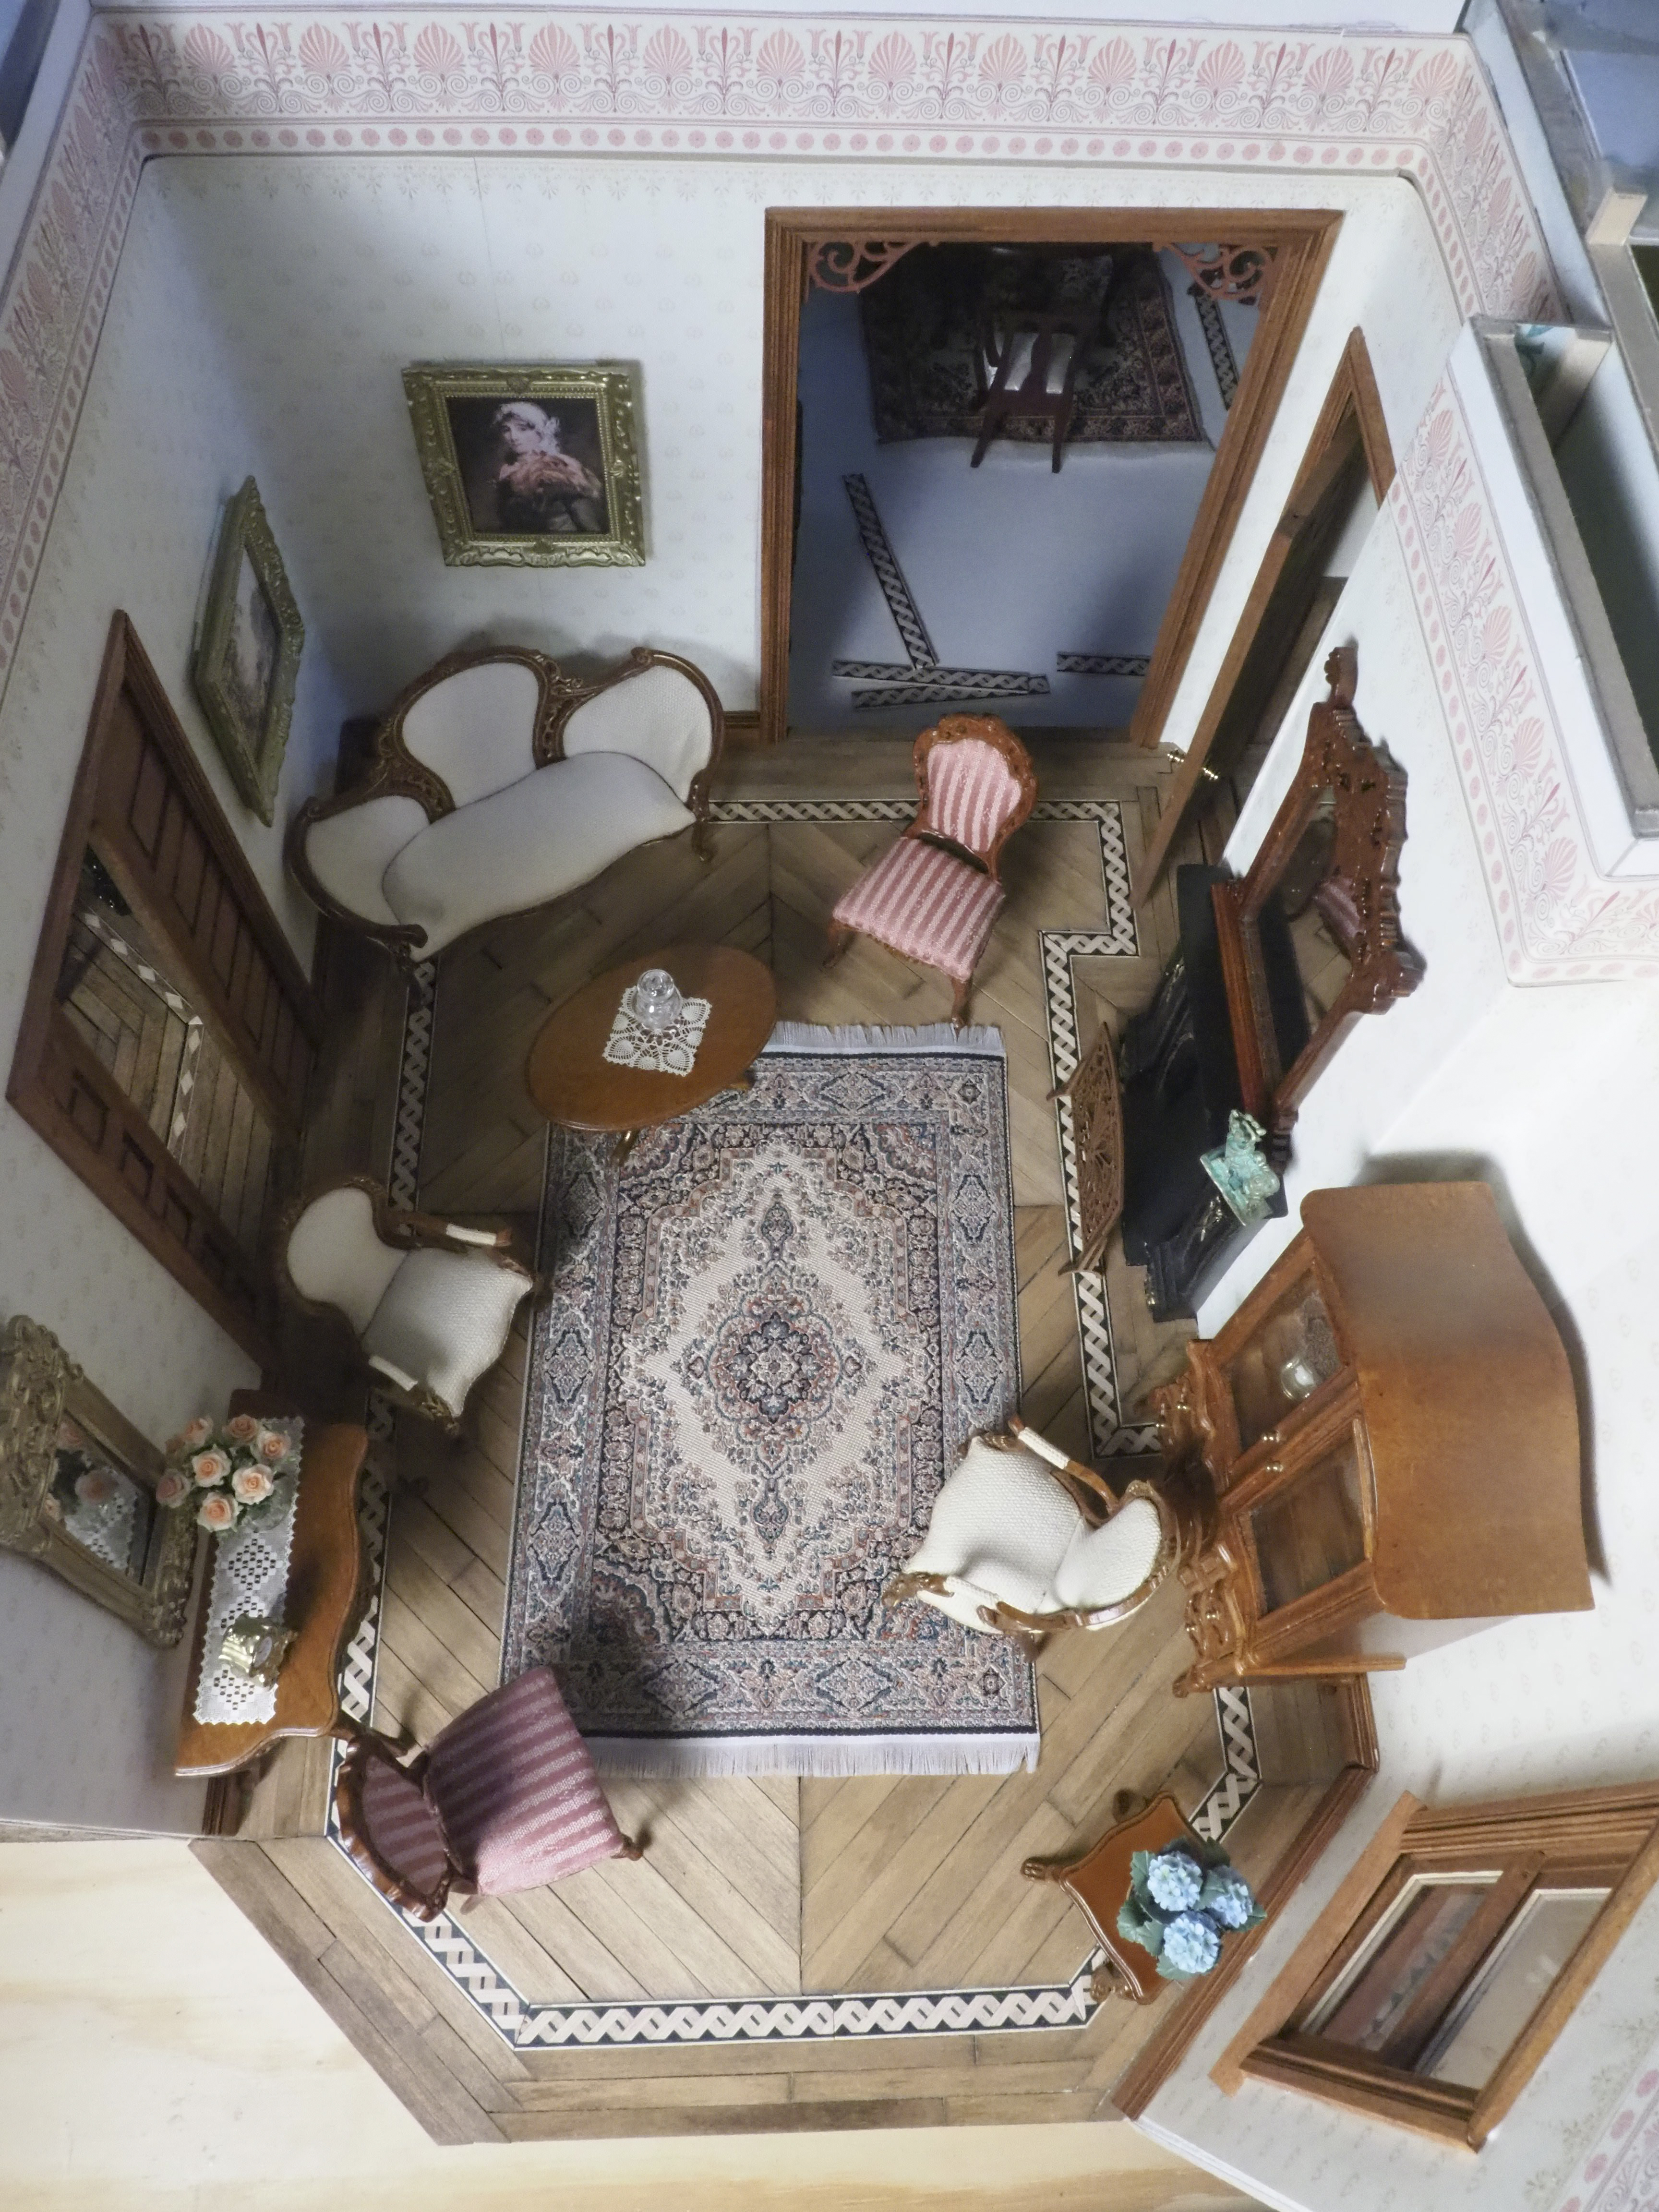
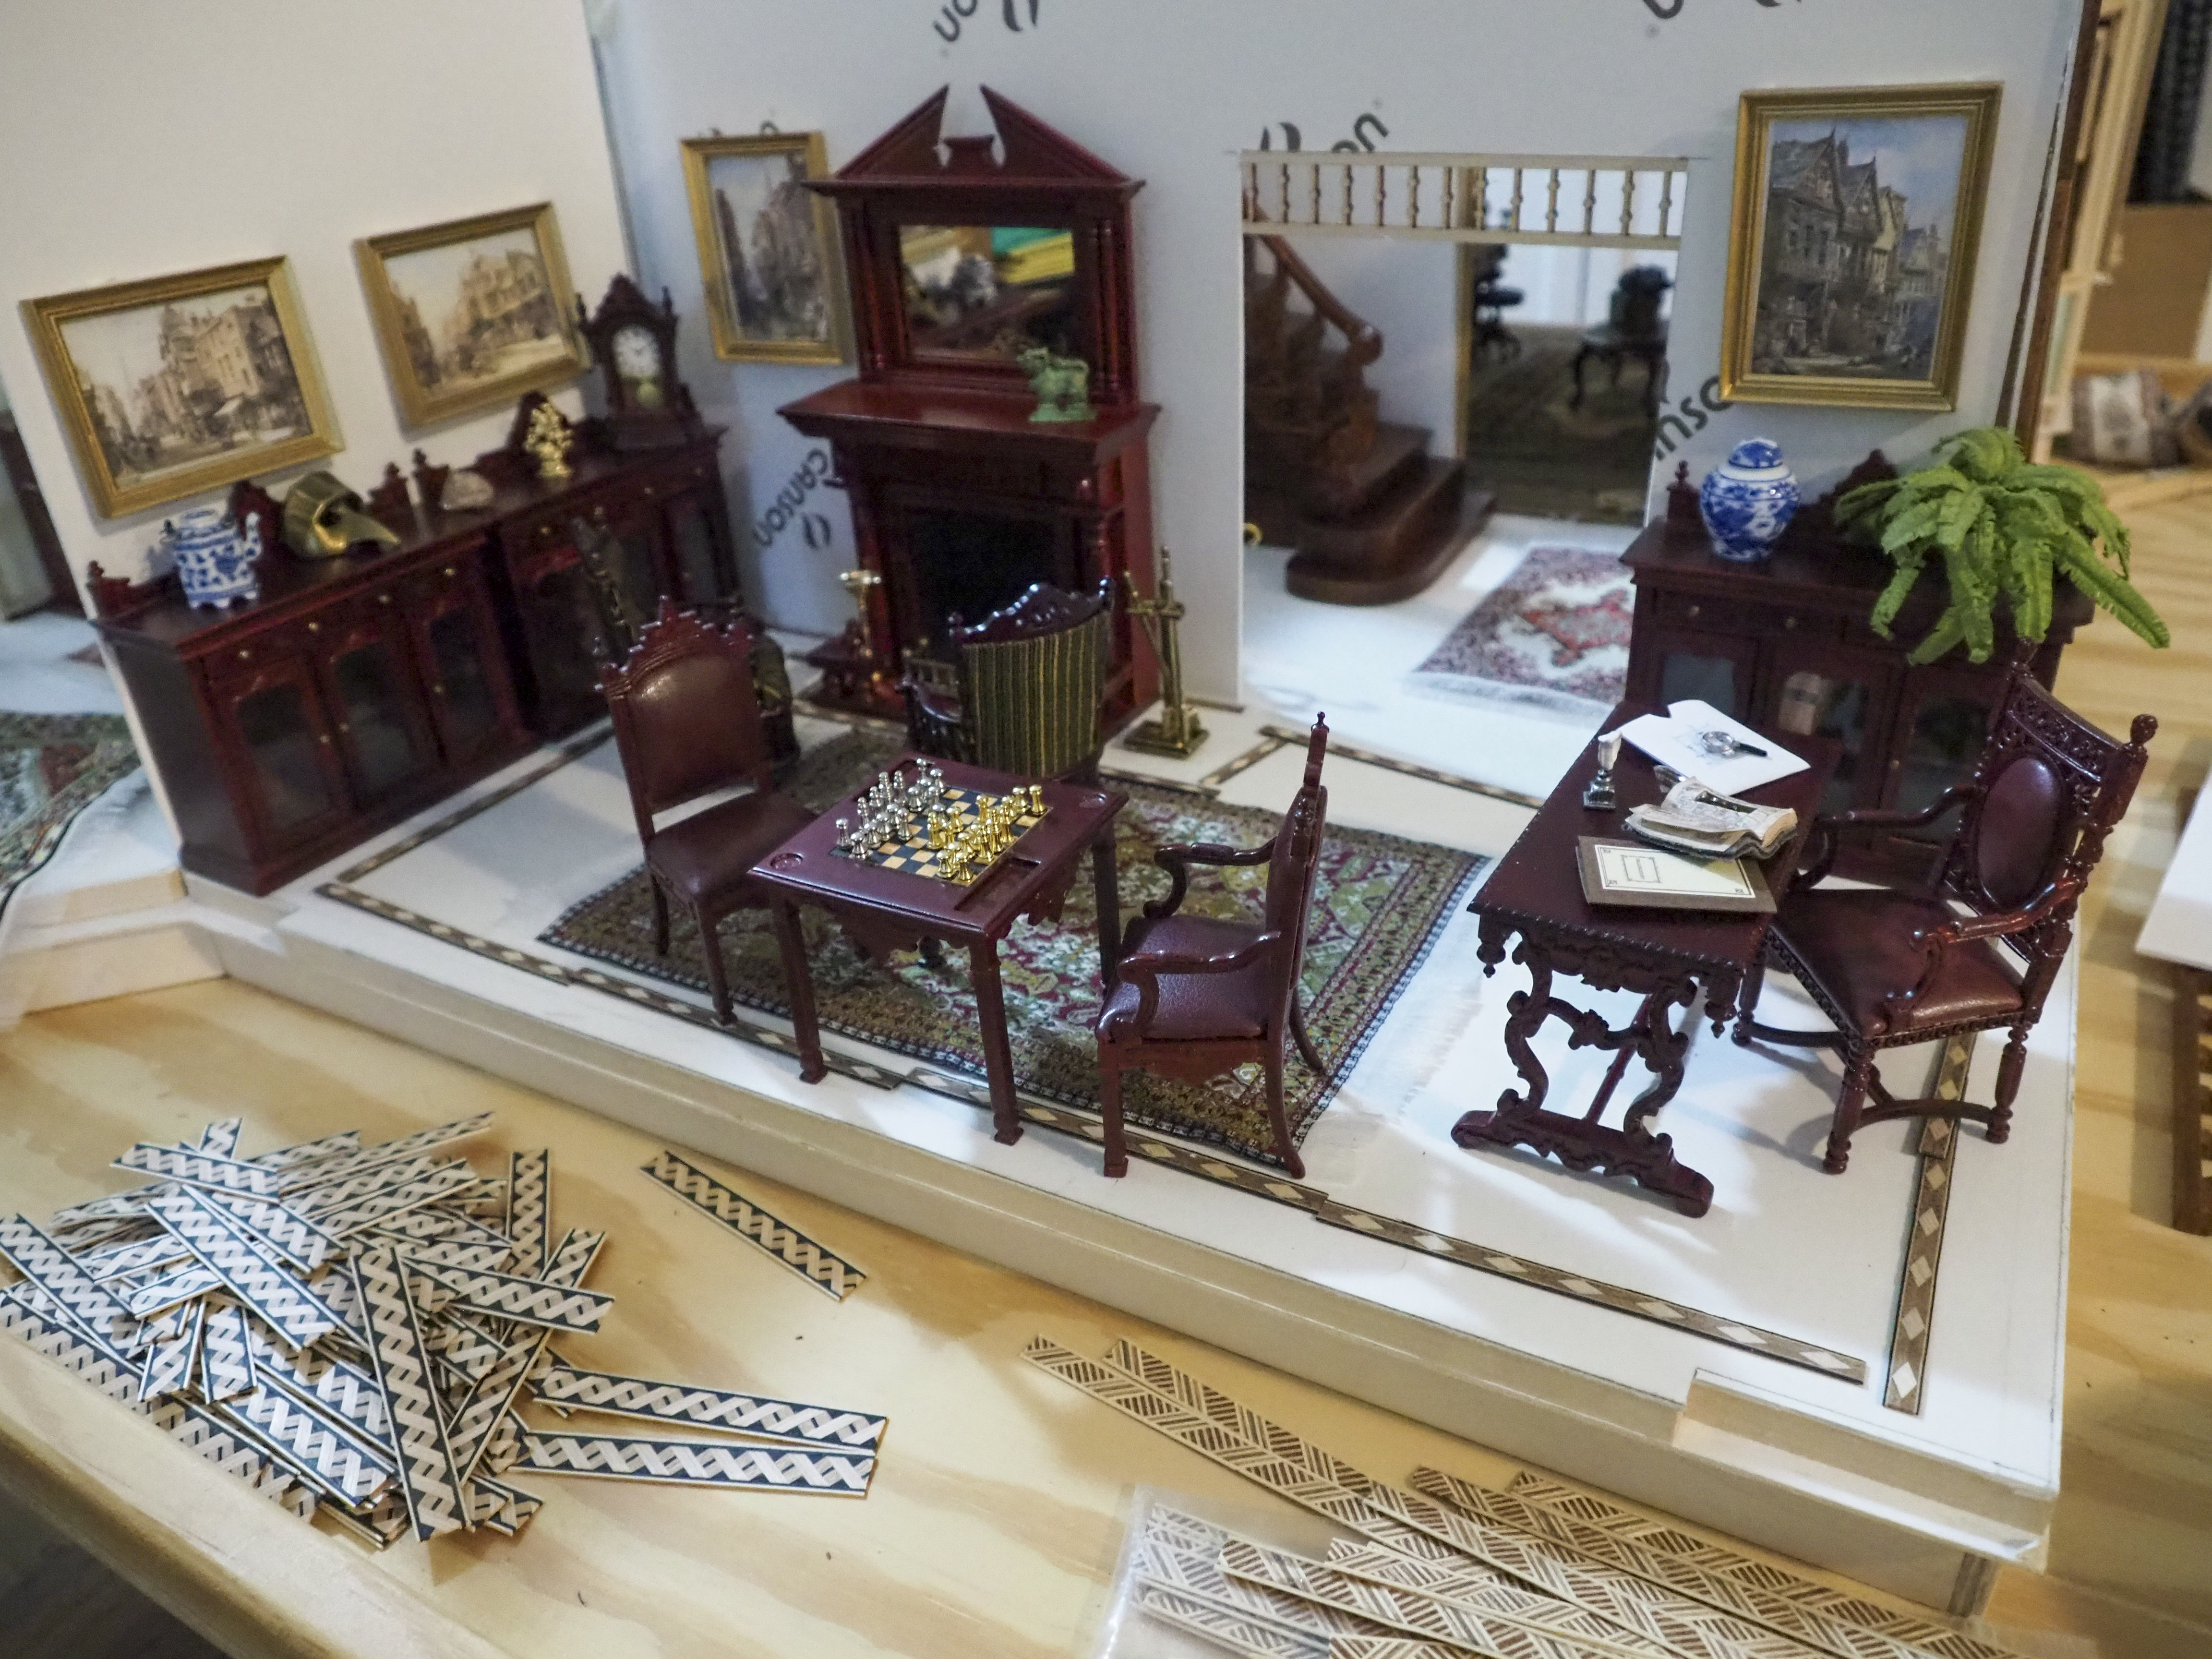
I’ve also acquired more furniture for the library over the past couple months…

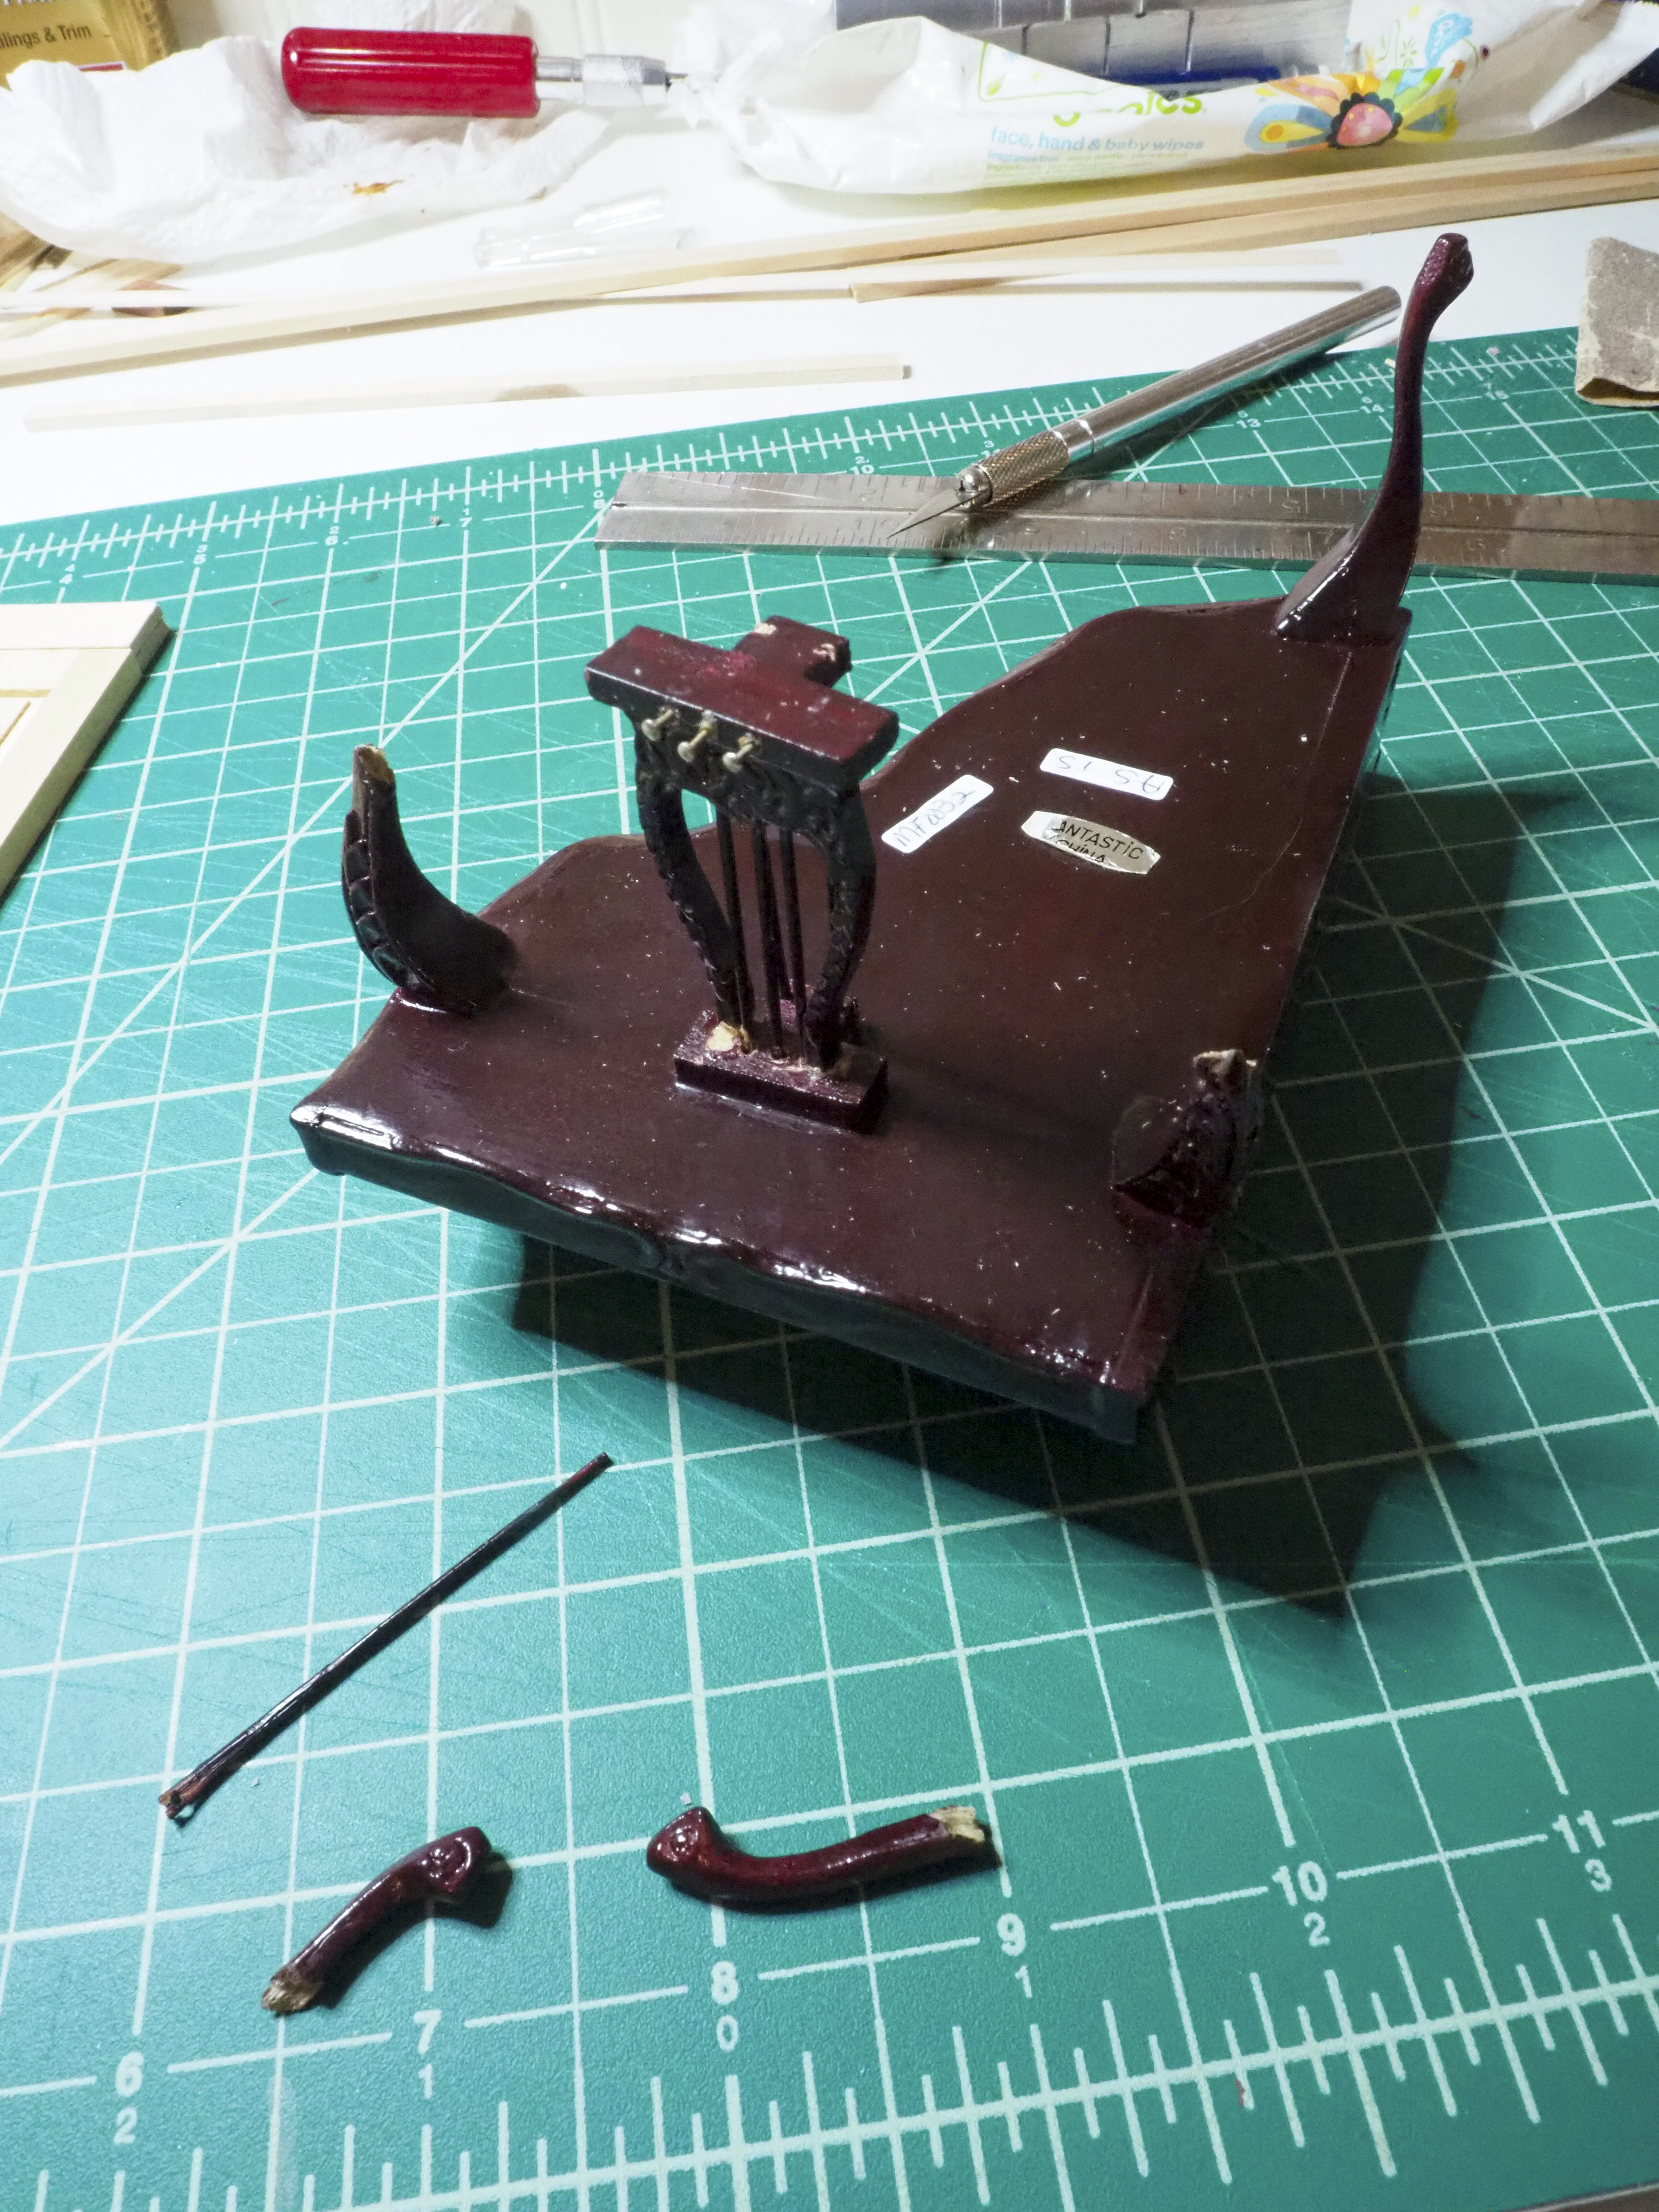
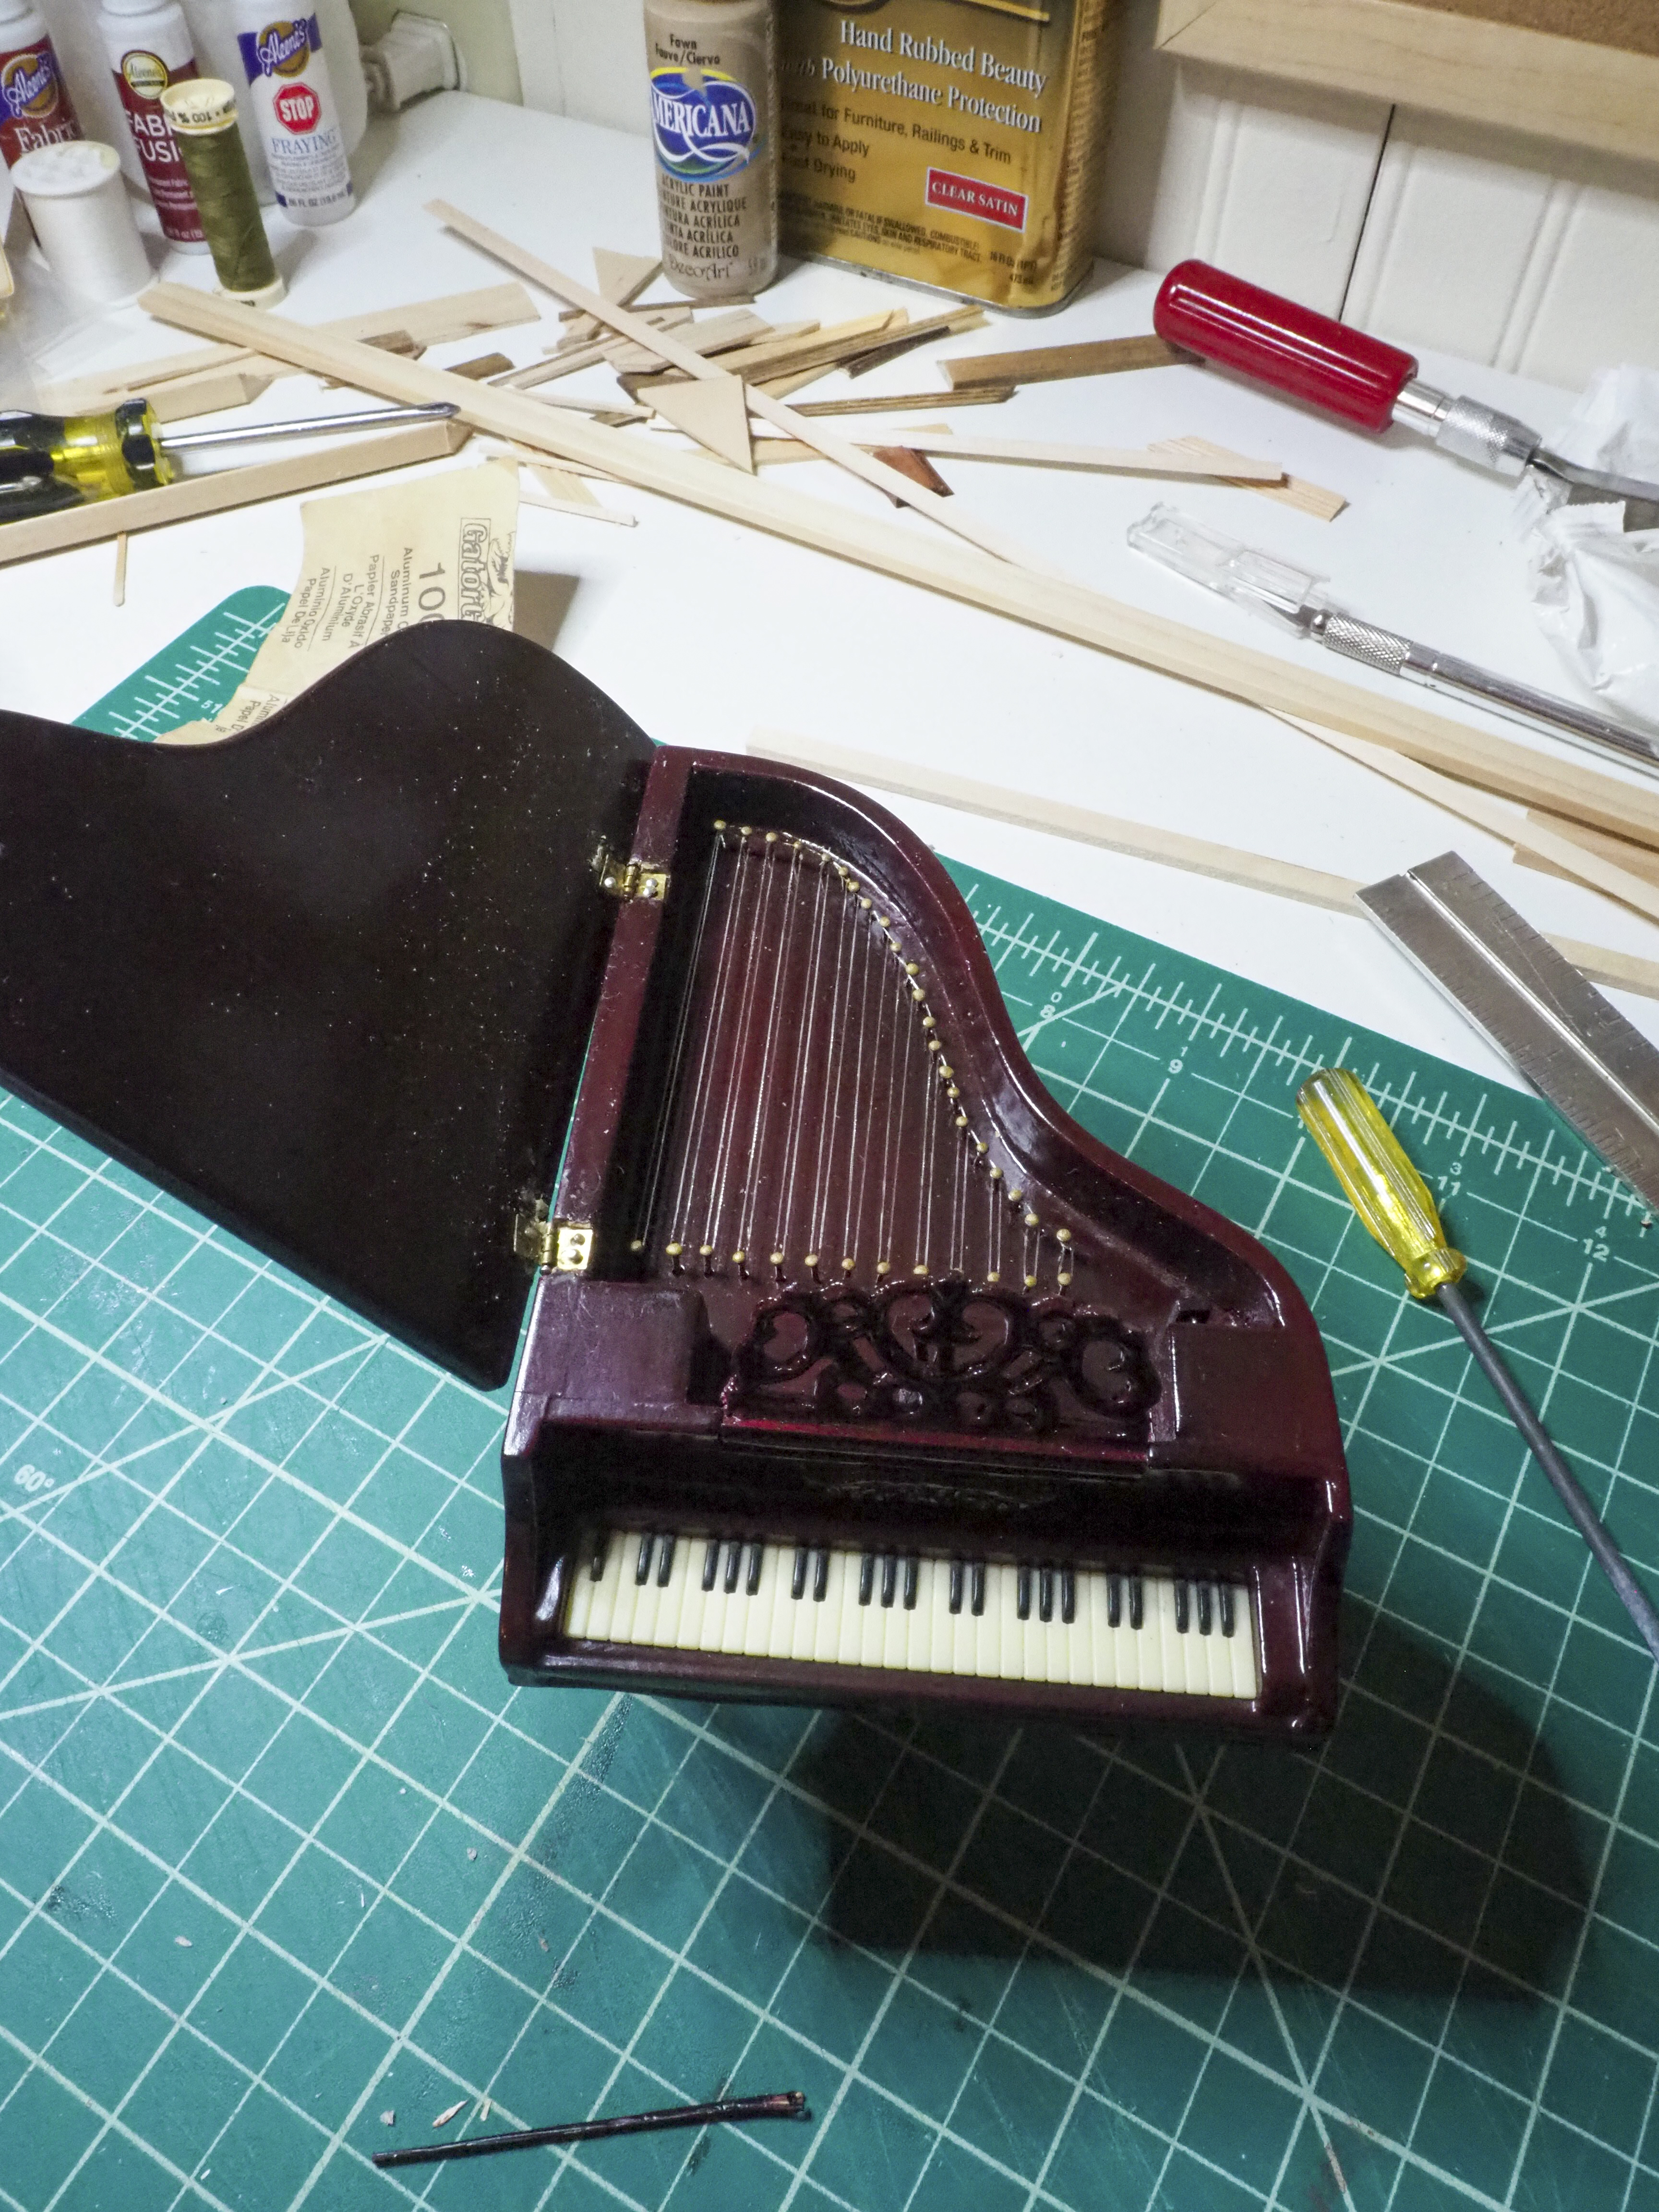
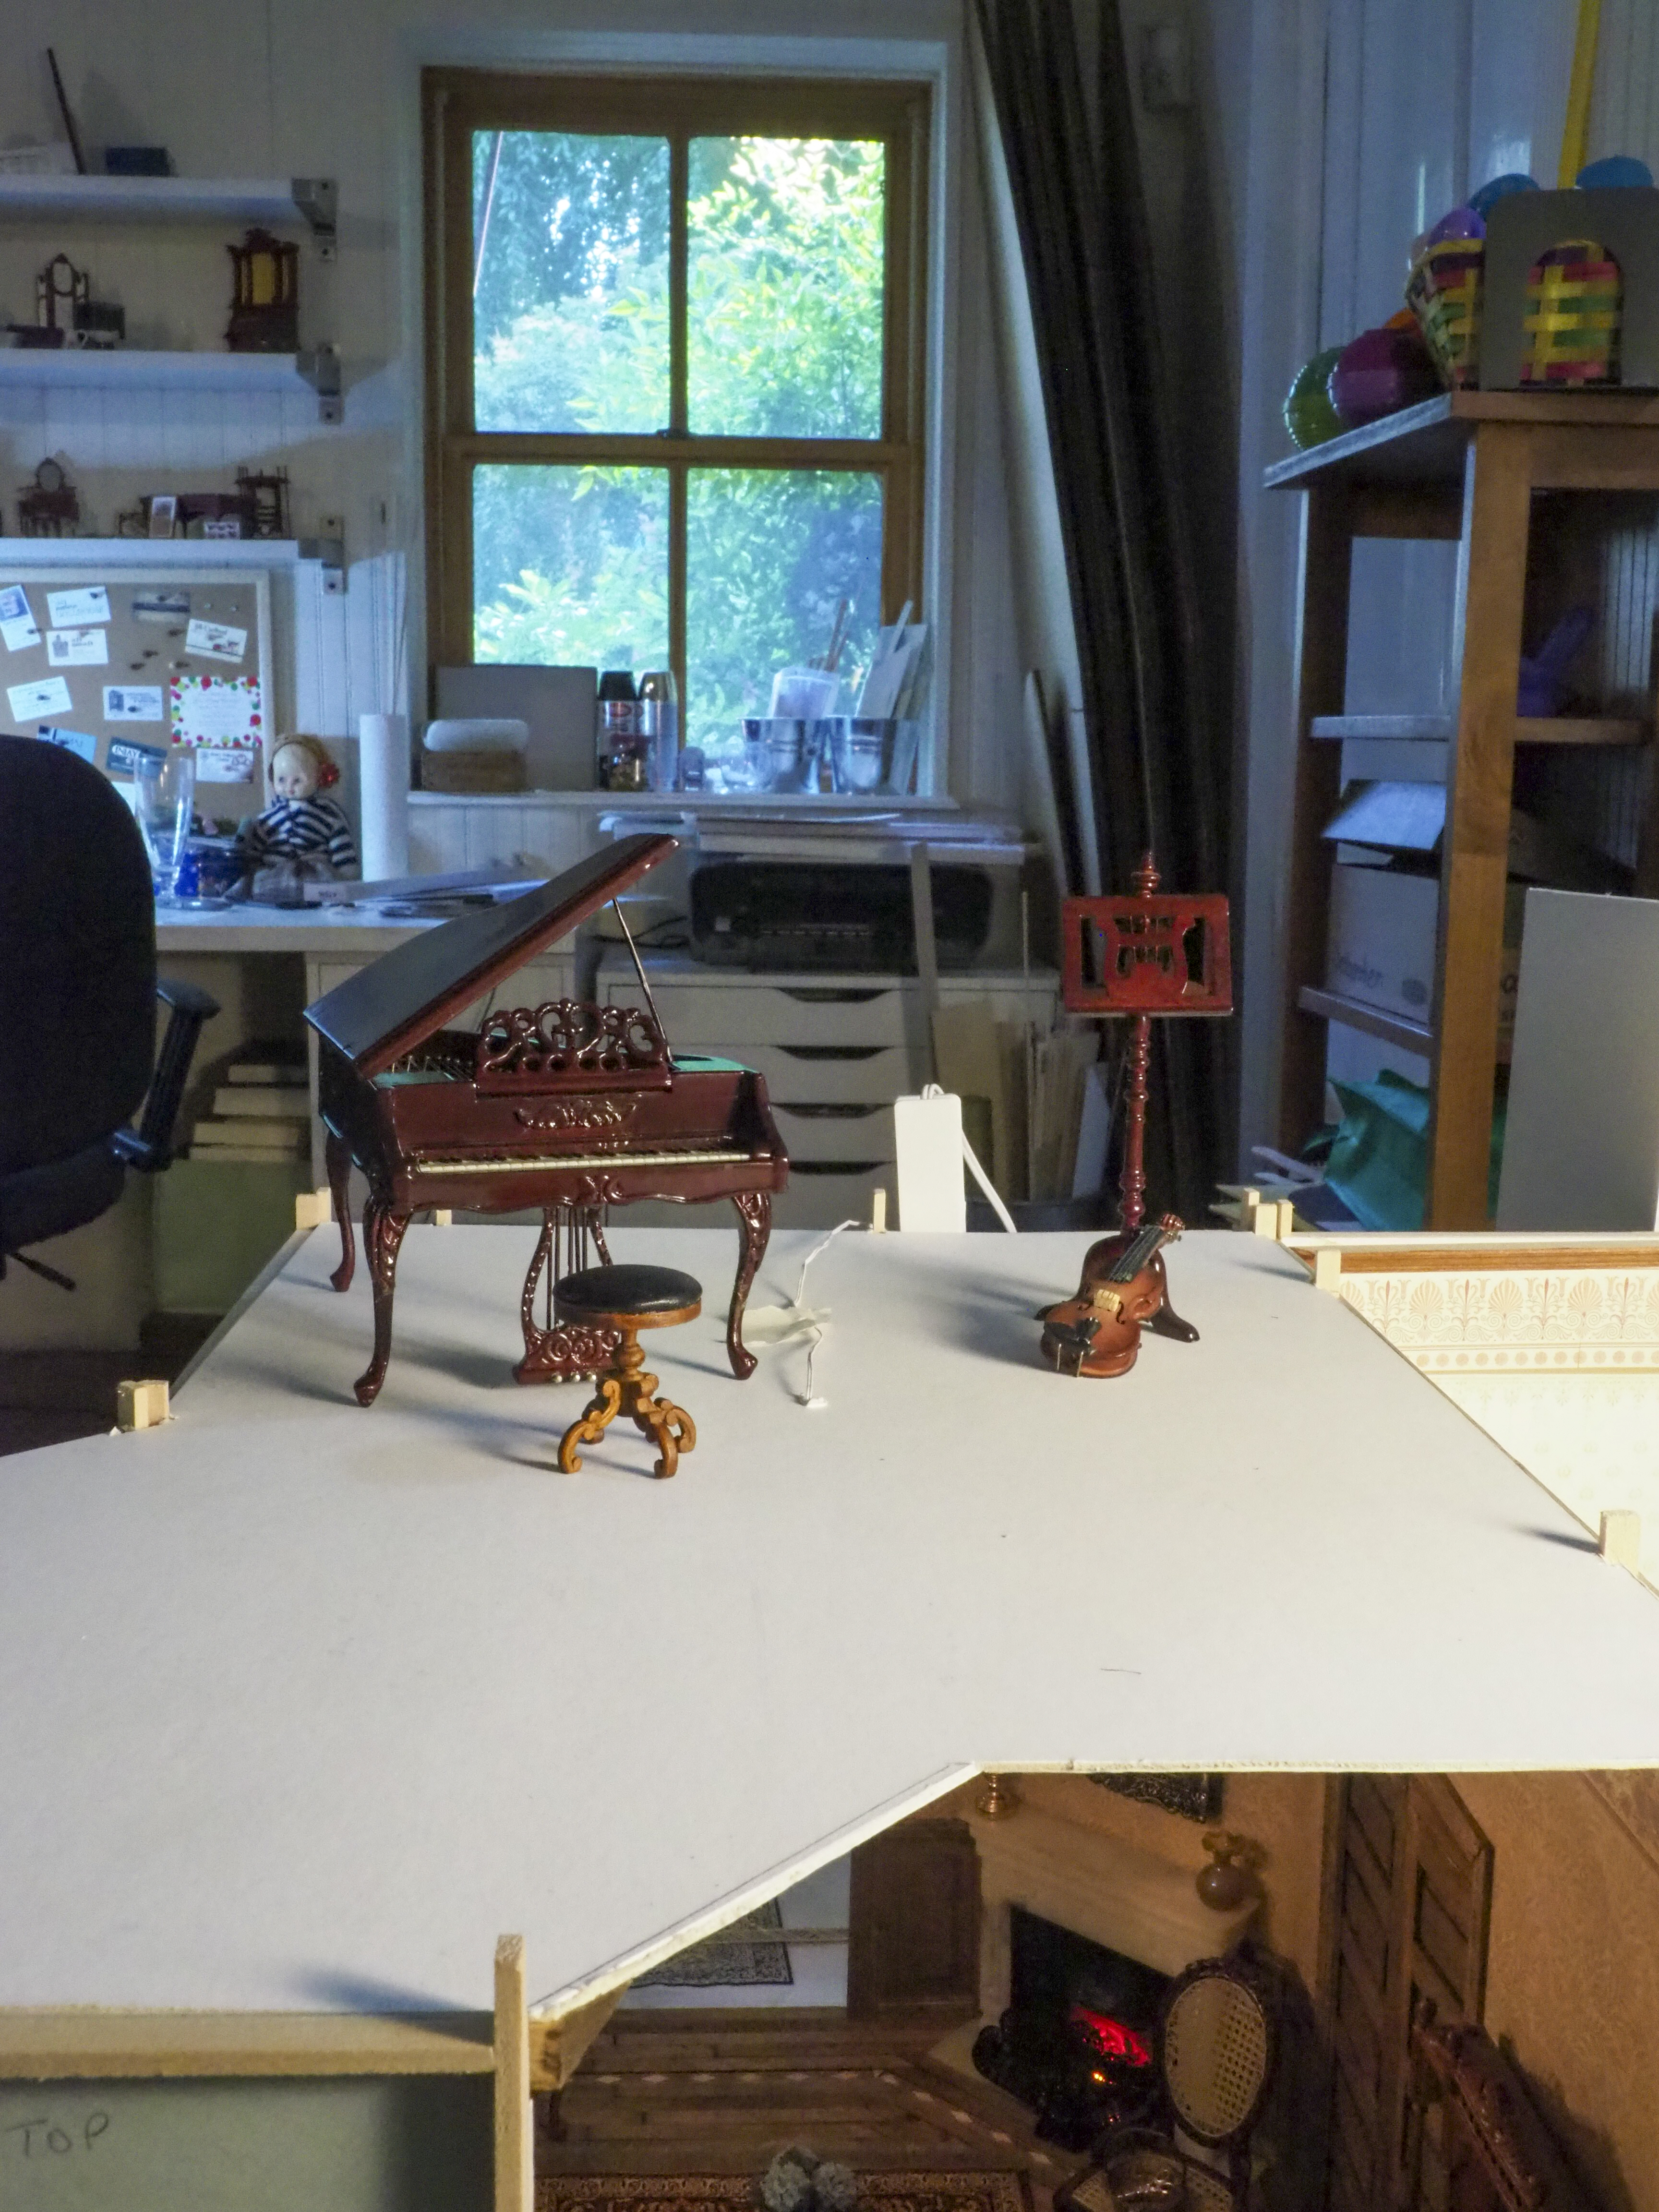
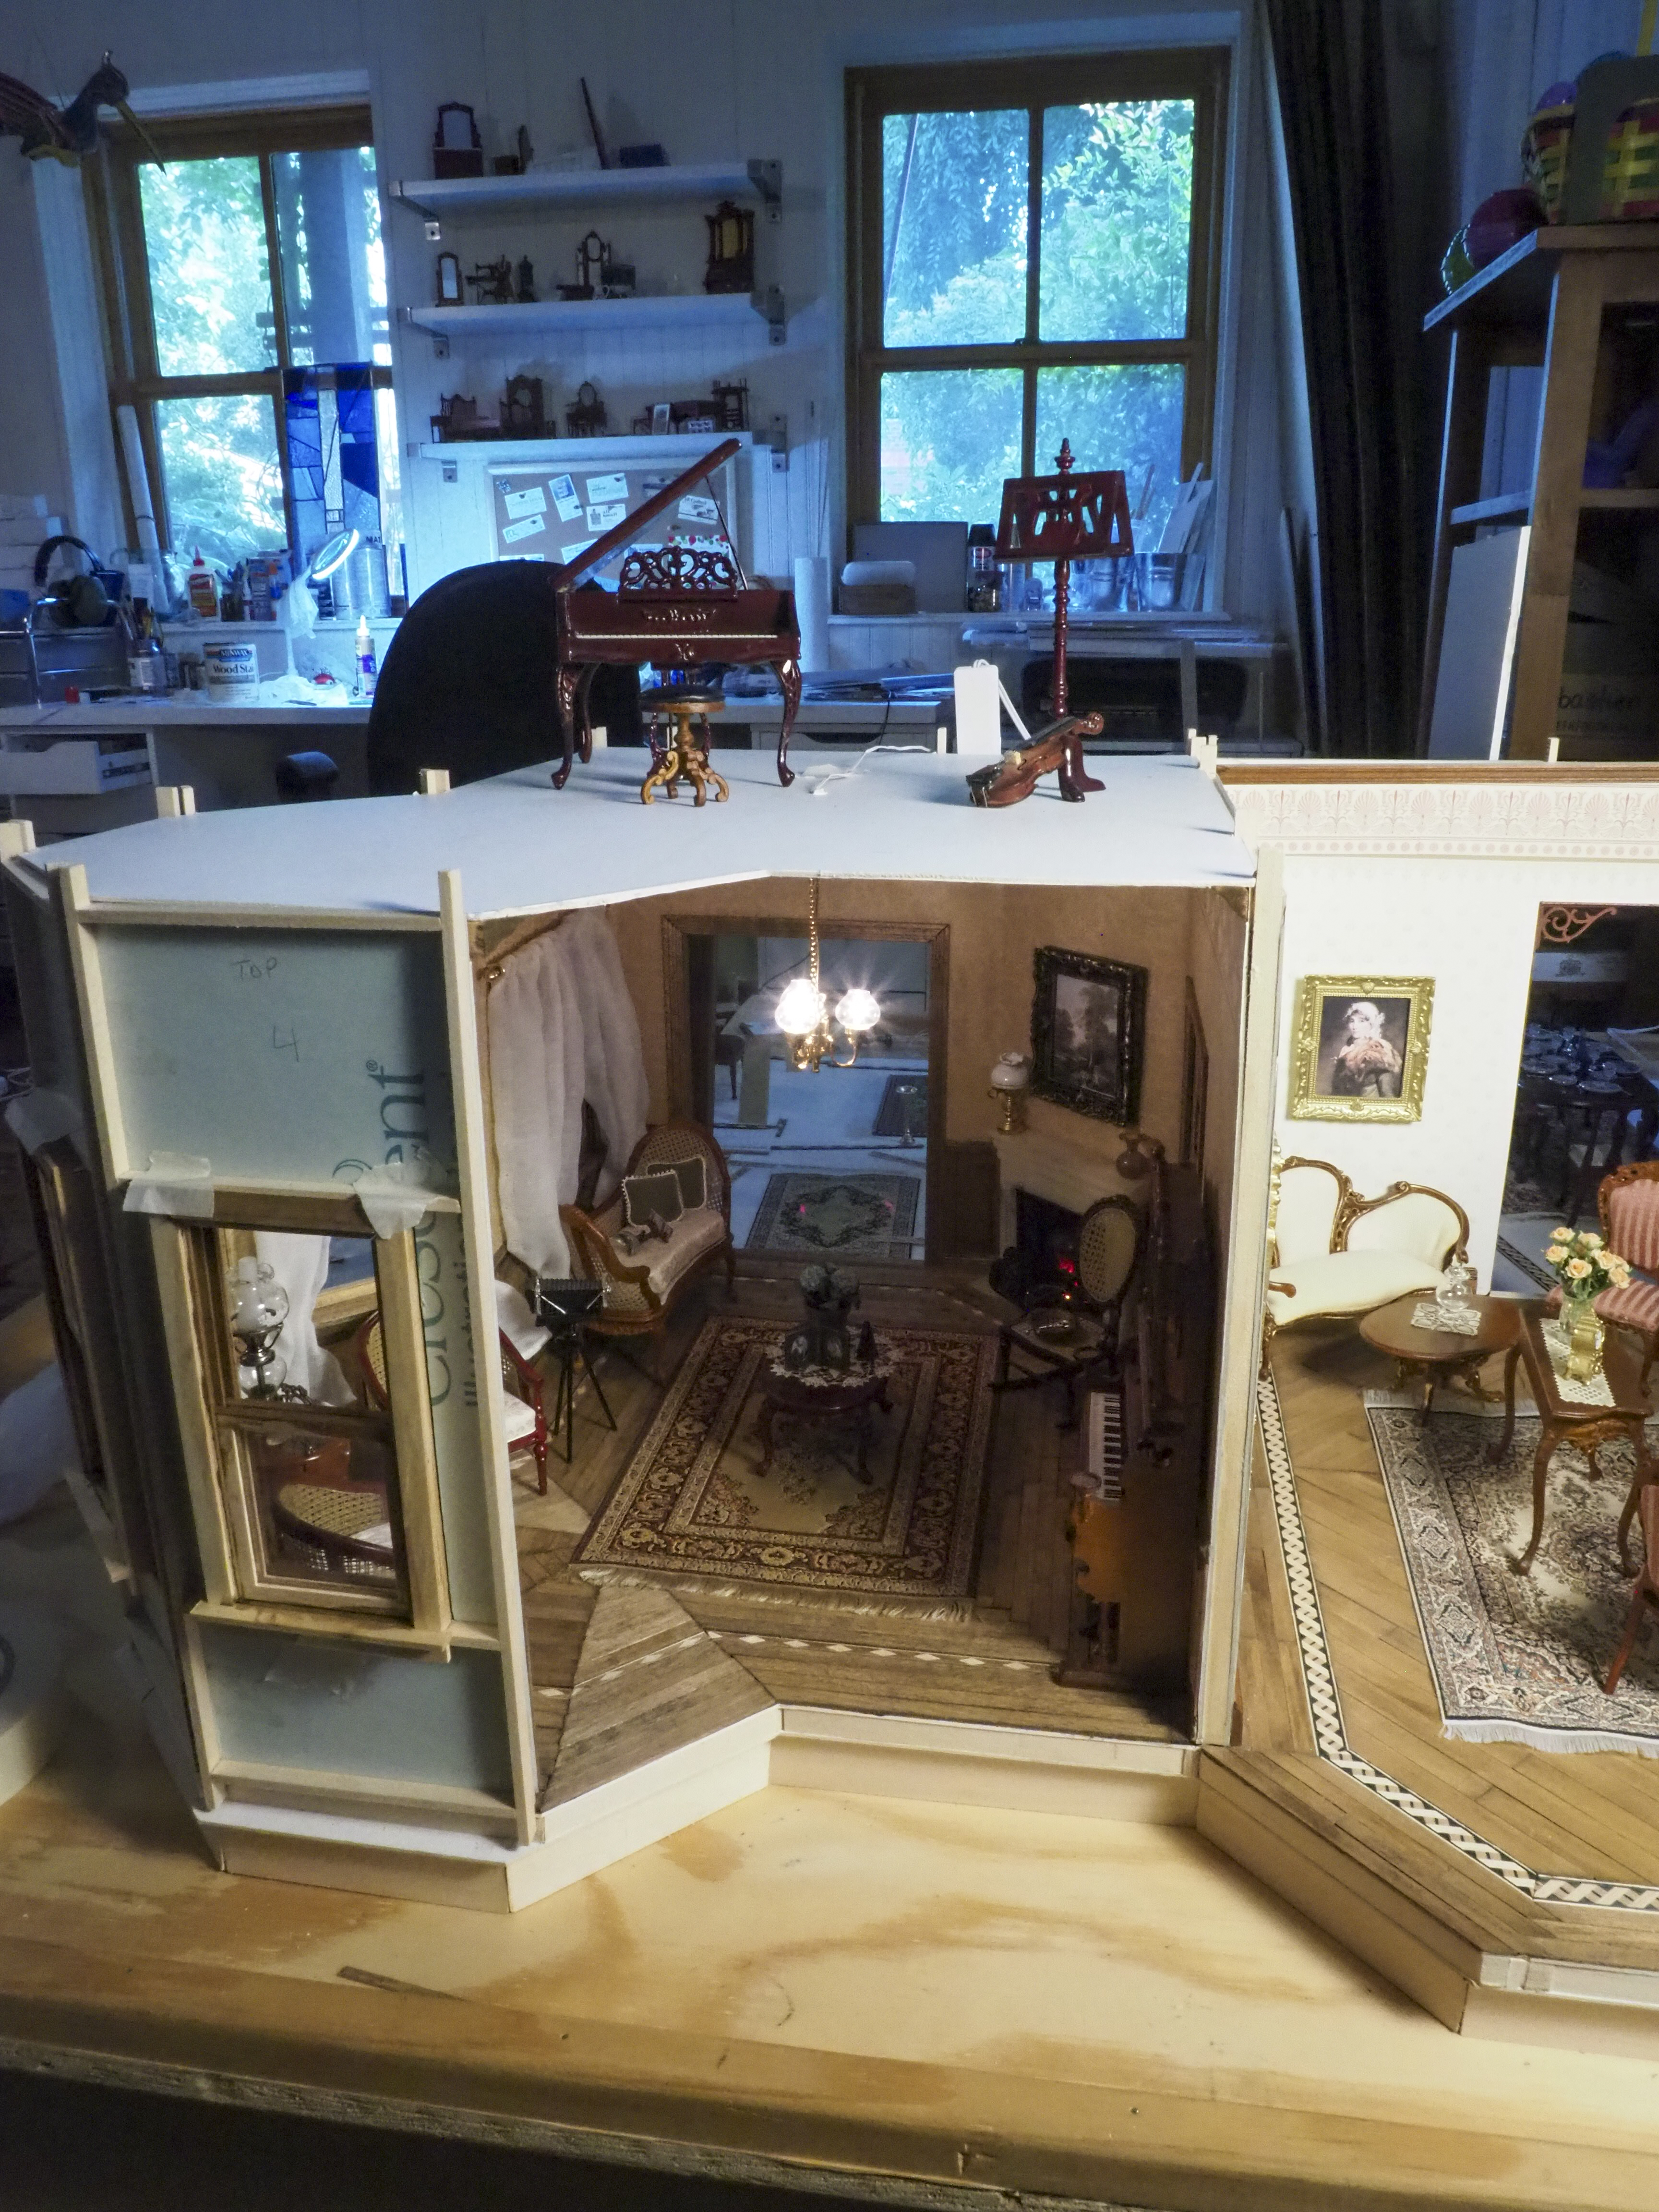
…as well as some furniture and musical instruments for the music room.

Time for bed. Good night.

Library paintings and more trim

Tags

, ,

Tonight I started by printing out some watercolor paintings by Louise Rayner, that will hang in the library. She was a British artist who produced watercolors of landscapes and cityscapes in England from around 1860 to 1910. The owner of this house has collected quite a handful for his library.

I taped them up to the walls to see the effect. I may use a couple smaller frames instead of the big one by the fireplace, but we’ll see.

Then I took some late-blooming roses which I had picked from the garden last week and allowed to dry.

I crushed up the petals and placed them in a tiny glass jar, to make a lovely potpourri.

I placed it on a whatnot in the corner of the drawing room. I also added a fan and a throw on the settee. Makes it look more lived-in already.

Then I started staining the trim for the front door. I needed to match the trim that was already around the door itself, so I tried out a new “Honey” stain I had bought for the purpose.

It seemed pretty close. (The original is on the bottom and the newly stained trim piece is on top.) So I started staining and then coating the trim with polyurethane. And then glued the trim into place, after widening the window areas so I could trap the “glass” between the front trim and the trim that would go behind it.

I also cut out acrylic panels for the “glass” windows. (I kept losing these every time I put them down somewhere because they were so clear….!)

Next I stained the edges of the illustration board just in case, so there would not be any white showing on the edges of the glass.

And I placed the doorway back onto the house.

It was getting late, so I didn’t have time to draw the “leaded” pattern on the window panes. So I’ll leave you with a close-up of some of the Louise Rayner paintings, as well as the collection of oddities that the owner has been slowly adding to the top of his bookshelves.

Good night.

Staircase

Tags

, ,

Probably no work on the dollhouse today since I’ve been battling migraines for the past 24 hours. But I did want to share an exciting addition that came in the mail today.

For a while, I’ve been putting off doing the entrance hall because I did not want to have to make the staircase (I wanted it to have fancy carvings and I don’t carve wood well at all). And so far, I’ve only found miniature staircases that look like “dollhouses” staircases, in that they don’t look realistic enough for what I wanted. But I recently ran into a company, Miniland in Canada, that makes the most amazing staircase. And so I ordered one and it just arrived…it exceeds all expectations!

The design means that I will have a lot of extra room under the staircase that I hadn’t planned on, so I’ve got some thinking to do.

It comes with a matching balustrade to go around the second floor opening, so I won’t have to match anything to it for that purpose.

So there’s the staircase issue completely resolved. On to other things next time I get to work.

Be well.

Transom and sidelights

Tags

, ,

Exhausting first week of school, so I didn’t do much tonight except dream and plan. One thing I decided was that since the only way we will be looking at the entrance hall will be through the front door, we would be able to see more easily if I added a transom and some sidelights. So I started cutting out the shapes for the sidelights.

These will be on each side of the front door.

Then I cut some trim which I will need to stain the same color as the trim around the doors.

And cut out the transom.

Then I doodled a bit to figure out what designs to add to the windows. Came up with something somewhat inspired by the design on the doors.

Placed some bricks on top for the full effect.

Not sure I like the designs on the sidelights. But I like the one in the transom.

Inserted the door with the cut openings into the house.

So we should be able to see the entrance hall through the sidelights…

…and through the windows in the doors.

That’s it for tonight. Sleep well.

New walls

Tags

, ,

Last night, I used what illustration board I had at home to start making walls for the last section of the first floor. I didn’t have much, so I only got a few done. Hopefully I’ll get some more in the mail soon.

First the entrance hall.

The staircase will go up the right side there. The door in back goes to the dining room. The right doorway goes to the sitting room. And the opening on the left goes to the library.

Then the library…

…and then the dining room.

There will be more walls in the front there, to make the bay window area. But that must wait for now.

And here’s the whole side together.

I received a fabulous room divider for the entrance to the music room on the second floor. Just placed it in to see how it will work.

So here’s the house for now…not very impressive from the outside since I haven’t gotten to that part yet…but you get a good overview. There will be a large porch across the front.

I would say goodnight, but I didn’t manage to get this posted last night…so be well.

Foundations

Tags

After a tiring first day of online schooling with my son, I wasn’t in the mood for finicky little tasks like making curtains and fixing up electric wires. So instead, I turned my attention to the first floor on other side of the house.

This will consist of three rooms. The entrance hall, with these imposing front doors and the staircase to the second floor.

The library, with its shelves full of books and a game of chess in progress.

And finally, the dining room, which will connect up with both the drawing room and the butler’s pantry.

First, the entire floor is missing its foundations, which will bring it up to the same level as the rest of the first floor. The electrical circuits for this section of the house (the house divides in three separate sections) will be stored under the foundations.

So I removed all the furniture and accessories. (The cutouts in the floor are where the walls will be…it helps them stand up better.)

Then I removed the floor section. I took the opportunity to peek from this side into the rooms I have been working on recently, the drawing room and the sitting room.

And also the butler’s pantry…

Then I cut out and glued in a foundation to the floor.

Of course, I completely forgot to leave an opening where I could access the power strip. So I had to cut that out after the glue was dry.

Placed everything back into the rooms…and voila! The section is at the correct level and ready for walls to be added.

That, however, will be for another day… good night.

Sitting room curtains again

Tags

, ,

Today I worked on finishing the sitting room curtains.

OLYMPUS DIGITAL CAMERA

Finished hemming and sewing all three of them.

OLYMPUS DIGITAL CAMERA

Started hanging them up.

OLYMPUS DIGITAL CAMERA

OLYMPUS DIGITAL CAMERA

OLYMPUS DIGITAL CAMERA

I also added a slither of wood behing the painting over the fireplace, so it would hang at a slight angle.

OLYMPUS DIGITAL CAMERA

And glued it up on the wall.

OLYMPUS DIGITAL CAMERA

Then I cut out two strips of green fabric to hang over the doorways somewhat like in this photo.

IMG_0015

OLYMPUS DIGITAL CAMERA

I glued the trim to the edge of the cloth.

OLYMPUS DIGITAL CAMERA

OLYMPUS DIGITAL CAMERA

Then started pleating the fabric to see how it would fall naturally.

OLYMPUS DIGITAL CAMERA

Tomorrow, I will have to pleat it correctly and see what I can do with it.

In the meantime, I took some photos of the sitting room with all the curtains up. From the outside…

OLYMPUS DIGITAL CAMERA

,,,and from the hallway side.

OLYMPUS DIGITAL CAMERA

I think in spite of the glue I put down the sides of the curtains, the curtains are a bit too billowy to look realistic. So I may need to use gluey water to pleat them a bit more.

But for now, good night.


Drawing room ceiling finished

Tags

, ,

I decided that gold was not the correct color for any cracks between the crown molding and the ceiling, so I repainted them all in a color resembling the crown molding.

OLYMPUS DIGITAL CAMERA

Then, after gluing on the rest of the ceiling paper and trim, I drilled a hole through the ceiling rosette, glued in the rosette and the chandelier, and painted the chandelier with brass-colored paint. (This keeps the light fixture from looking too shiny and fake.)

OLYMPUS DIGITAL CAMERA

Then I placed the ceiling back on.

OLYMPUS DIGITAL CAMERA

Next, I painted around the top of the wallpaper trim the same color, in case of cracks.

OLYMPUS DIGITAL CAMERA

Cut, stained and glued in half the crown molding…

OLYMPUS DIGITAL CAMERA

…and then the other half. I also glued in the mantle piece. And emptied out the room in order to brush out any leftover construction dust.

OLYMPUS DIGITAL CAMERA

OLYMPUS DIGITAL CAMERA

Glued the ceiling onto the room, and weighted it down with whatever I had at hand.

OLYMPUS DIGITAL CAMERA

That will dry thoroughly overnight. But for now, here is the drawing room.

OLYMPUS DIGITAL CAMERA

The light in the fireplace is hanging too high up because the wires are too short, so I will need to rewire those. There will soon be a fern on the plant stand. Plus, that cabinet will need to be filled with plenty more knickknacks…

OLYMPUS DIGITAL CAMERA

..as well as some stuff on the tables. And perhaps a shawl draped over a chair… And I still need to make a curtain for the window.

OLYMPUS DIGITAL CAMERA

But for now, goodnight.


Ceiling and odds and ends

Tags

, ,

Today, I realized that embroidery floss would make a perfectly-sized ball of yarn for the house. So here’s the knitting basket completed.

OLYMPUS DIGITAL CAMERA

Then there was a little crack between the drawing room floor and the door to the servant’s quarters, because the hardwood floor was lower than the doorstep.

OLYMPUS DIGITAL CAMERA

So I filled that in with a tiny piece of wood.

OLYMPUS DIGITAL CAMERA

Then I remembered that the middle boards of the sitting room floor, although stained and laid in place, were never actually glued down. So I did that.

OLYMPUS DIGITAL CAMERA

And then there was the chair rail that was never finished in the octagonal part of the room. So I worked on that, using a carefully placed mirror to see what I was doing.

OLYMPUS DIGITAL CAMERA

OLYMPUS DIGITAL CAMERA

So the chair rail has been completed now.

OLYMPUS DIGITAL CAMERA

OLYMPUS DIGITAL CAMERA

I still have three window curtains to make for that corner, and a couple draperies for over the doorways and I will be “finished” with the sitting room for now.

But instead of doing this,  I got back to the drawing room ceiling. Finished the photoshop version of the ceiling and printed it out in pieces. Then cut them out rather roughly and laid them down.

OLYMPUS DIGITAL CAMERA

Then I cut out the corner patterns carefully.

OLYMPUS DIGITAL CAMERA

And laid everything out again.

OLYMPUS DIGITAL CAMERA

I was almost done gluing everything together when I accidentally got some gold paint on the paper itself, so I had to pull the trangle section out.

OLYMPUS DIGITAL CAMERA

I’ll redo that tomorrow, as well as glue in the trim on the bottom part in the photo.

But for now, good night.


New Goodies

Tags

, ,

Miniature-in-the-mail days are always exciting days!  Today, all this was waiting on the front porch when I went out this morning.

OLYMPUS DIGITAL CAMERA

First, a tiny hydrangea bush for the sitting room table.

OLYMPUS DIGITAL CAMERA

Then a tiny basket that is much more in proportion to the rocking chair. It will contain some balls of yarn, when I find small enough yarn.

OLYMPUS DIGITAL CAMERA

Then a fabulous grand piano, which I got at a crazy low price because the feet and the pedal board had been broken before.

OLYMPUS DIGITAL CAMERA

I glued everything back together carefully.

OLYMPUS DIGITAL CAMERA

The music holder lifts up, and the piano even has tiny strings inside!!!

OLYMPUS DIGITAL CAMERA

I fixed the stick for the lid and propped it open.

OLYMPUS DIGITAL CAMERA

Then I placed it on top of the sitting room, where the music room will be.

OLYMPUS DIGITAL CAMERA

OLYMPUS DIGITAL CAMERA

It’ll fit perfectly into the room. Can’t wait to get to there when I’m done with this part of the first floor.

OLYMPUS DIGITAL CAMERA

I also received a couple doors, which I was hoping to turn into the sliding doors between the drawing room and the living room.

OLYMPUS DIGITAL CAMERA

Popped the door out of the frame.

OLYMPUS DIGITAL CAMERA

Placed it in the doorway…the doors are too short, but they should work fine.

OLYMPUS DIGITAL CAMERA

(My son decided Anna needed ot rest on the sofa in the drawing room….she fits pretty well, actually!)

OLYMPUS DIGITAL CAMERA

Still needed to add a threshhold for the doors to slide on.

OLYMPUS DIGITAL CAMERA

Stained that and rounded the edges, so no one would trip on it.

OLYMPUS DIGITAL CAMERA

Then I added wood to the top of each door.

OLYMPUS DIGITAL CAMERA

Sanded them together, and then stained them, a different stain on each side.

OLYMPUS DIGITAL CAMERA

And inserted them between the walls. (The following photo is taken through the drawing room window, since the angle is better.)

OLYMPUS DIGITAL CAMERA

I still need to add handles, but for now you can already pull them shut and push them open easily.

OLYMPUS DIGITAL CAMERA

(I just noticed in the photo that I need to fix the stain around the crack at the top of the door on this side….I’ll do that later.)

I also received the door trim I was waiting for, so I started in on the rest of the trim in the drawing room.

OLYMPUS DIGITAL CAMERA

Finished the trim around the window.

OLYMPUS DIGITAL CAMERA

OLYMPUS DIGITAL CAMERA

And that will do for tonight.

OLYMPUS DIGITAL CAMERA

Good night.