Tearing up the floorboards

Tags

, ,

Just a quick post tonight…started tearing up the floorboards that were off-kilter in the nursery.

OLYMPUS DIGITAL CAMERA

Which tore up most of the black paint under them…so I repainted that part of the floor.

OLYMPUS DIGITAL CAMERA

I think next time I’ll start by drawing the pattern on the sub-floor and then I’ll try being a lot more careful when measuring and cutting the wood slats as well as when I line them up and glue them in.

But for now…good night.

House assessment

Tags

, ,

Thought I’d take a few minutes to step back and see where I was with the house.

So here’s a 360 degree view of what I have so far in proportion to the room around it (everyone who has seen it in real life has commented on how small it looks compared to the blog photos):

OLYMPUS DIGITAL CAMERA

OLYMPUS DIGITAL CAMERA

This is where the rest of the house will be hooked up (dining room on the left, back stairs and food pantry on the right, upstairs hallway on top). The nursery will, of course, have another wall to finish it off.

OLYMPUS DIGITAL CAMERA

OLYMPUS DIGITAL CAMERA

5

OLYMPUS DIGITAL CAMERA

OLYMPUS DIGITAL CAMERA

This is where you can really see how the downstairs floor is angled inward and where I had to add slivers of wood to make the second floor level. Luckily the back siding will cover all this and you won’t be able to tell.

7

OLYMPUS DIGITAL CAMERA

OLYMPUS DIGITAL CAMERA

Compared with where it was two months ago (https://cider12.wordpress.com/2013/02/07/second-floor-walls/), I feel like I’ve been chugging along pretty well, in spite of a busy work schedule and several trips to Philly.

Now to finish the nursery (it’s still missing a wall, the floor boards, the base boards, the wallpaper trim, and a ceiling) and then I can get to work on the back siding and the rooftop for this section…

Good day!

Upstairs hallway finished

Tags

, ,

Did the last bits of the hallway tonight.

OLYMPUS DIGITAL CAMERA

Created the final wall, printed the paper for it, and cut out the wainscoting and trim.

OLYMPUS DIGITAL CAMERA

Took a little time on the side to create an old box of soap (based on a photo I found online) for the scullery.

OLYMPUS DIGITAL CAMERA

OLYMPUS DIGITAL CAMERA

Stained the pieces for the wainscoting and glued them on the wall.

OLYMPUS DIGITAL CAMERA

Propped the final wall in place and took a slightly blurry photo from above the hallway…

OLYMPUS DIGITAL CAMERA

…and then glued the wall in.OLYMPUS DIGITAL CAMERA

This is basically the view of the back hallway that will be seen from the other end of a long hallway that will stretch to the front of the house.

OLYMPUS DIGITAL CAMERA

OLYMPUS DIGITAL CAMERA

Next I cut out a new ceiling (the original one didn’t fit correctly anymore) and gave it several coats of paint.

OLYMPUS DIGITAL CAMERA

Glued it in…

OLYMPUS DIGITAL CAMERA

OLYMPUS DIGITAL CAMERA

OLYMPUS DIGITAL CAMERA

…and took a few photos of what the hallway looked like through the doorways of the surrounding rooms.

OLYMPUS DIGITAL CAMERA

OLYMPUS DIGITAL CAMERA

OLYMPUS DIGITAL CAMERA

On to the nursery next…but for now, good night.

Hallway wainscoting

Tags

, ,

More work on the hallway tonight…decided I liked the wainscoting after all.

OLYMPUS DIGITAL CAMERA

The pattern is made of several pieces, all of which needed measuring, cutting, staining and gluing…

OLYMPUS DIGITAL CAMERA

OLYMPUS DIGITAL CAMERA

Had to become a bit creative on the corner piece, as well as with the right-hand wall, so it would fit right…

OLYMPUS DIGITAL CAMERA OLYMPUS DIGITAL CAMERA

OLYMPUS DIGITAL CAMERA

Added a few details, like a lamp…

OLYMPUS DIGITAL CAMERA

OLYMPUS DIGITAL CAMERA

…and the doorknob on the nursery door…and then I laid the ceiling on top.

OLYMPUS DIGITAL CAMERA

Now this is the funny part–or maybe the part where you’ll think I’m a  little nuts–tomorrow, before I glue the ceiling on permanently, I need to make the final wall for the hallway…which is going to cover up almost all of this except the top of the stairs.

So no one is ever going to see this corner of the hallway…except by peeping around corners through open doors…

OLYMPUS DIGITAL CAMERA

Yeah….just a little on the crazy side…but then, if I hadn’t finished it perfectly–even if nobody ever saw it–I would still KNOW it wasn’t finished…and it would bug me forever.

Good night.

Hallway walls

Tags

, ,

Back to the upstairs hallway tonight…

OLYMPUS DIGITAL CAMERA

I re-sized the wallpaper so it was no longer over-sized as in the old example on the right.

OLYMPUS DIGITAL CAMERA

Hallway wallpaper

Clipped it on the wall and decided the proportions were right this time.

OLYMPUS DIGITAL CAMERA

So I measured all the different wall pieces, cut out holes for the doorways, and glued the pieces all on.

OLYMPUS DIGITAL CAMERA

Still playing with the design of the wainscoting, so I held these up against the wall to see what I thought….

OLYMPUS DIGITAL CAMERA

Not sure, so maybe I’ll sleep on it tonight and come back to it tomorrow.

And so…good night.

Bathroom finished

Tags

, ,

Back to the bathroom tonight…

OLYMPUS DIGITAL CAMERA

Made a roller-shade for the window:

OLYMPUS DIGITAL CAMERA

It’s not fixed in permanently, since the window won’t be glued in until I add the siding to the outside. But here’s where it will go:

OLYMPUS DIGITAL CAMERA

Added the ceiling lamp…

OLYMPUS DIGITAL CAMERA

…trimmed the ceiling correctly and glued it on.

OLYMPUS DIGITAL CAMERA

As I was working, a little face peeked around my paint bottles…

OLYMPUS DIGITAL CAMERA

OLYMPUS DIGITAL CAMERA

Every house needs a cat, right?

OLYMPUS DIGITAL CAMERA

Plugged the cracks with wood putty and painted the rest of the ceiling.

OLYMPUS DIGITAL CAMERA

Which leaves the bathroom like this.

OLYMPUS DIGITAL CAMERA OLYMPUS DIGITAL CAMERA OLYMPUS DIGITAL CAMERA

Then I noticed the blue I had used was slightly darker than the one I had originally used. So I repainted the walls and ceiling completely.

OLYMPUS DIGITAL CAMERA

I’d like to build a Victorian shower with exposed pipes on the wall in the middle of the bathtub. And the room needs more clutter. But for now, I’m considering it done.

Five rooms down…seventeen to go.

Good night.

Bathroom details

Tags

, ,

Tonight I put the plates and door knobs on the bathroom door.

OLYMPUS DIGITAL CAMERA

Then I took the window frame apart and painted the outside trim…

OLYMPUS DIGITAL CAMERA

…and cut, stained, and glued on some inside trim, as well as a windowsill.

OLYMPUS DIGITAL CAMERA

Added the window back in…

OLYMPUS DIGITAL CAMERA

…and laid the ceiling on top (still needs to be trimmed and glued and painted).

OLYMPUS DIGITAL CAMERA

The power strip I want is still on back order, so I can only light one of the lamps up at a time for now…

OLYMPUS DIGITAL CAMERA

…but this side of the back of the house is starting to look like a real home.

OLYMPUS DIGITAL CAMERA

Good night.

In the bathroom mirror

Tags

, ,

Went back to working on the bathroom walls tonight.

OLYMPUS DIGITAL CAMERA

First, I glued in the last dado.

OLYMPUS DIGITAL CAMERA

Got the wall tiles and trim ready and put them on, stringing the electrical wires through them.

OLYMPUS DIGITAL CAMERA OLYMPUS DIGITAL CAMERA

Got the sliver of tiles done in the corner by the door…

P3273875_6_7_8_9

…and added the door trim.

OLYMPUS DIGITAL CAMERA

After a lot of wiggling and struggling, I got the wires for the first sconce through the wall and out one of the little holes on the top…

OLYMPUS DIGITAL CAMERA

…and then the second one.

OLYMPUS DIGITAL CAMERA

Then I glued a tiny piece of foam on the back of the mirror so it would be angled downward when I hung it…

OLYMPUS DIGITAL CAMERA

Hung the mirror and put the rest of the bathroom fixtures back in.

OLYMPUS DIGITAL CAMERA

I still need to finish the window frame, add a window shade, and glue on the ceiling…

OLYMPUS DIGITAL CAMERA

But I’m almost done with this room…

OLYMPUS DIGITAL CAMERA

…and it’s fun to create a reflection of an over-sized face in the mirror (I’ll just have to remember to look a little less tired next time…)

OLYMPUS DIGITAL CAMERA

Good night.

Linen closet finished

Tags

, ,

Added the finishing touches to the linen closet this evening.

First the back plates for the door handles…

OLYMPUS DIGITAL CAMERA

Then the door knobs went on and I added more towels and linens…

OLYMPUS DIGITAL CAMERA

I added trimming to the sheets and towels, which made them look instantly more refined…

OLYMPUS DIGITAL CAMERA

OLYMPUS DIGITAL CAMERA

Including the towel in the bathroom…

OLYMPUS DIGITAL CAMERA

I will probably add a hatbox or two on that top shelf, but for now, I am officially declaring this tiny room done.

OLYMPUS DIGITAL CAMERA

So four rooms down, and eighteen to go…

Good night.

Linen closet details

Tags

, ,

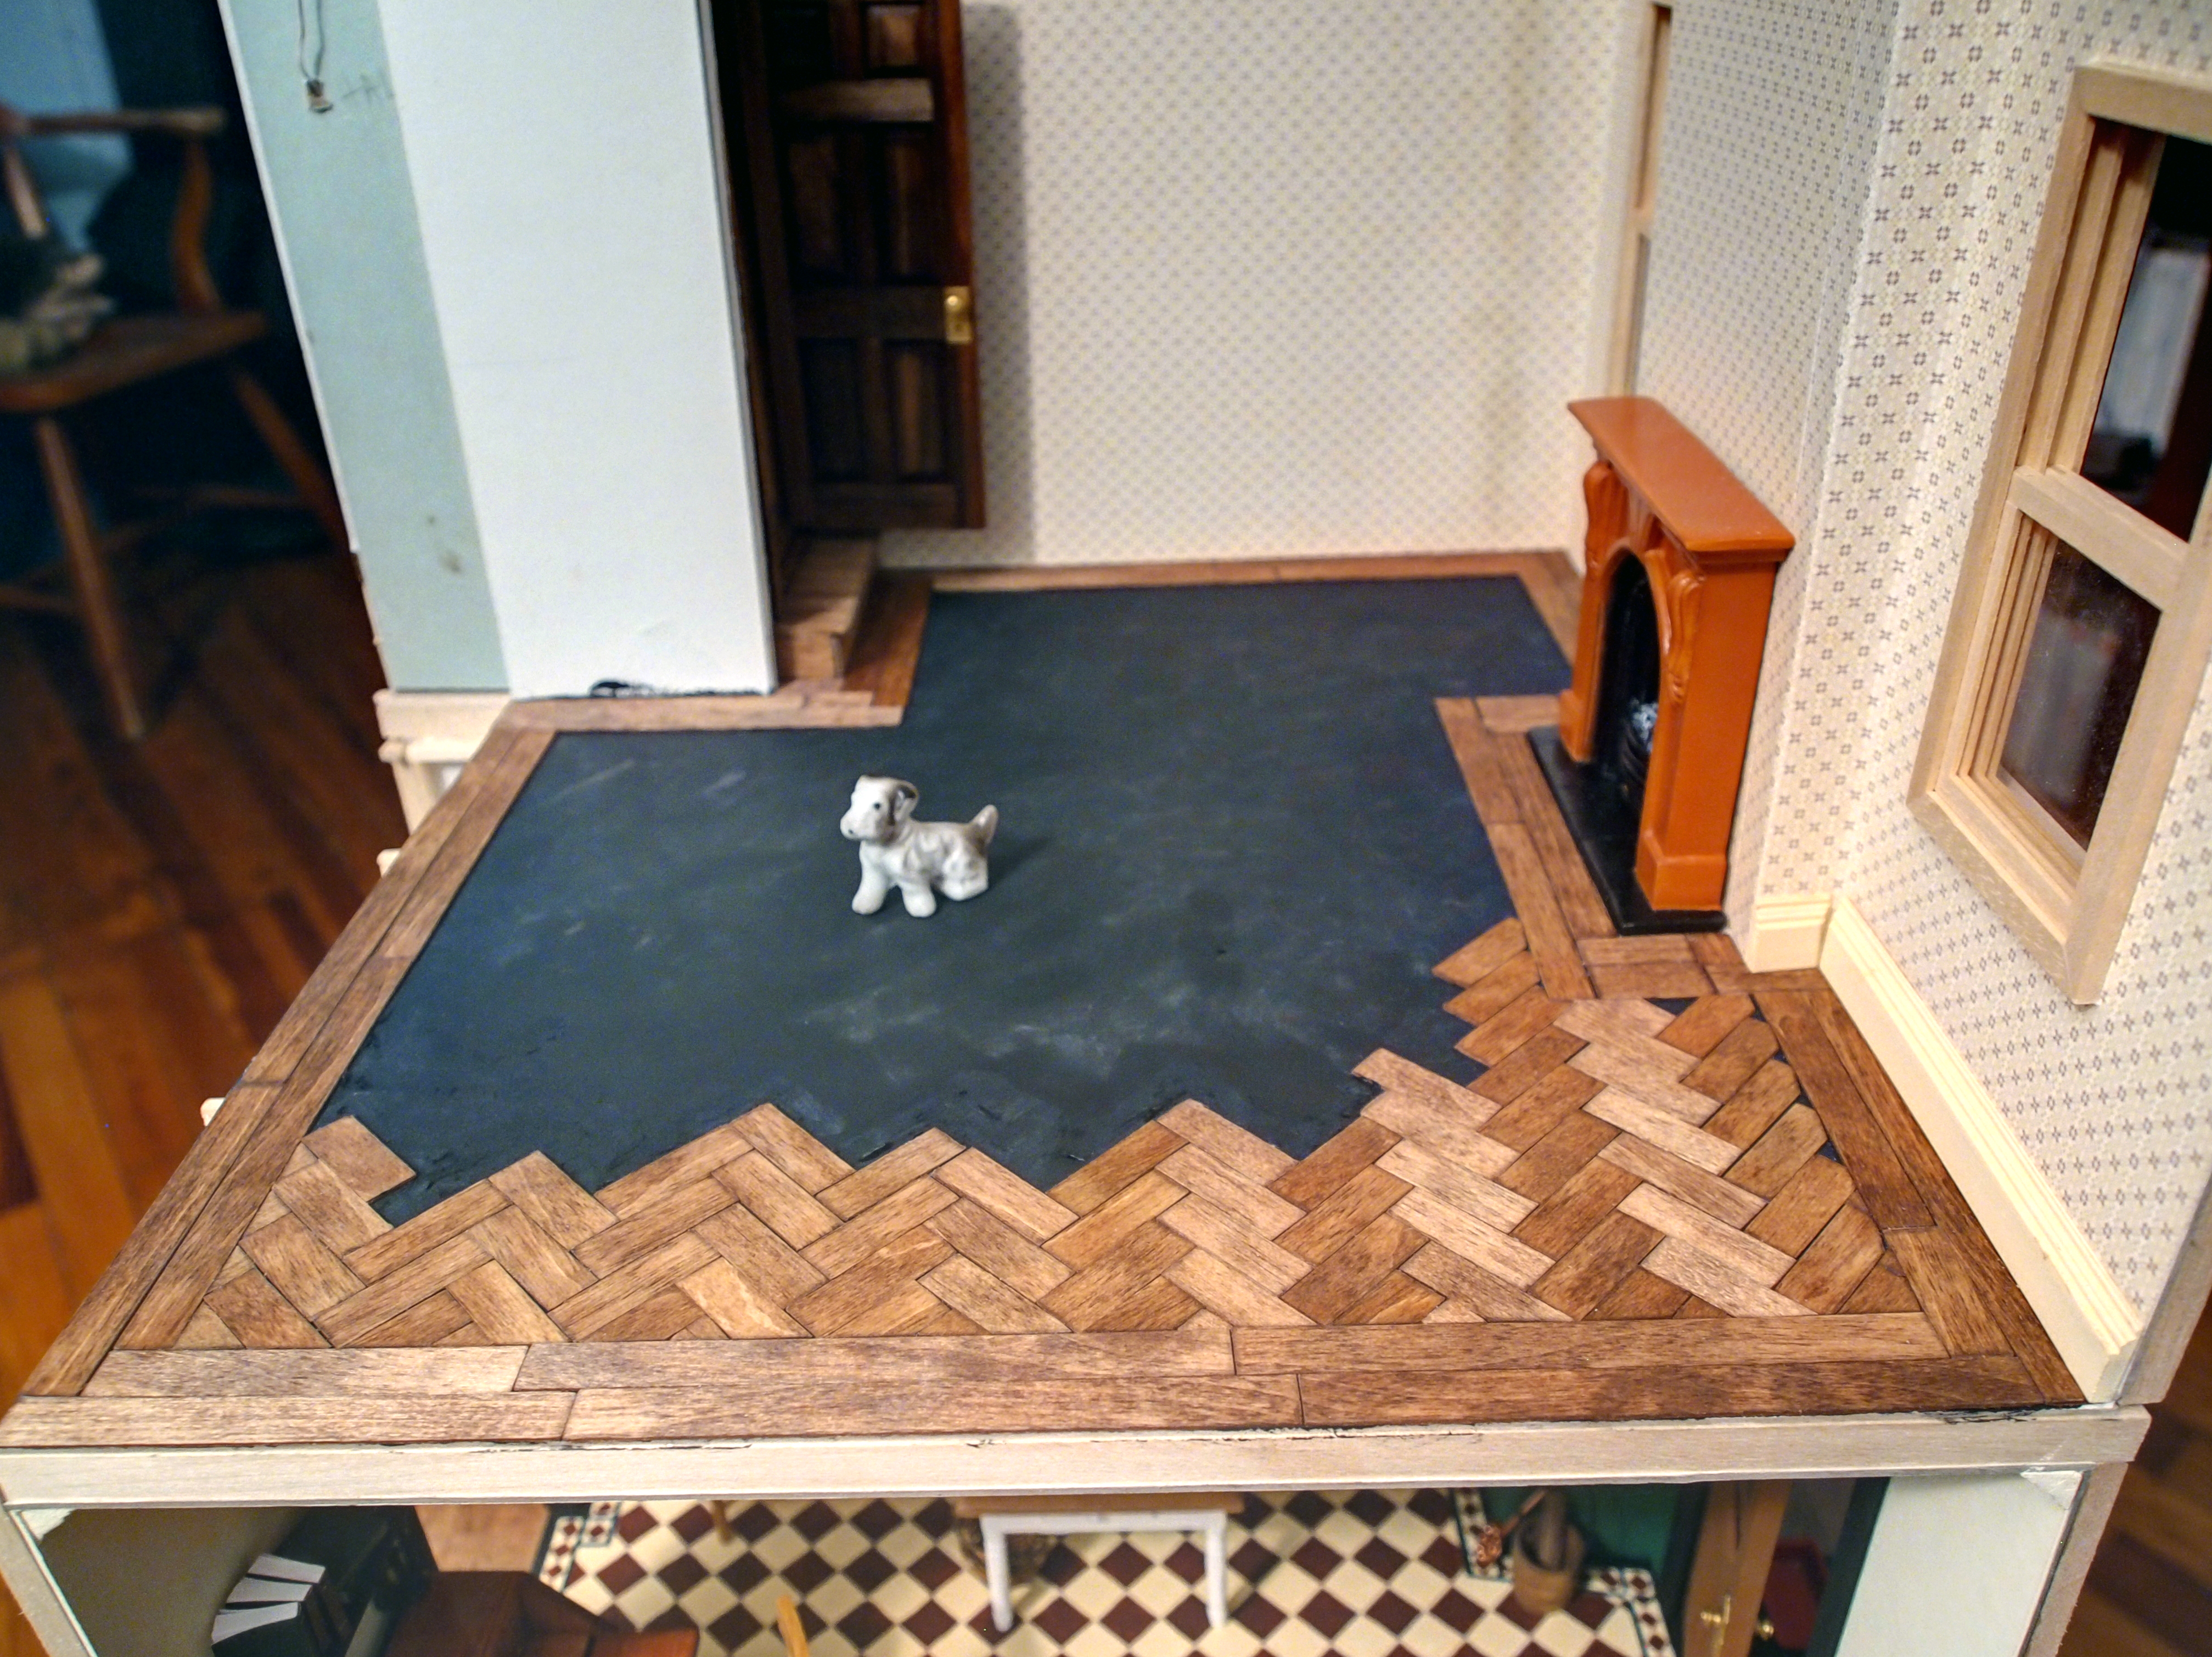
Decided to let the nursery floor problems rest for a little while and went back to the linen closet tonight.

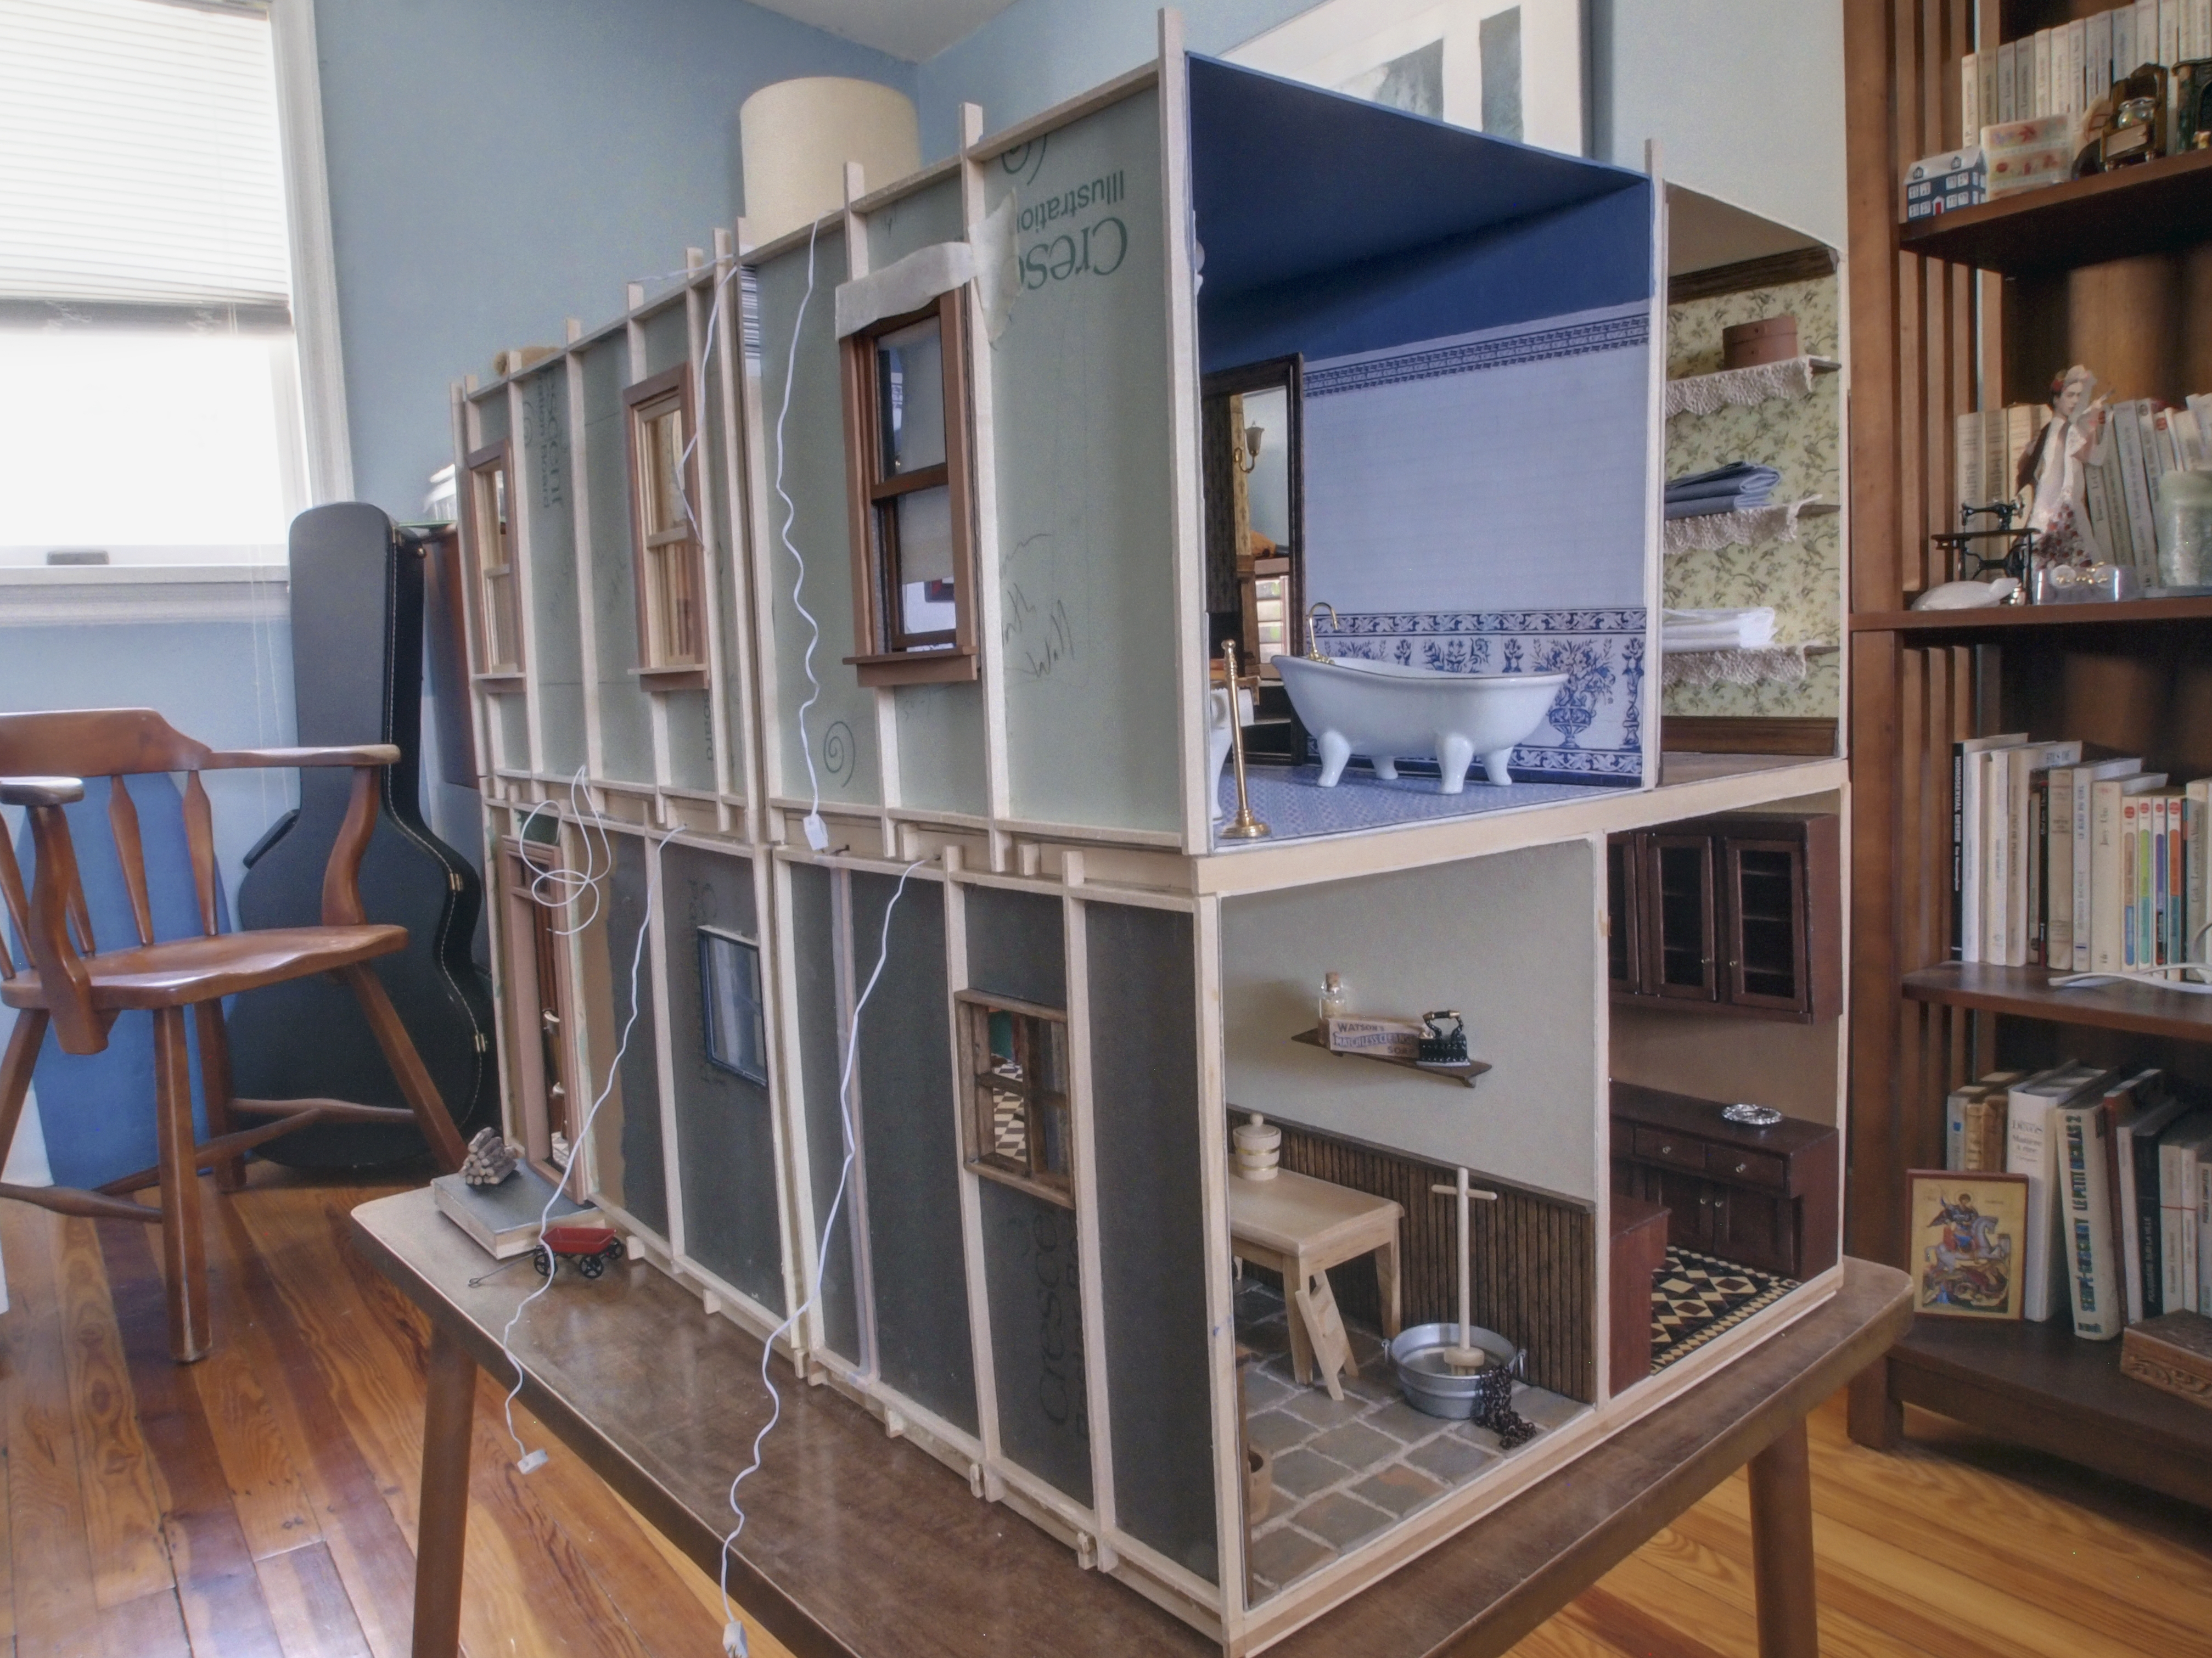
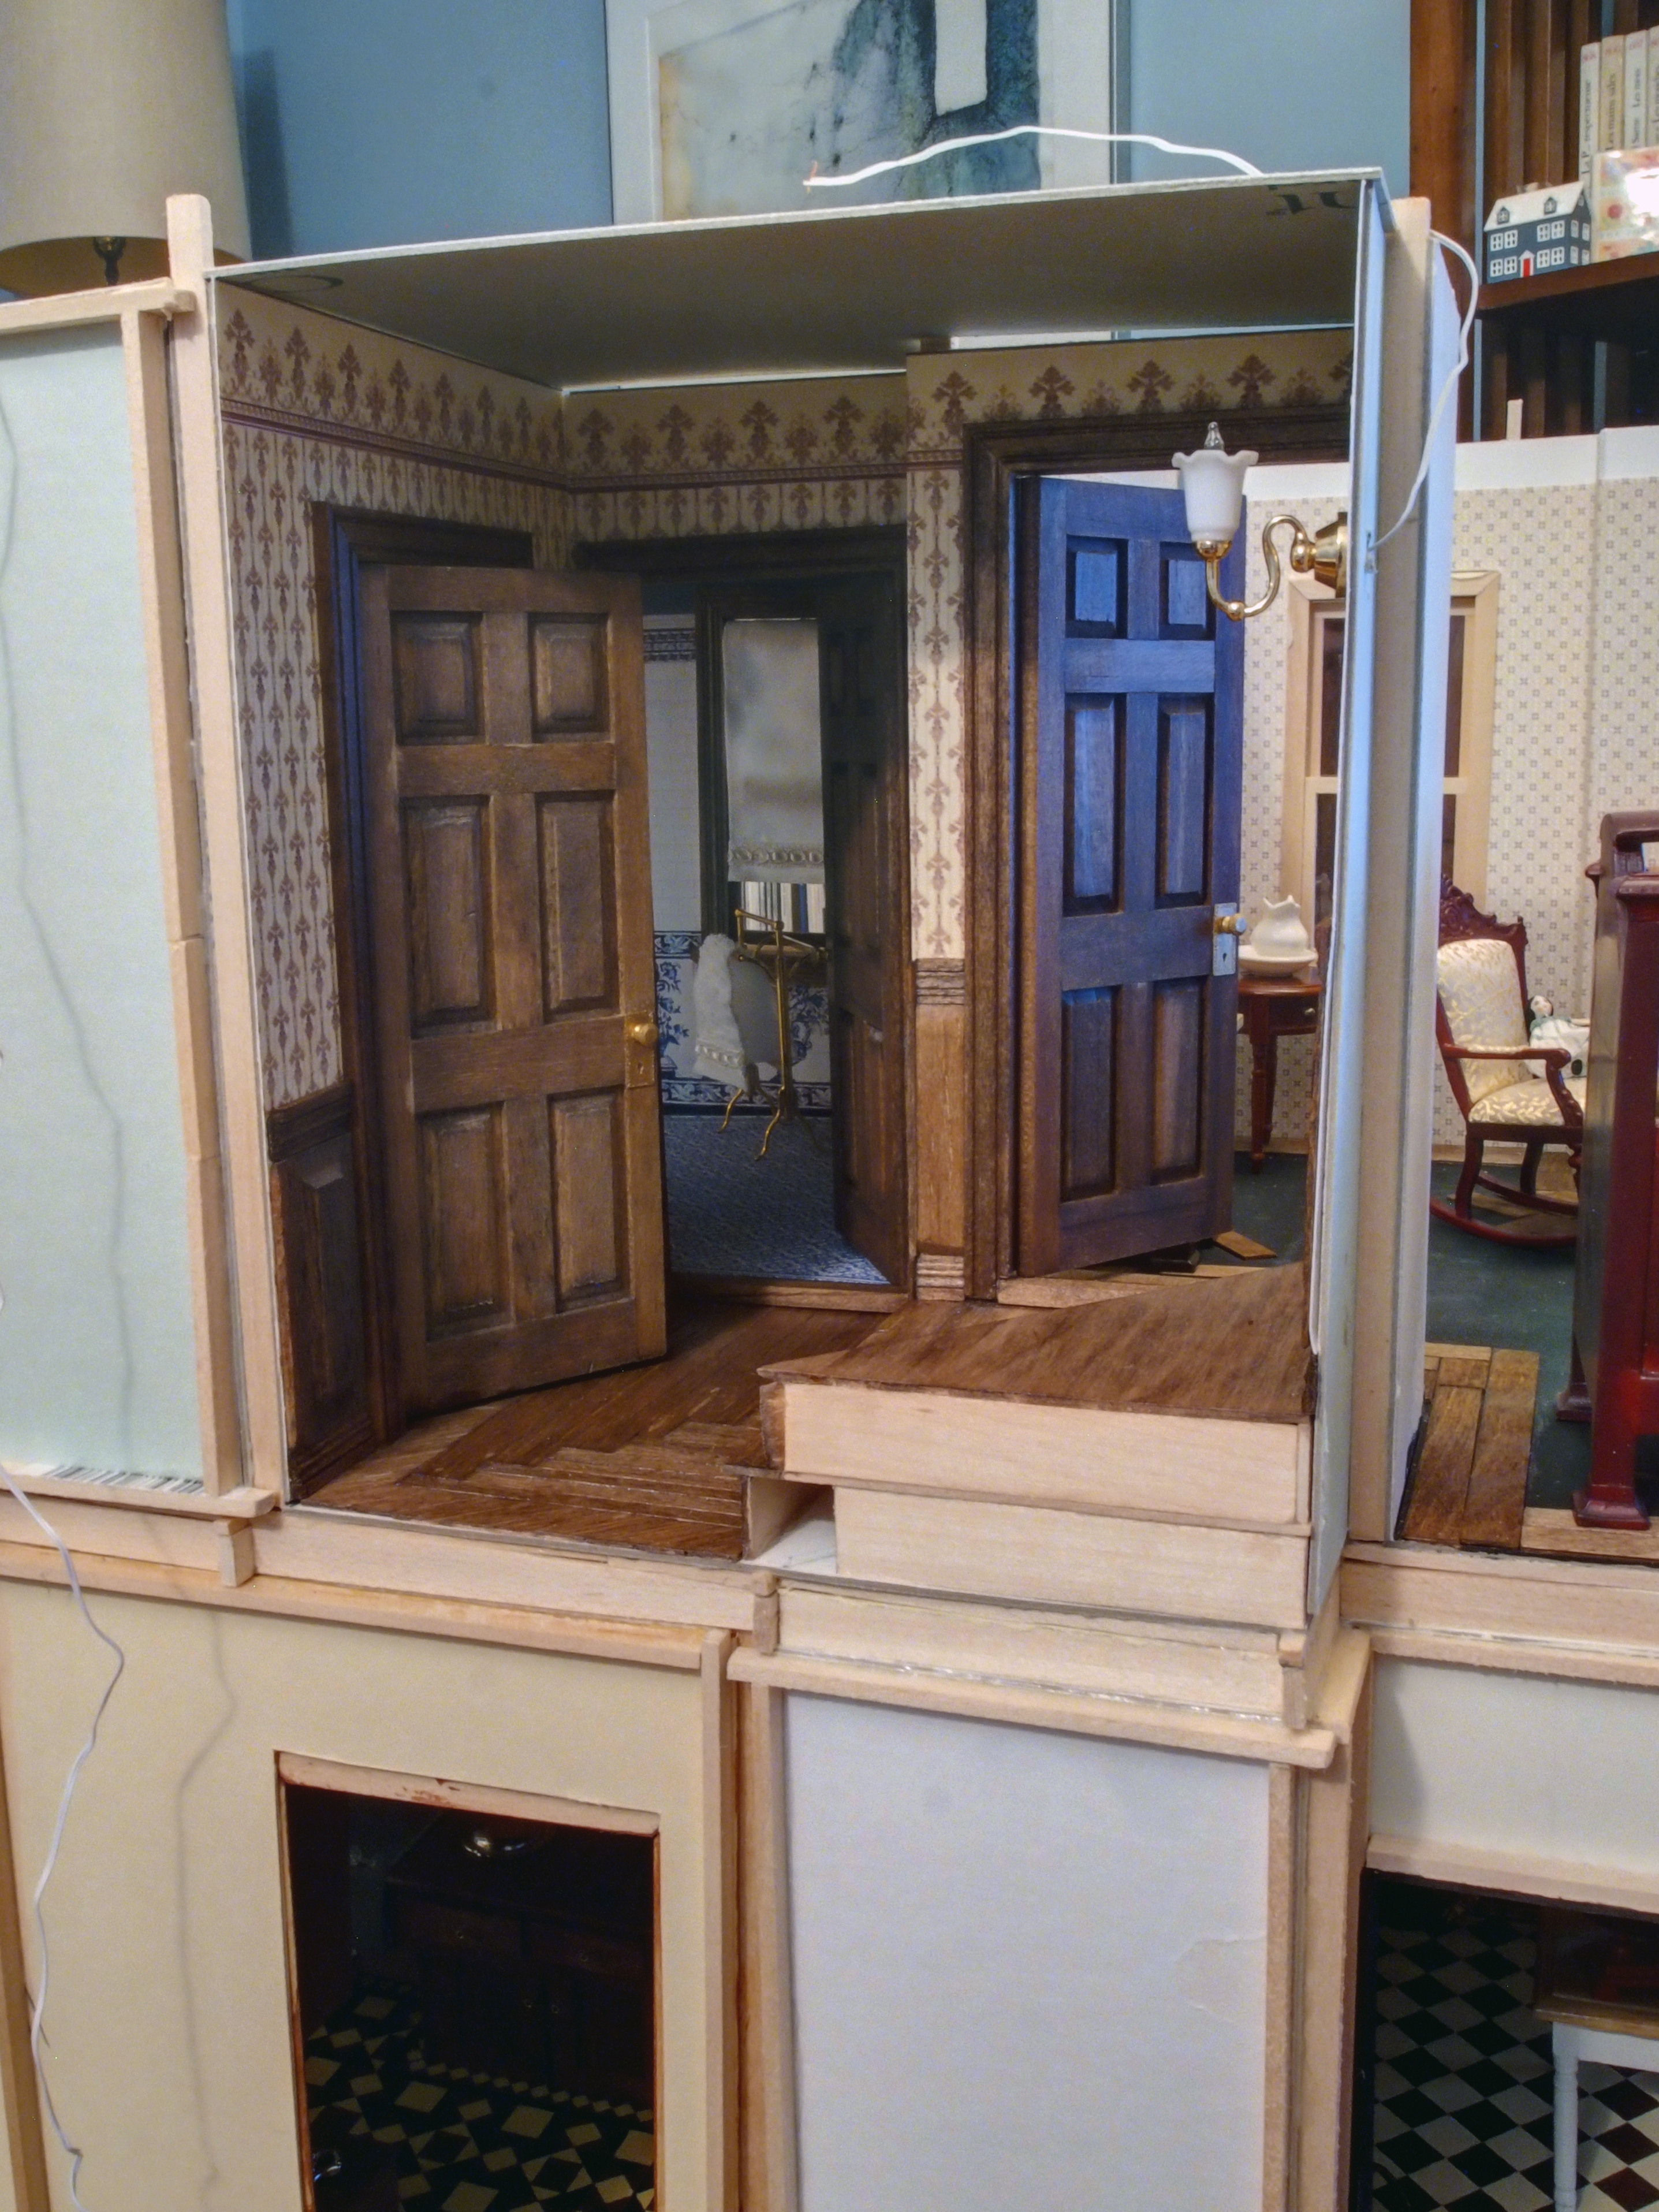
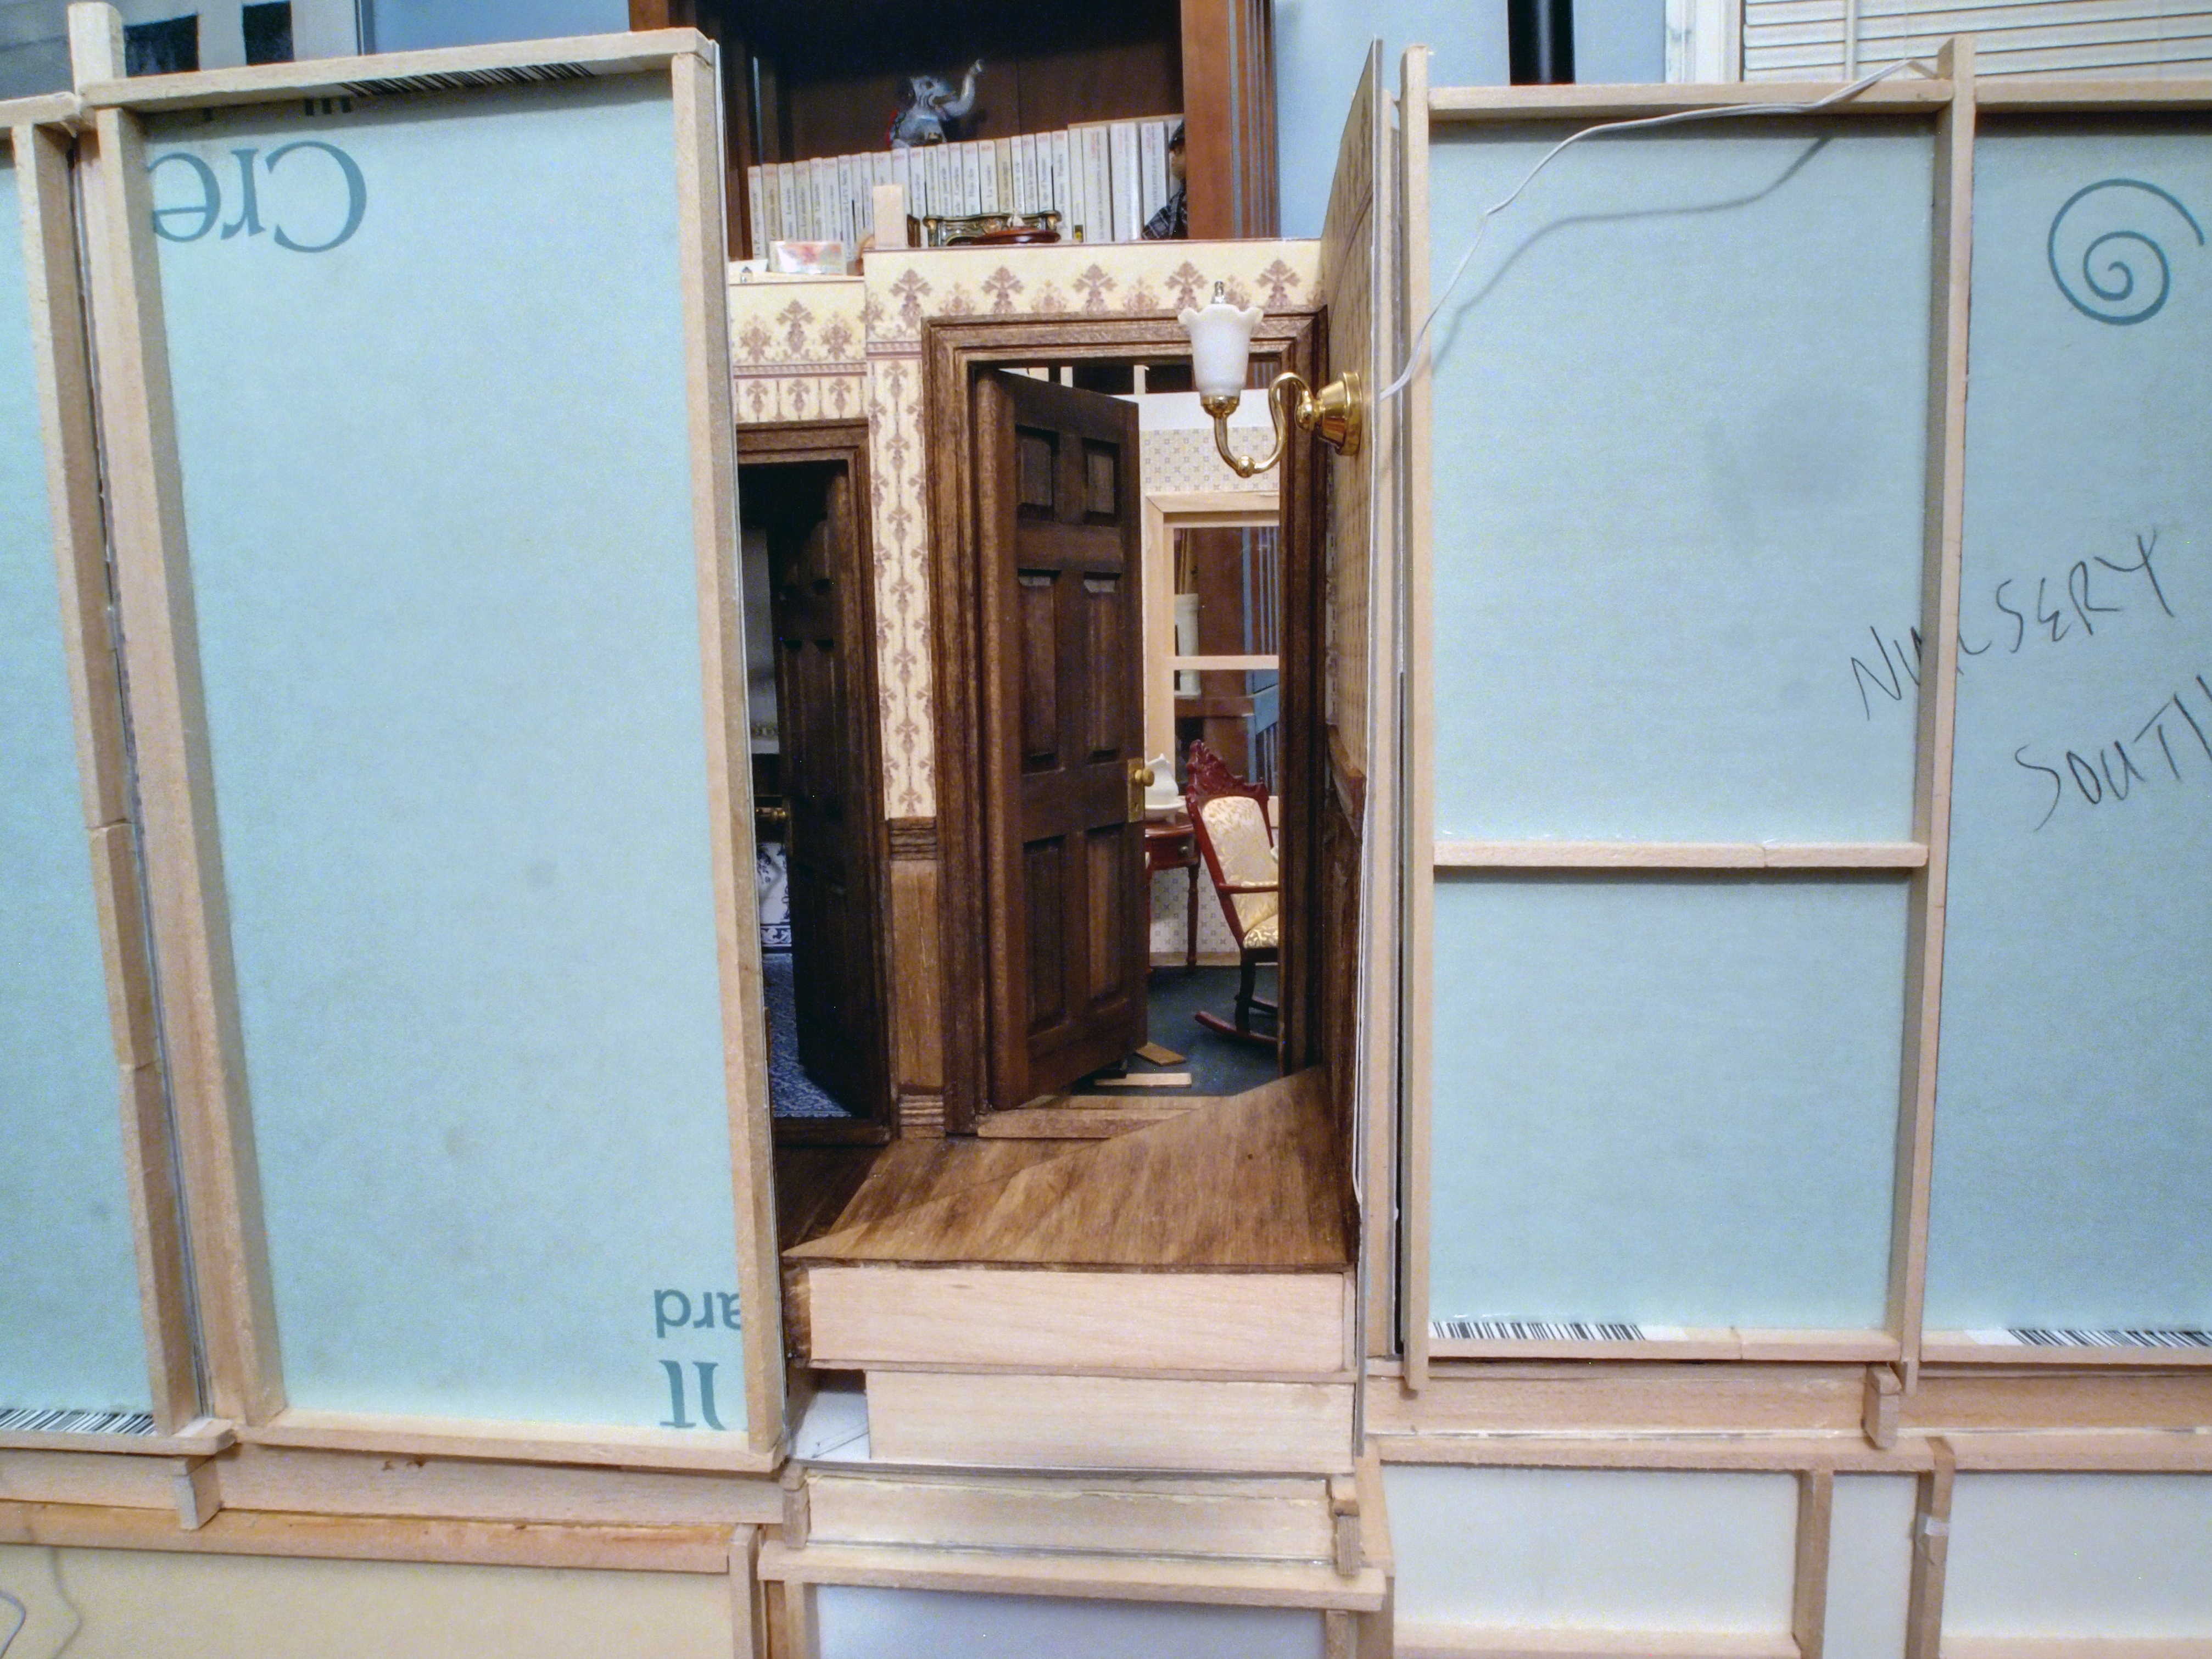
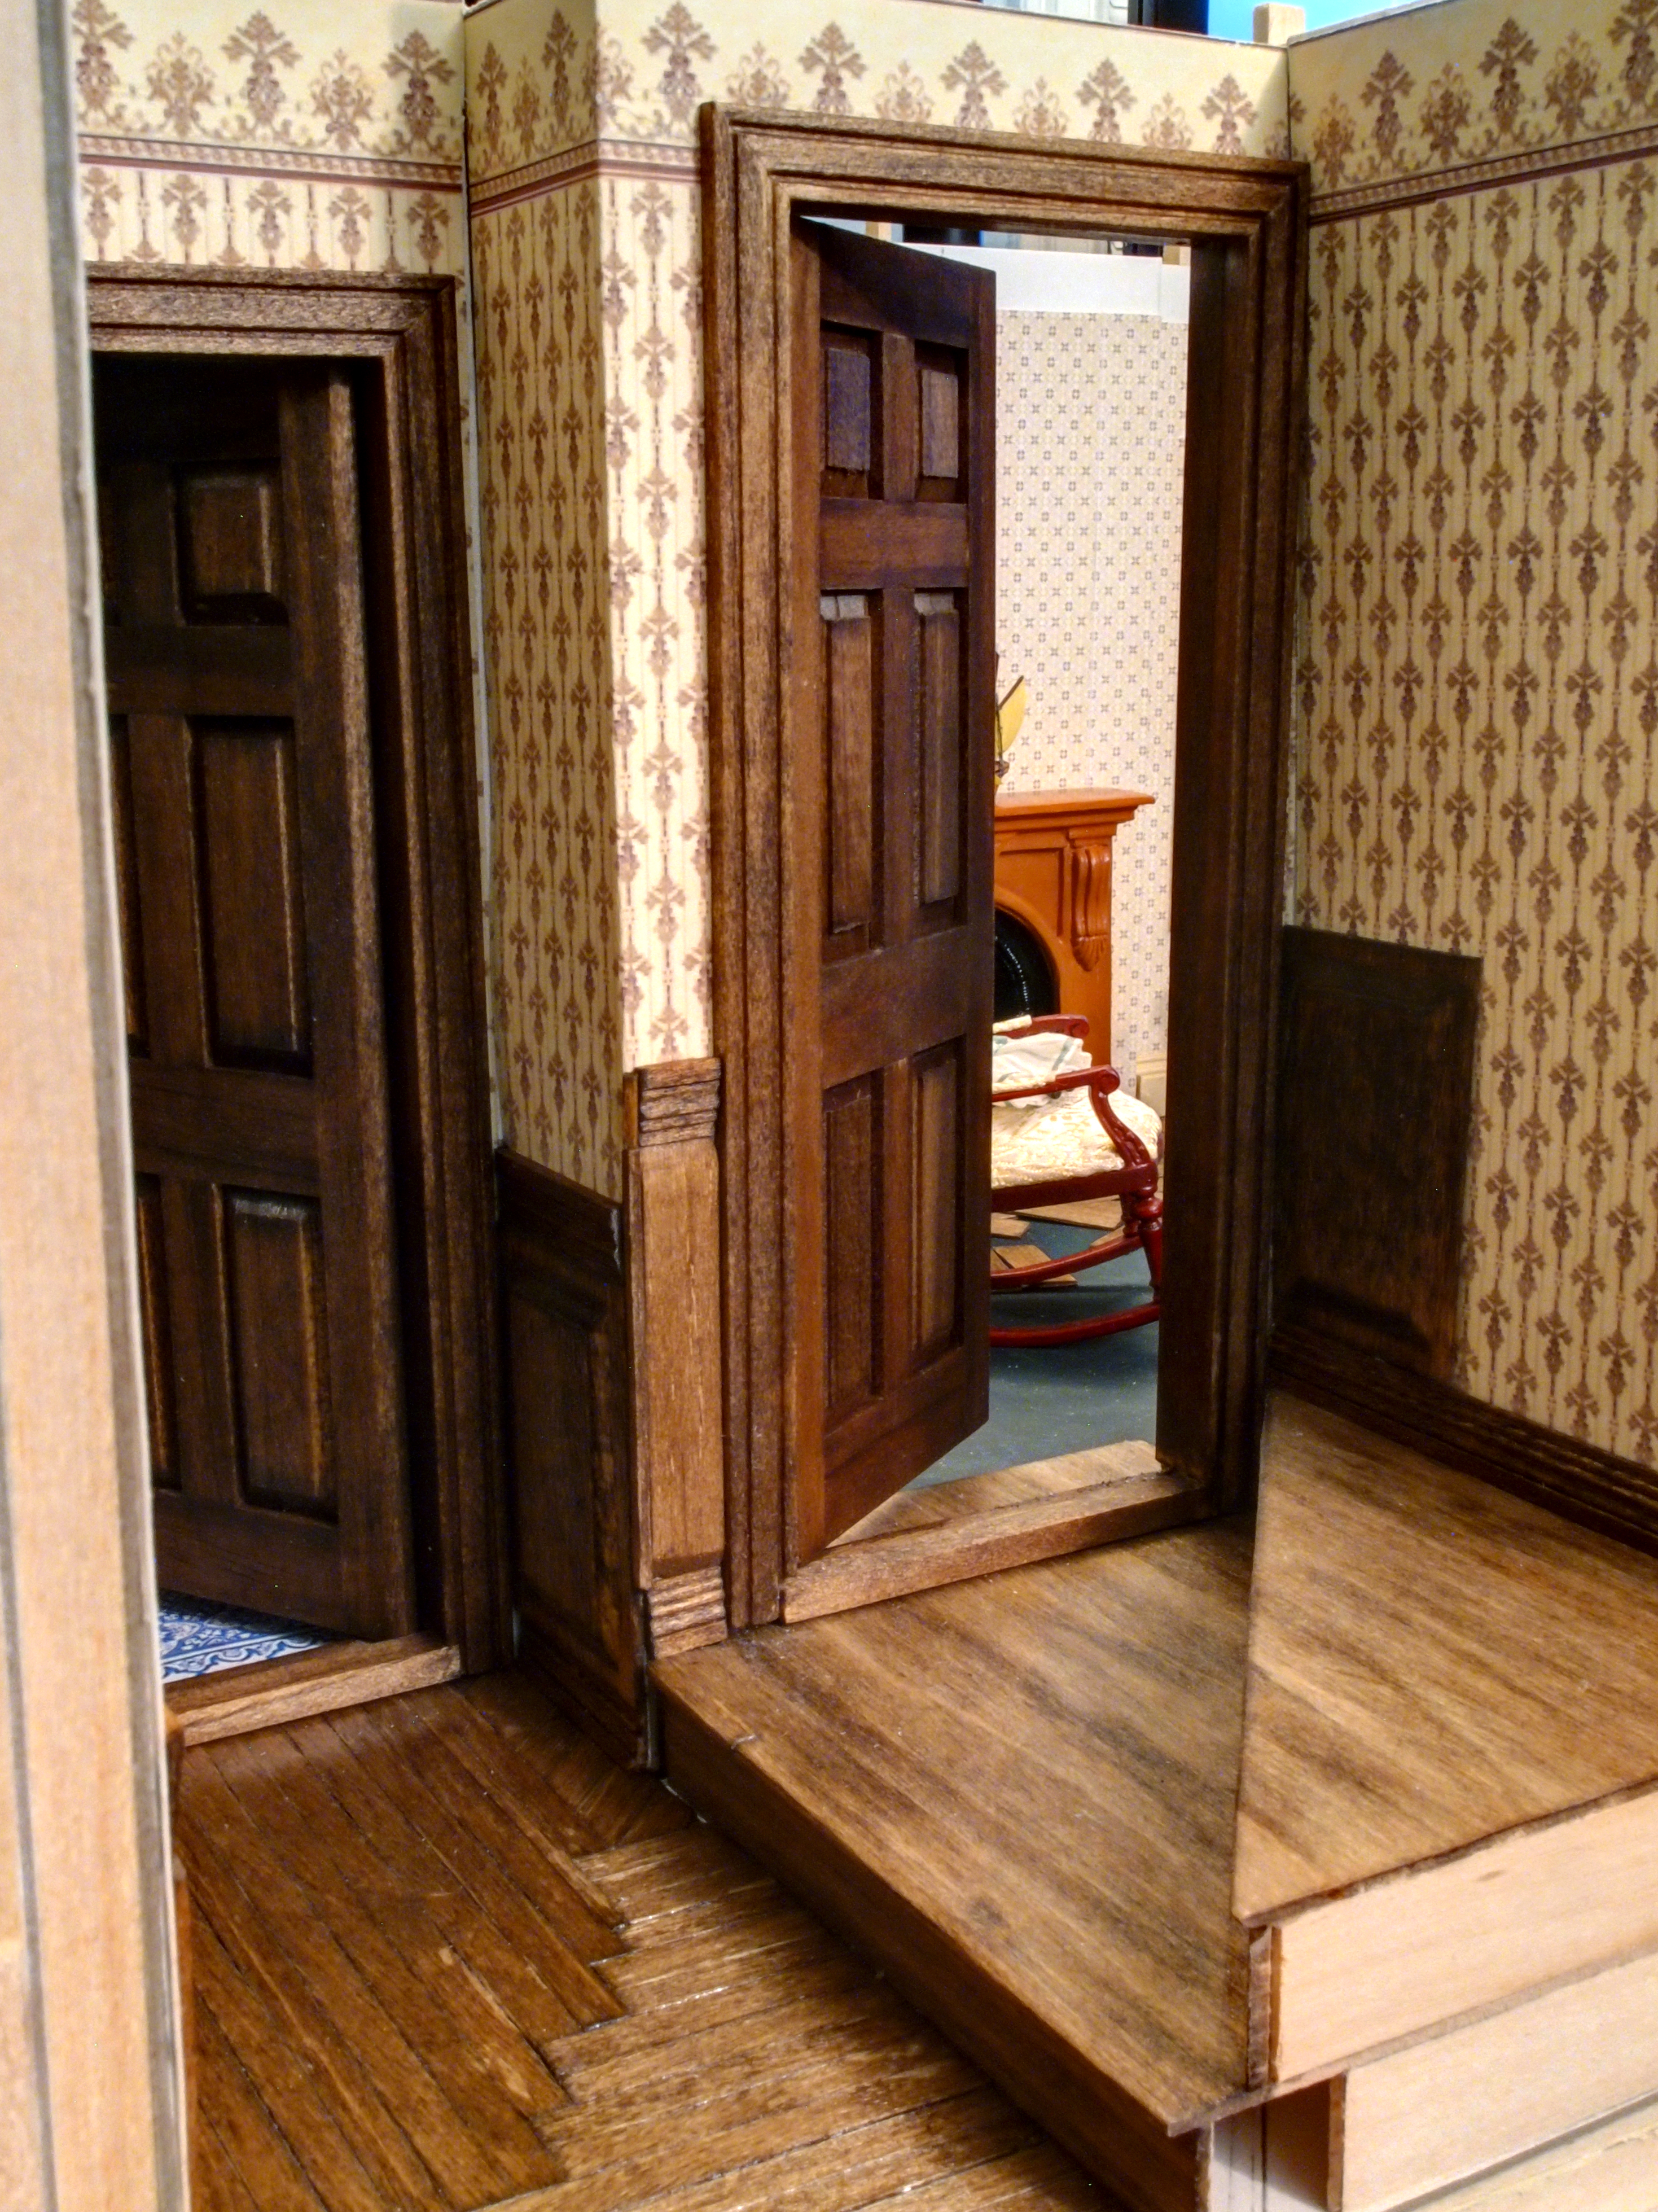
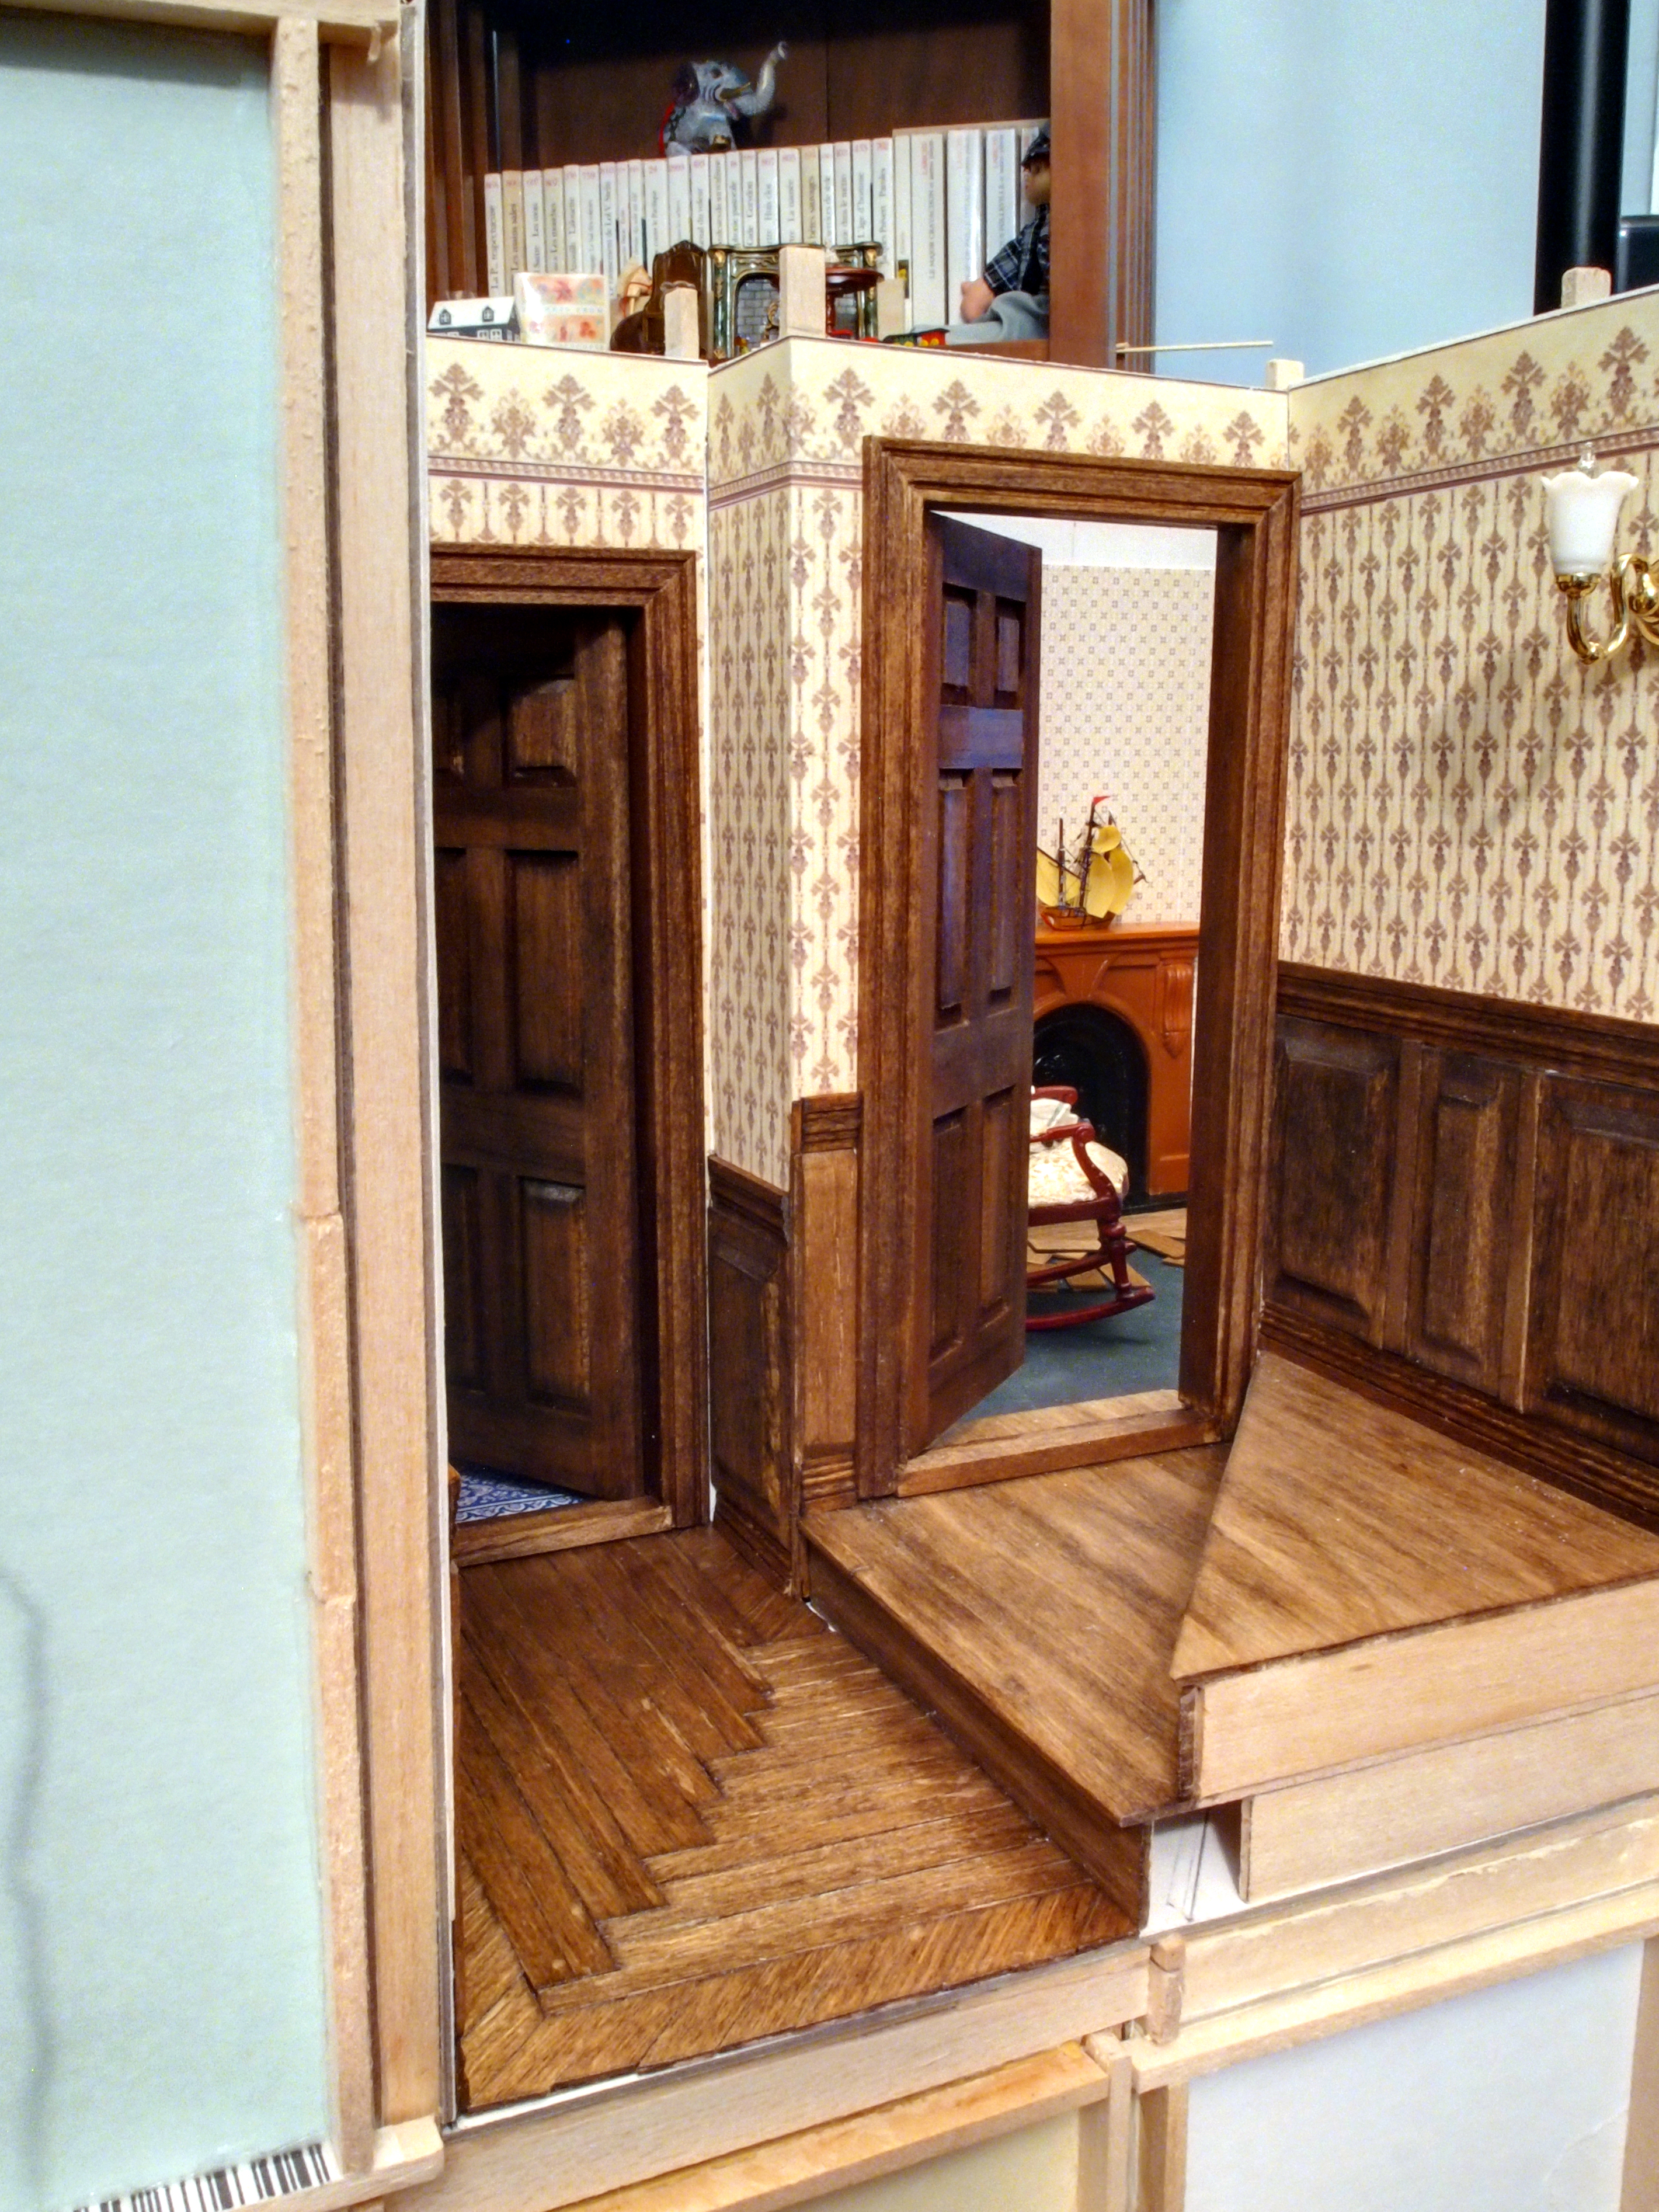
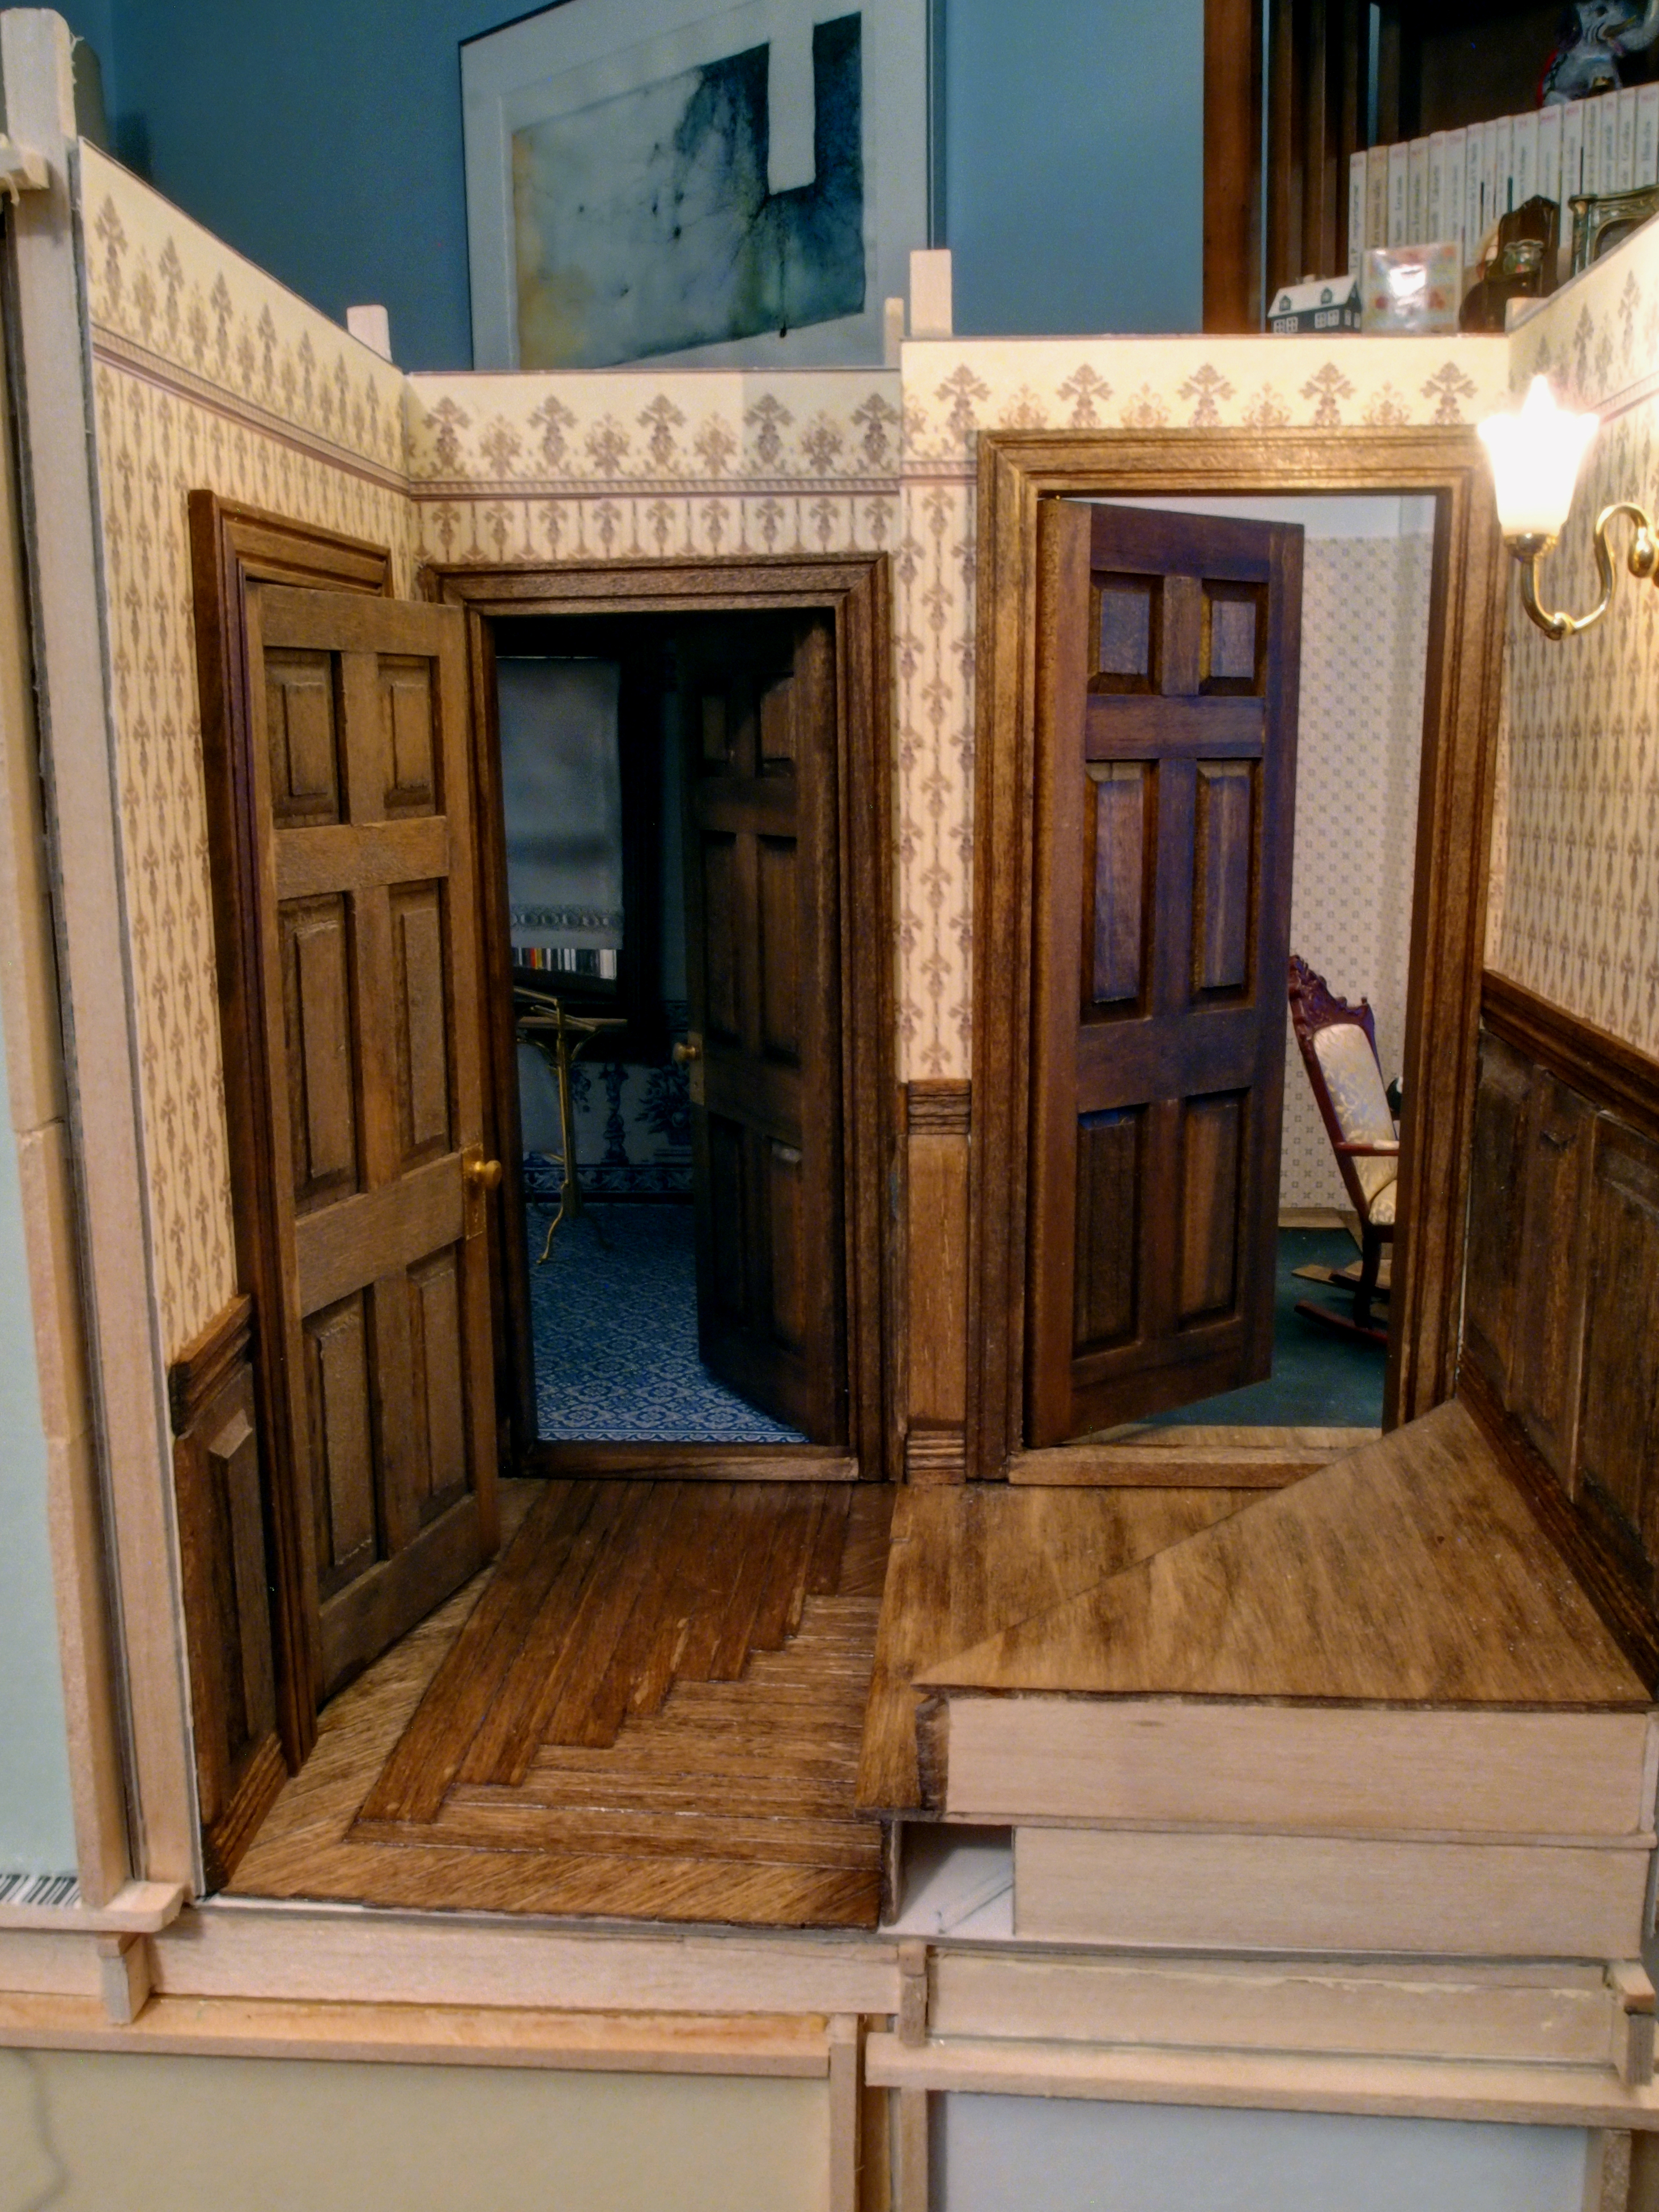
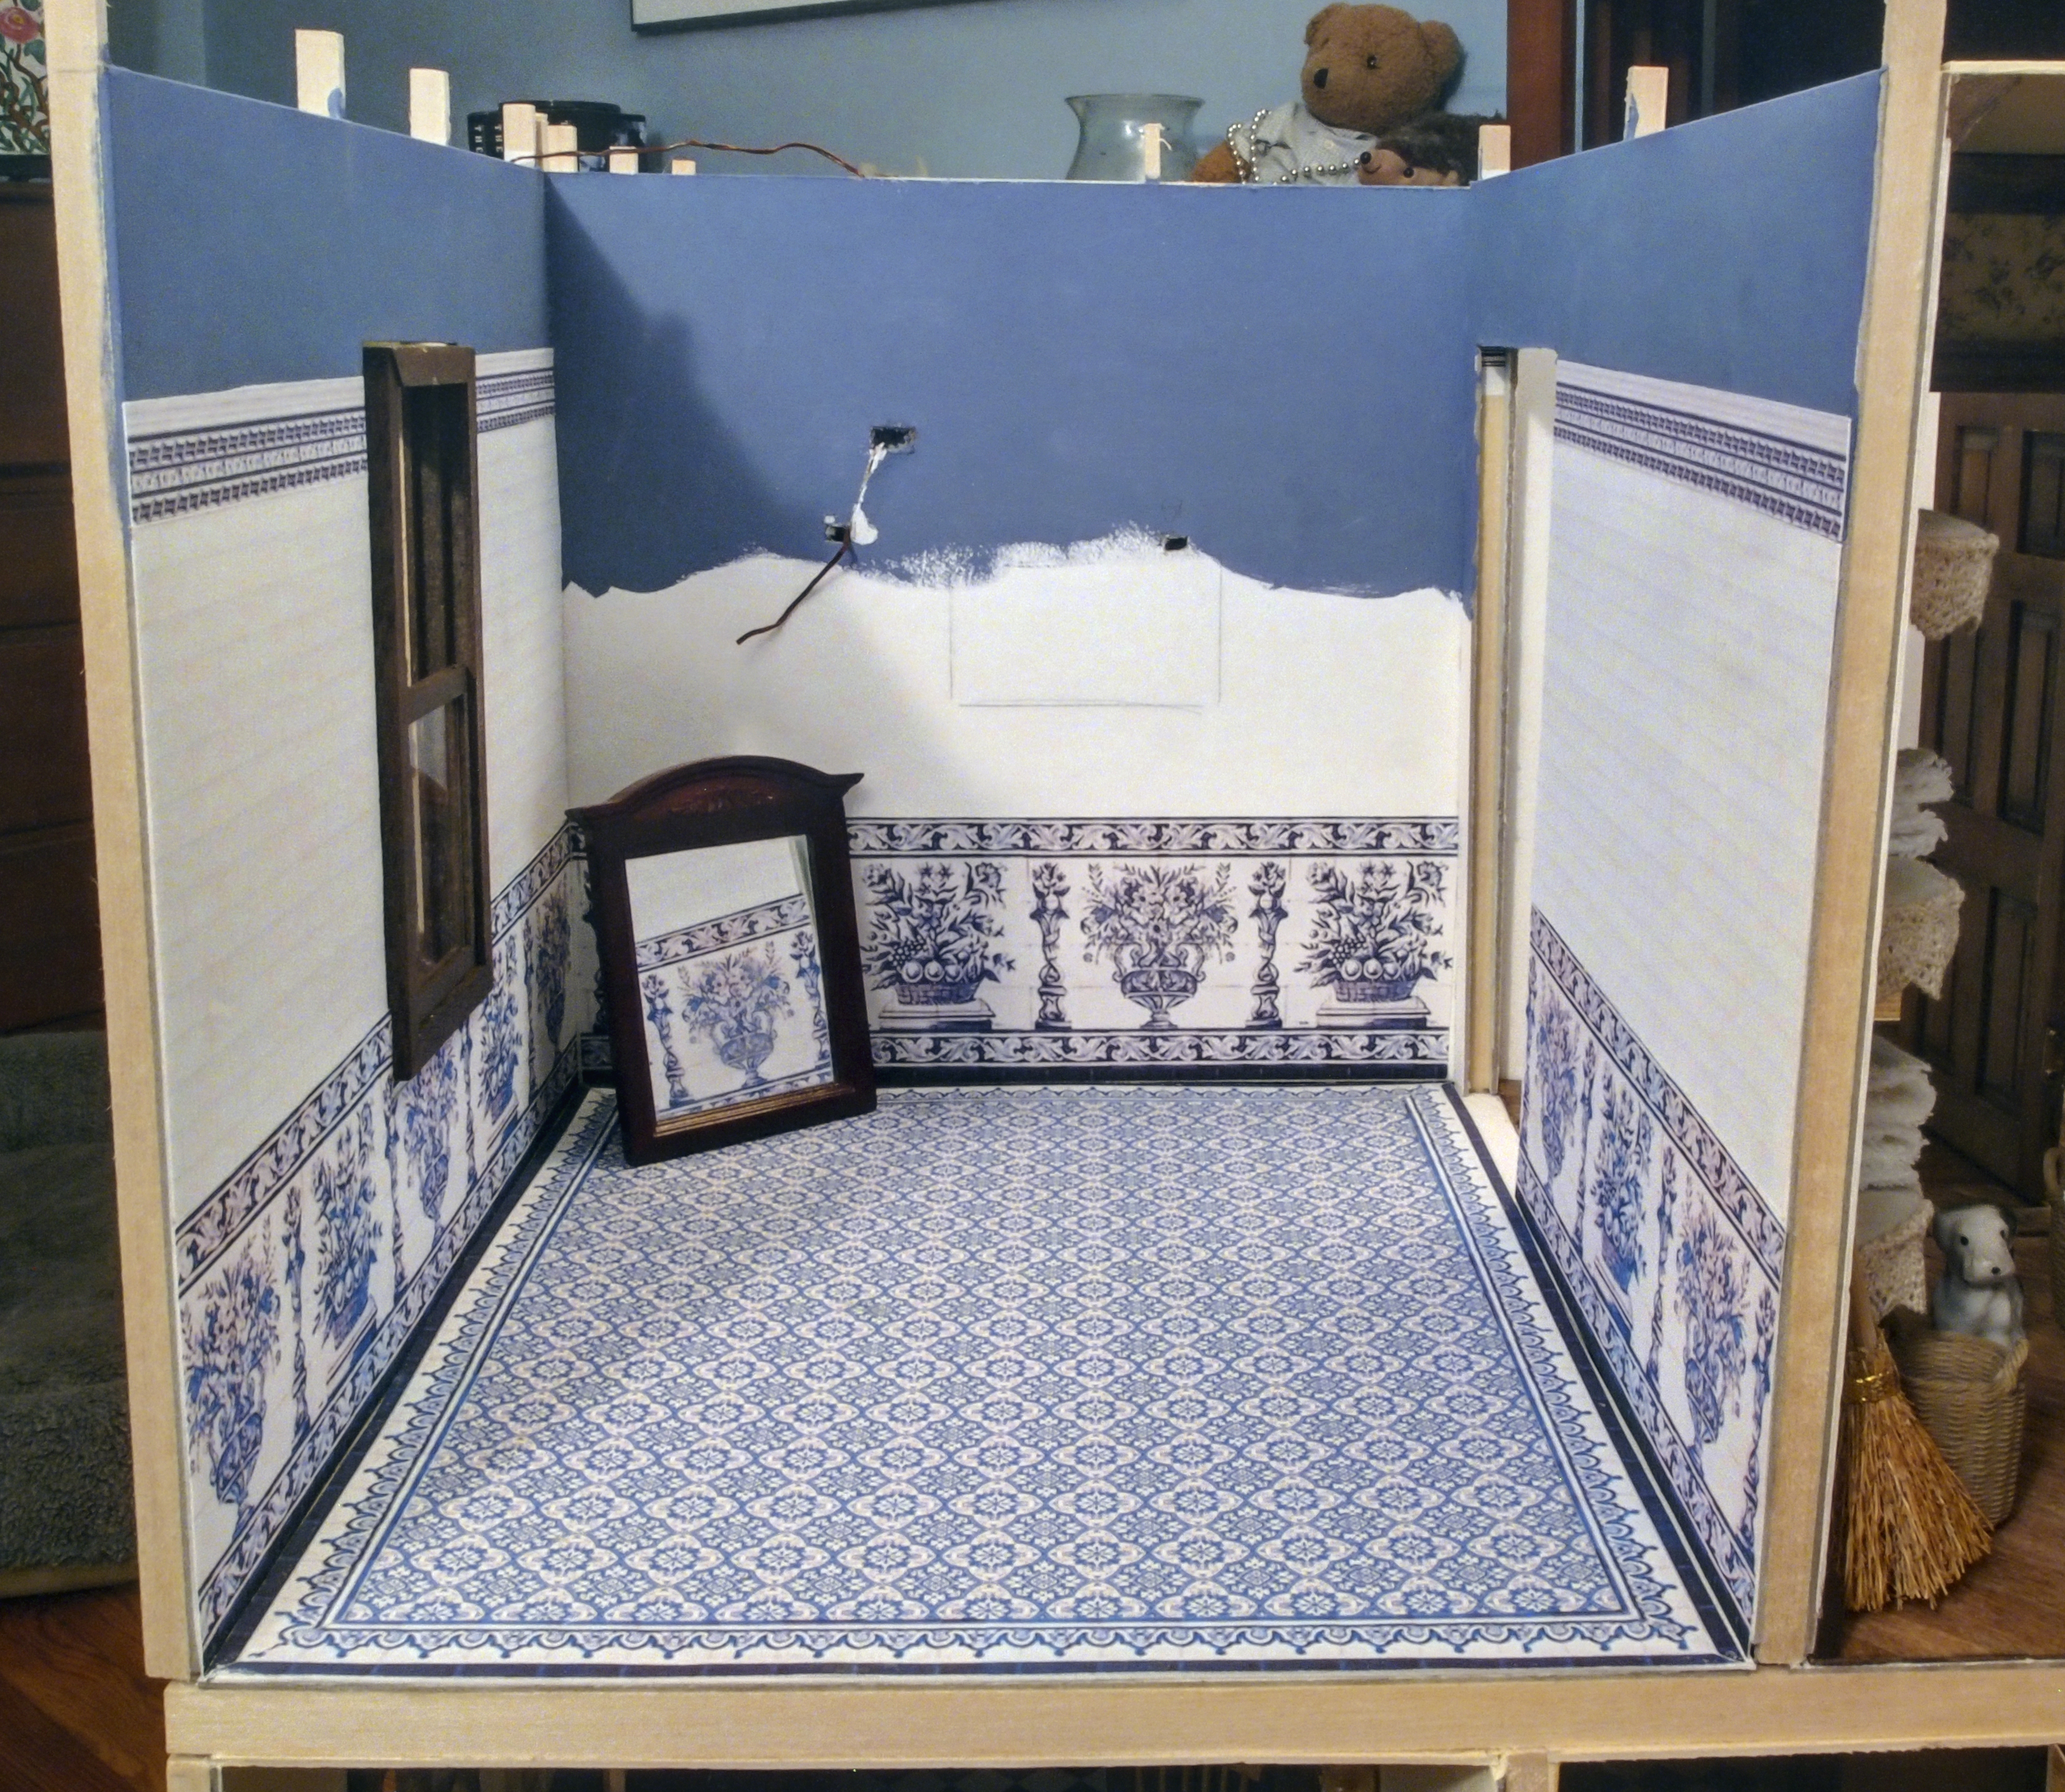
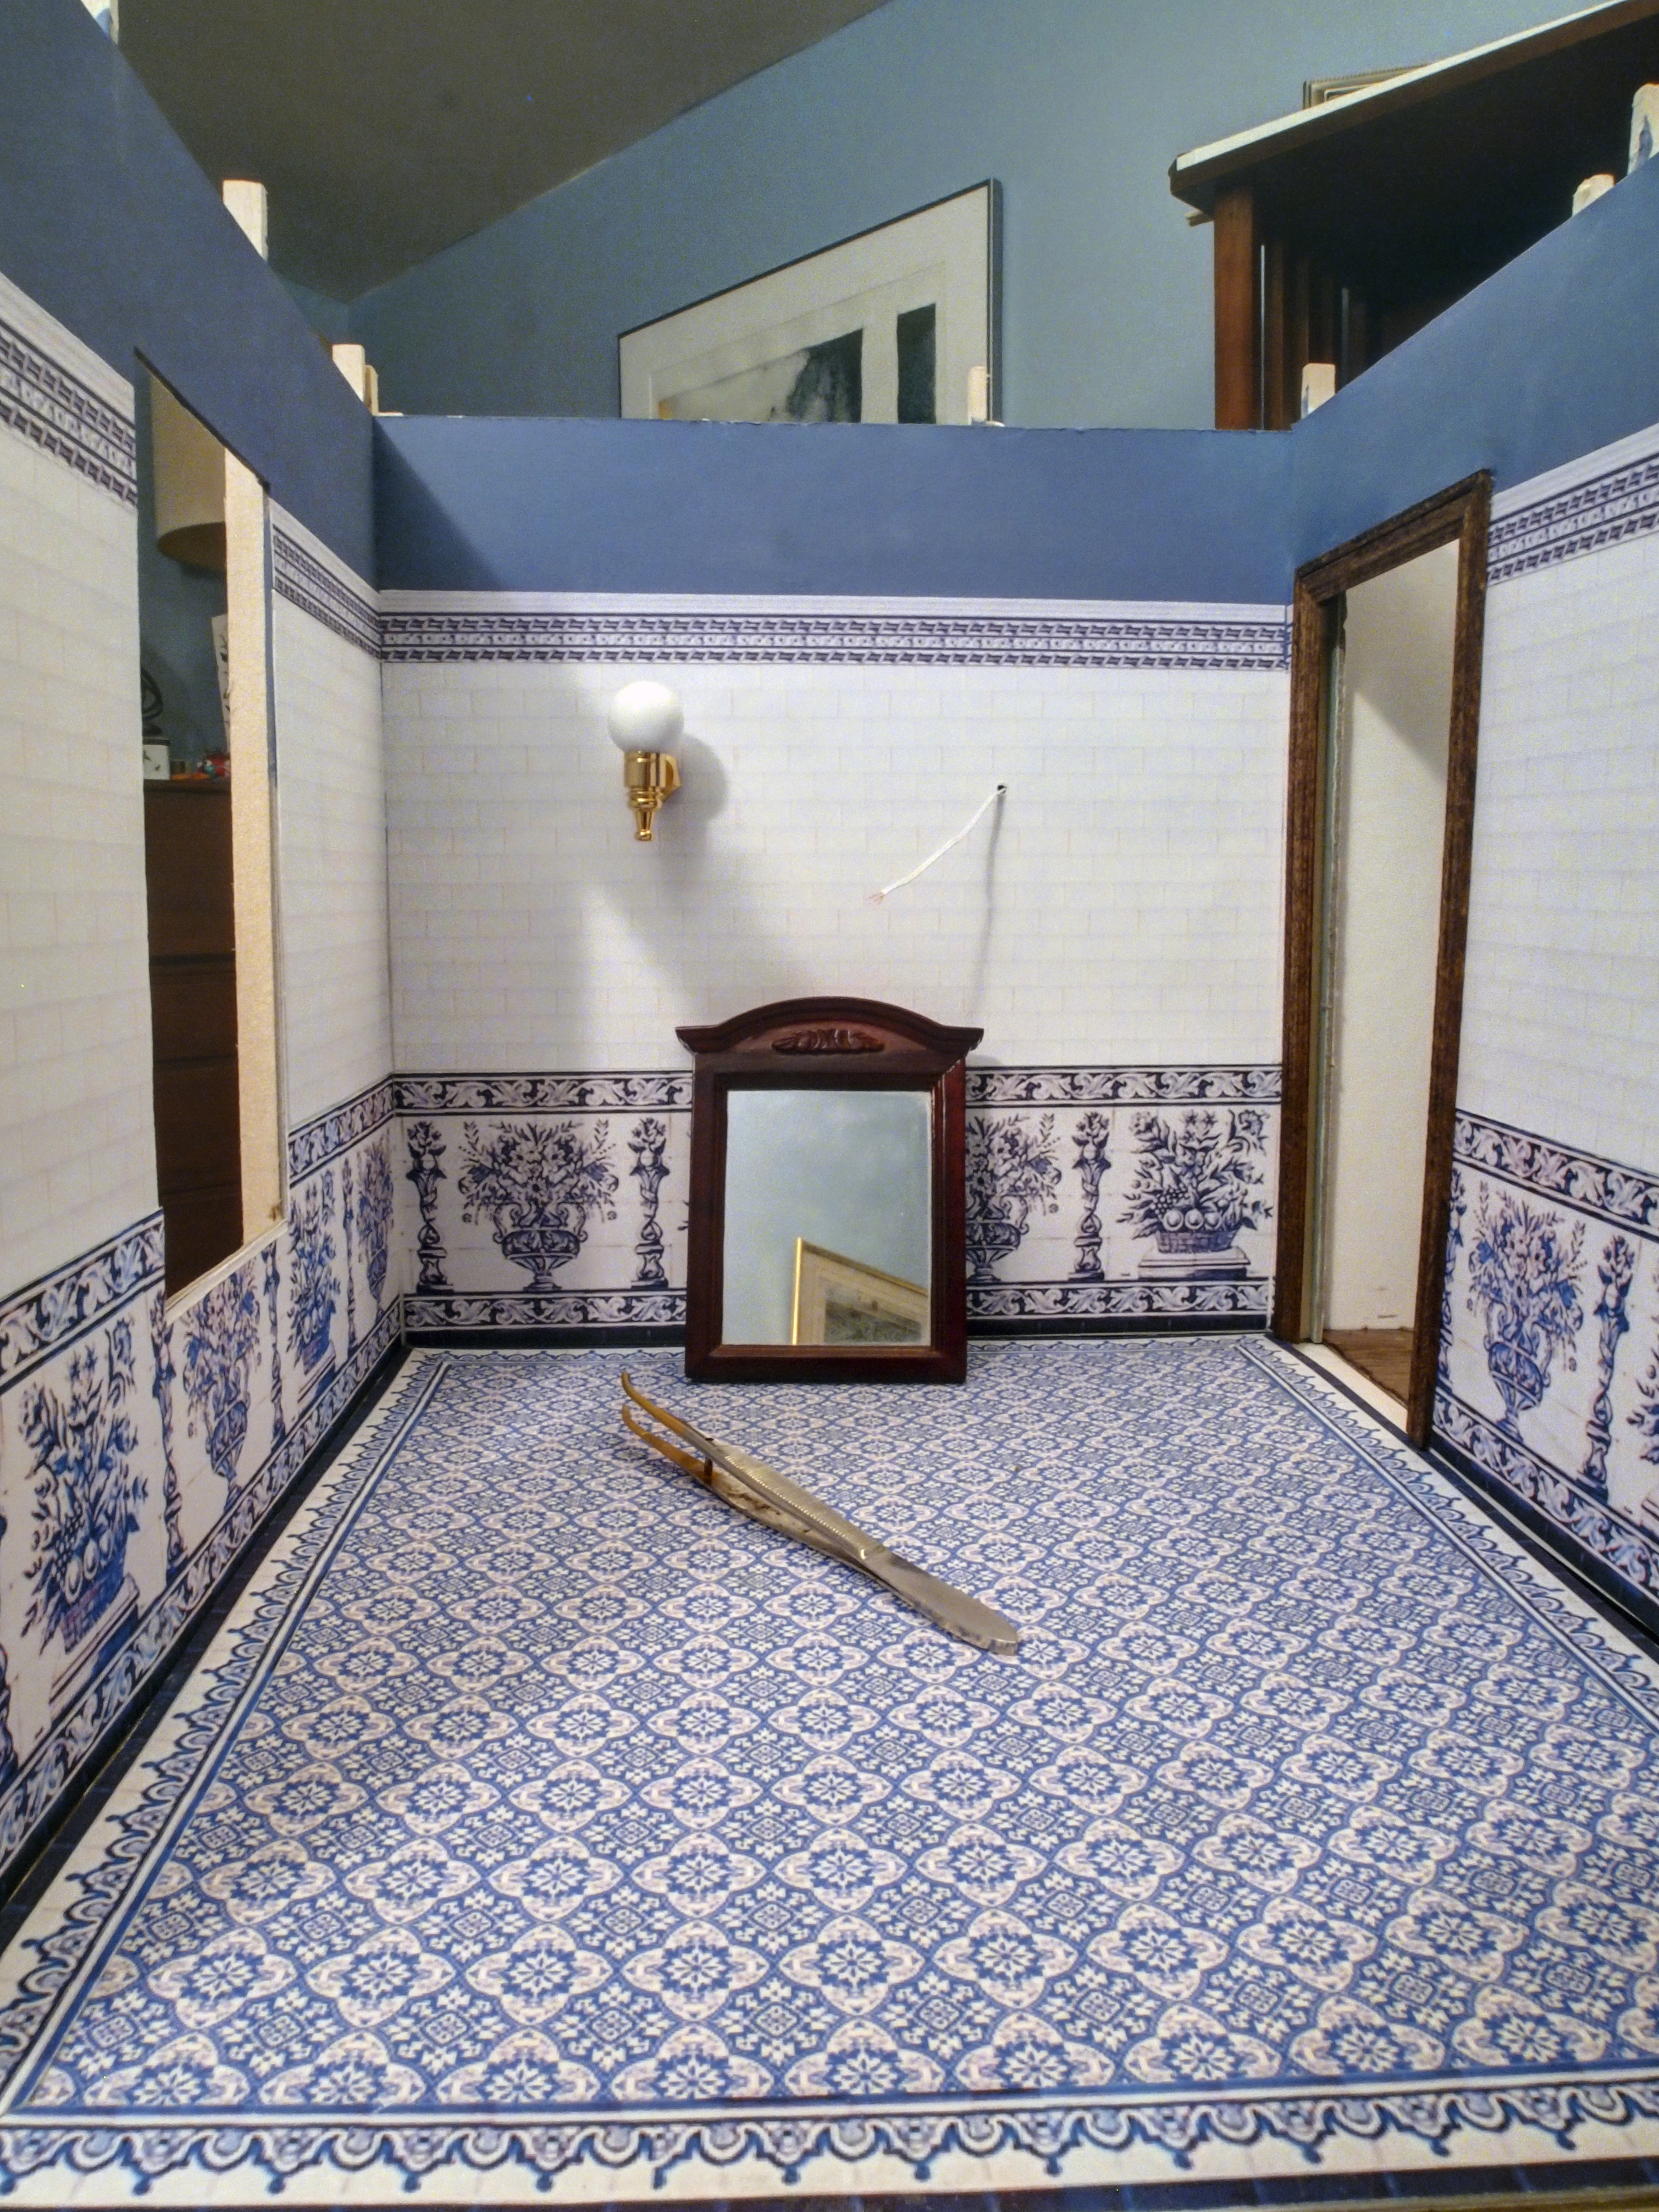
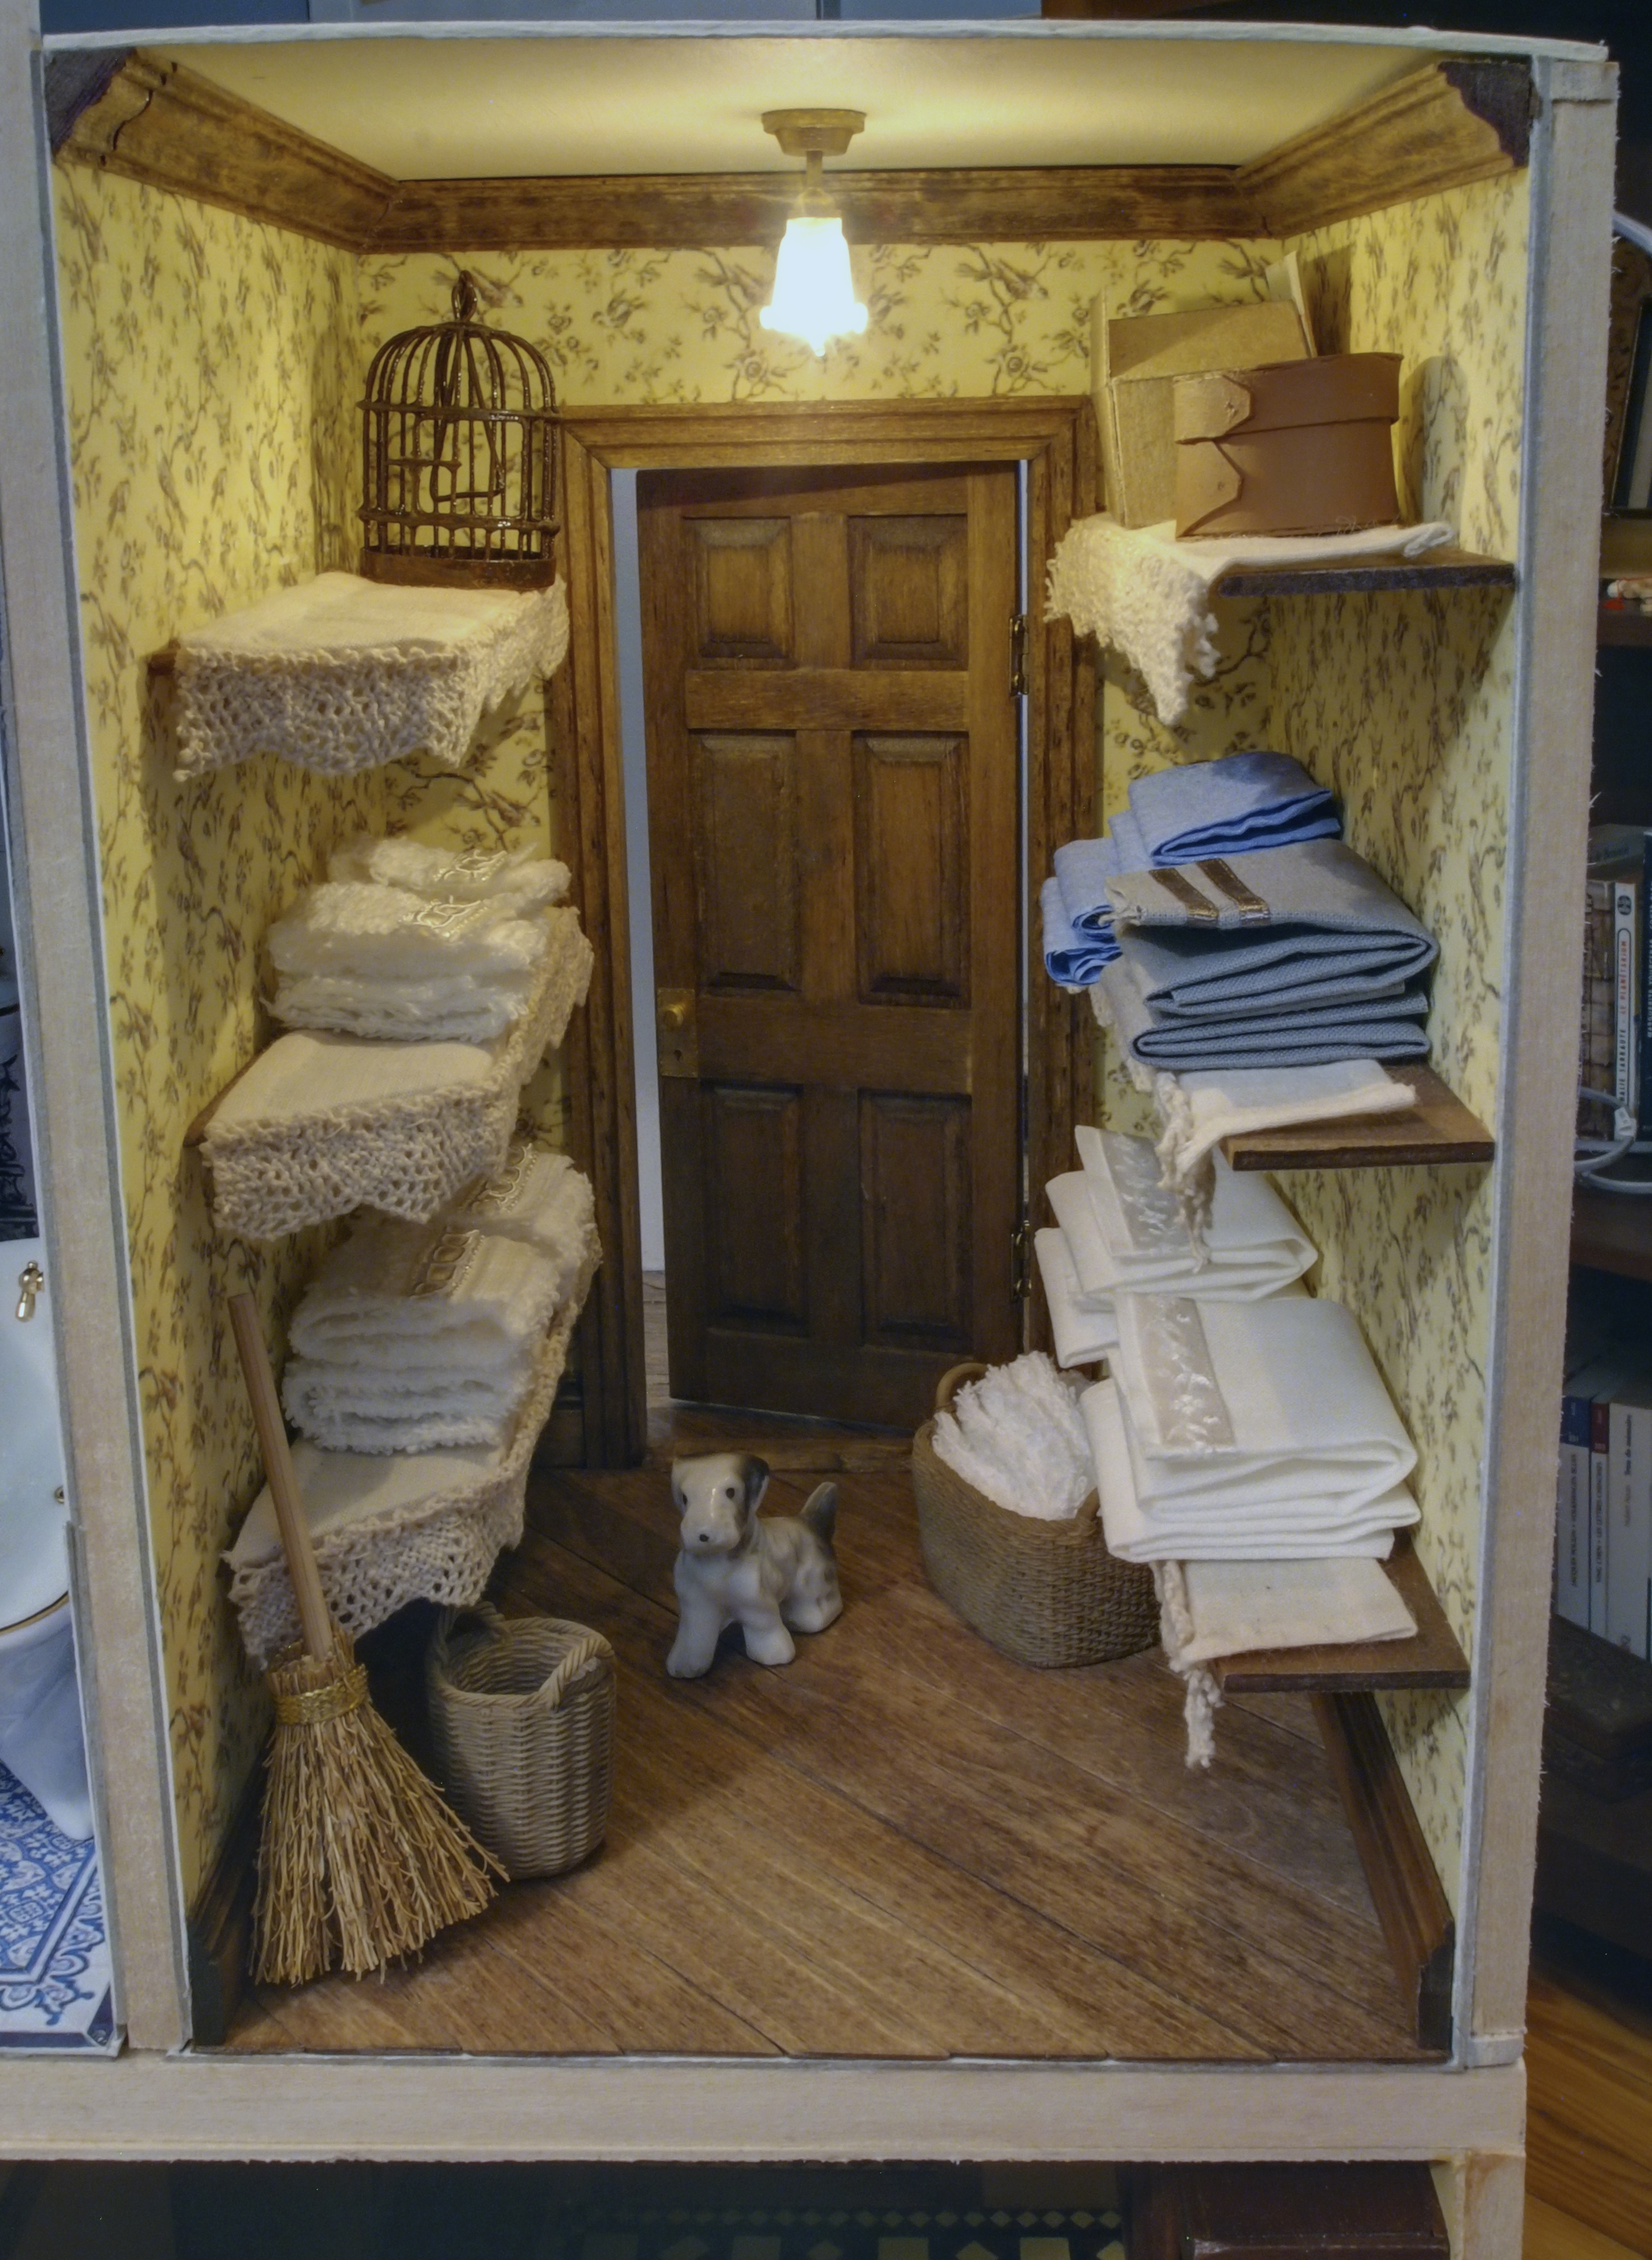
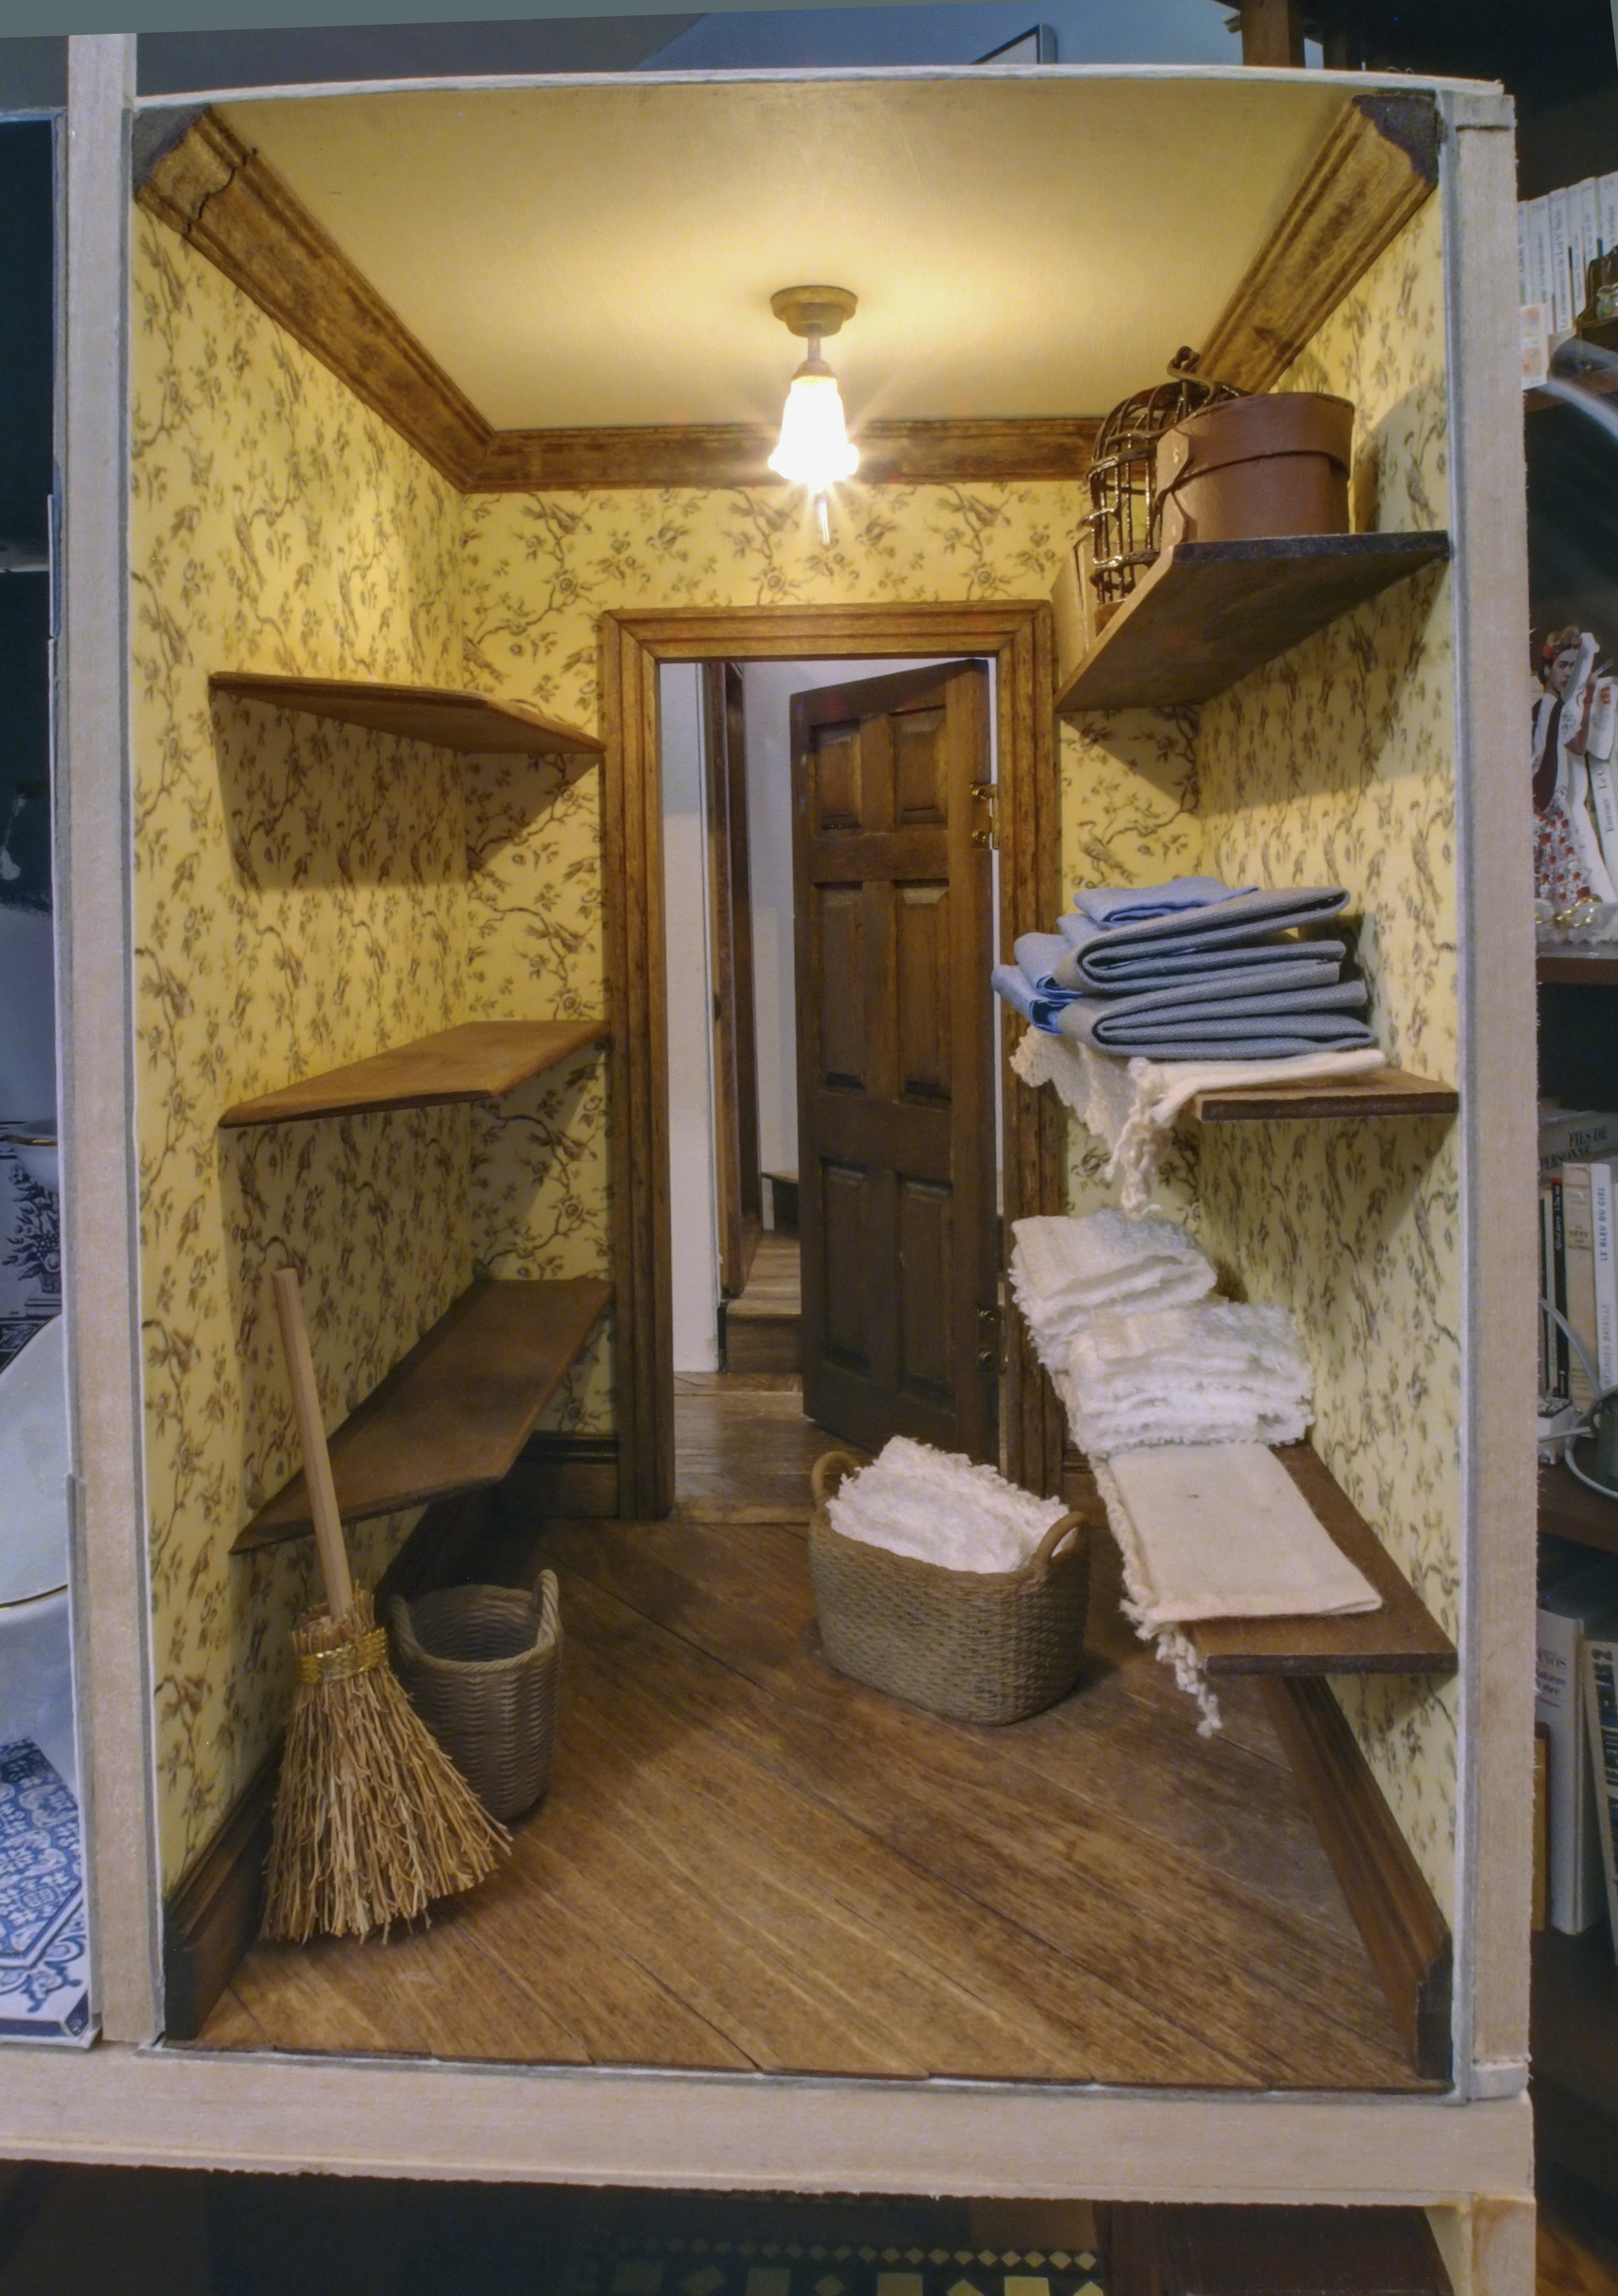
Which looked like this last time I left it…

OLYMPUS DIGITAL CAMERA

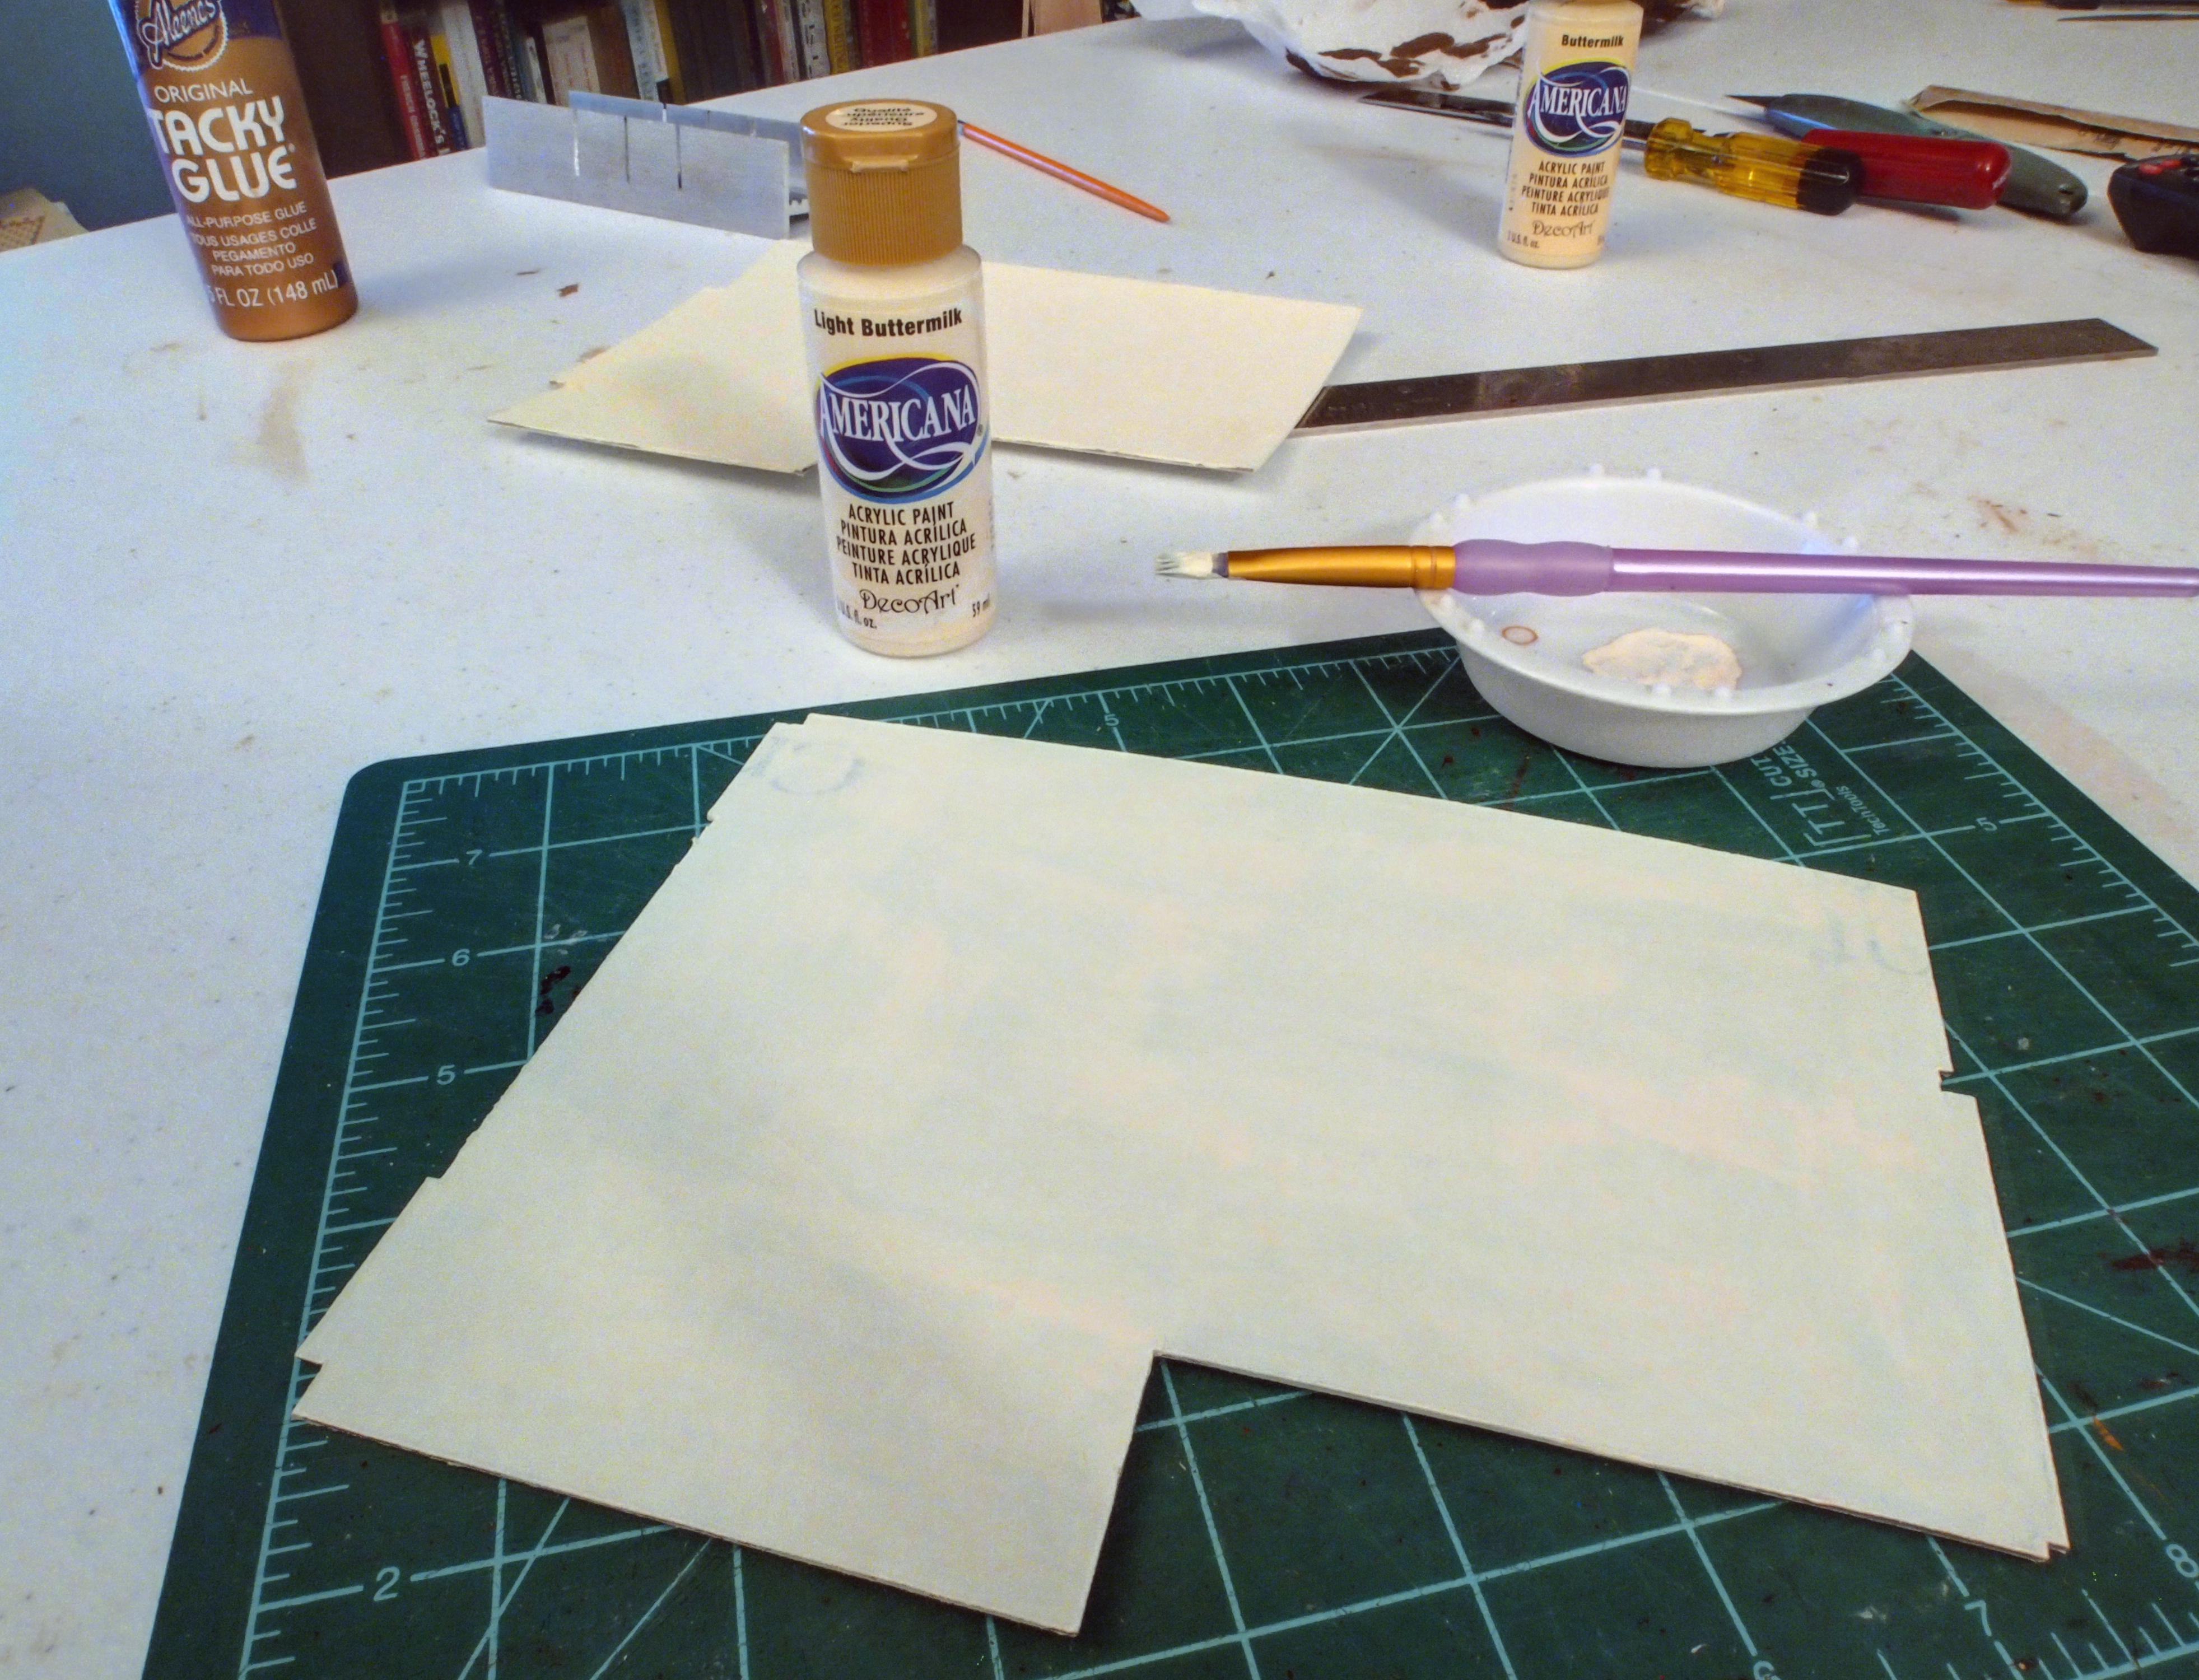
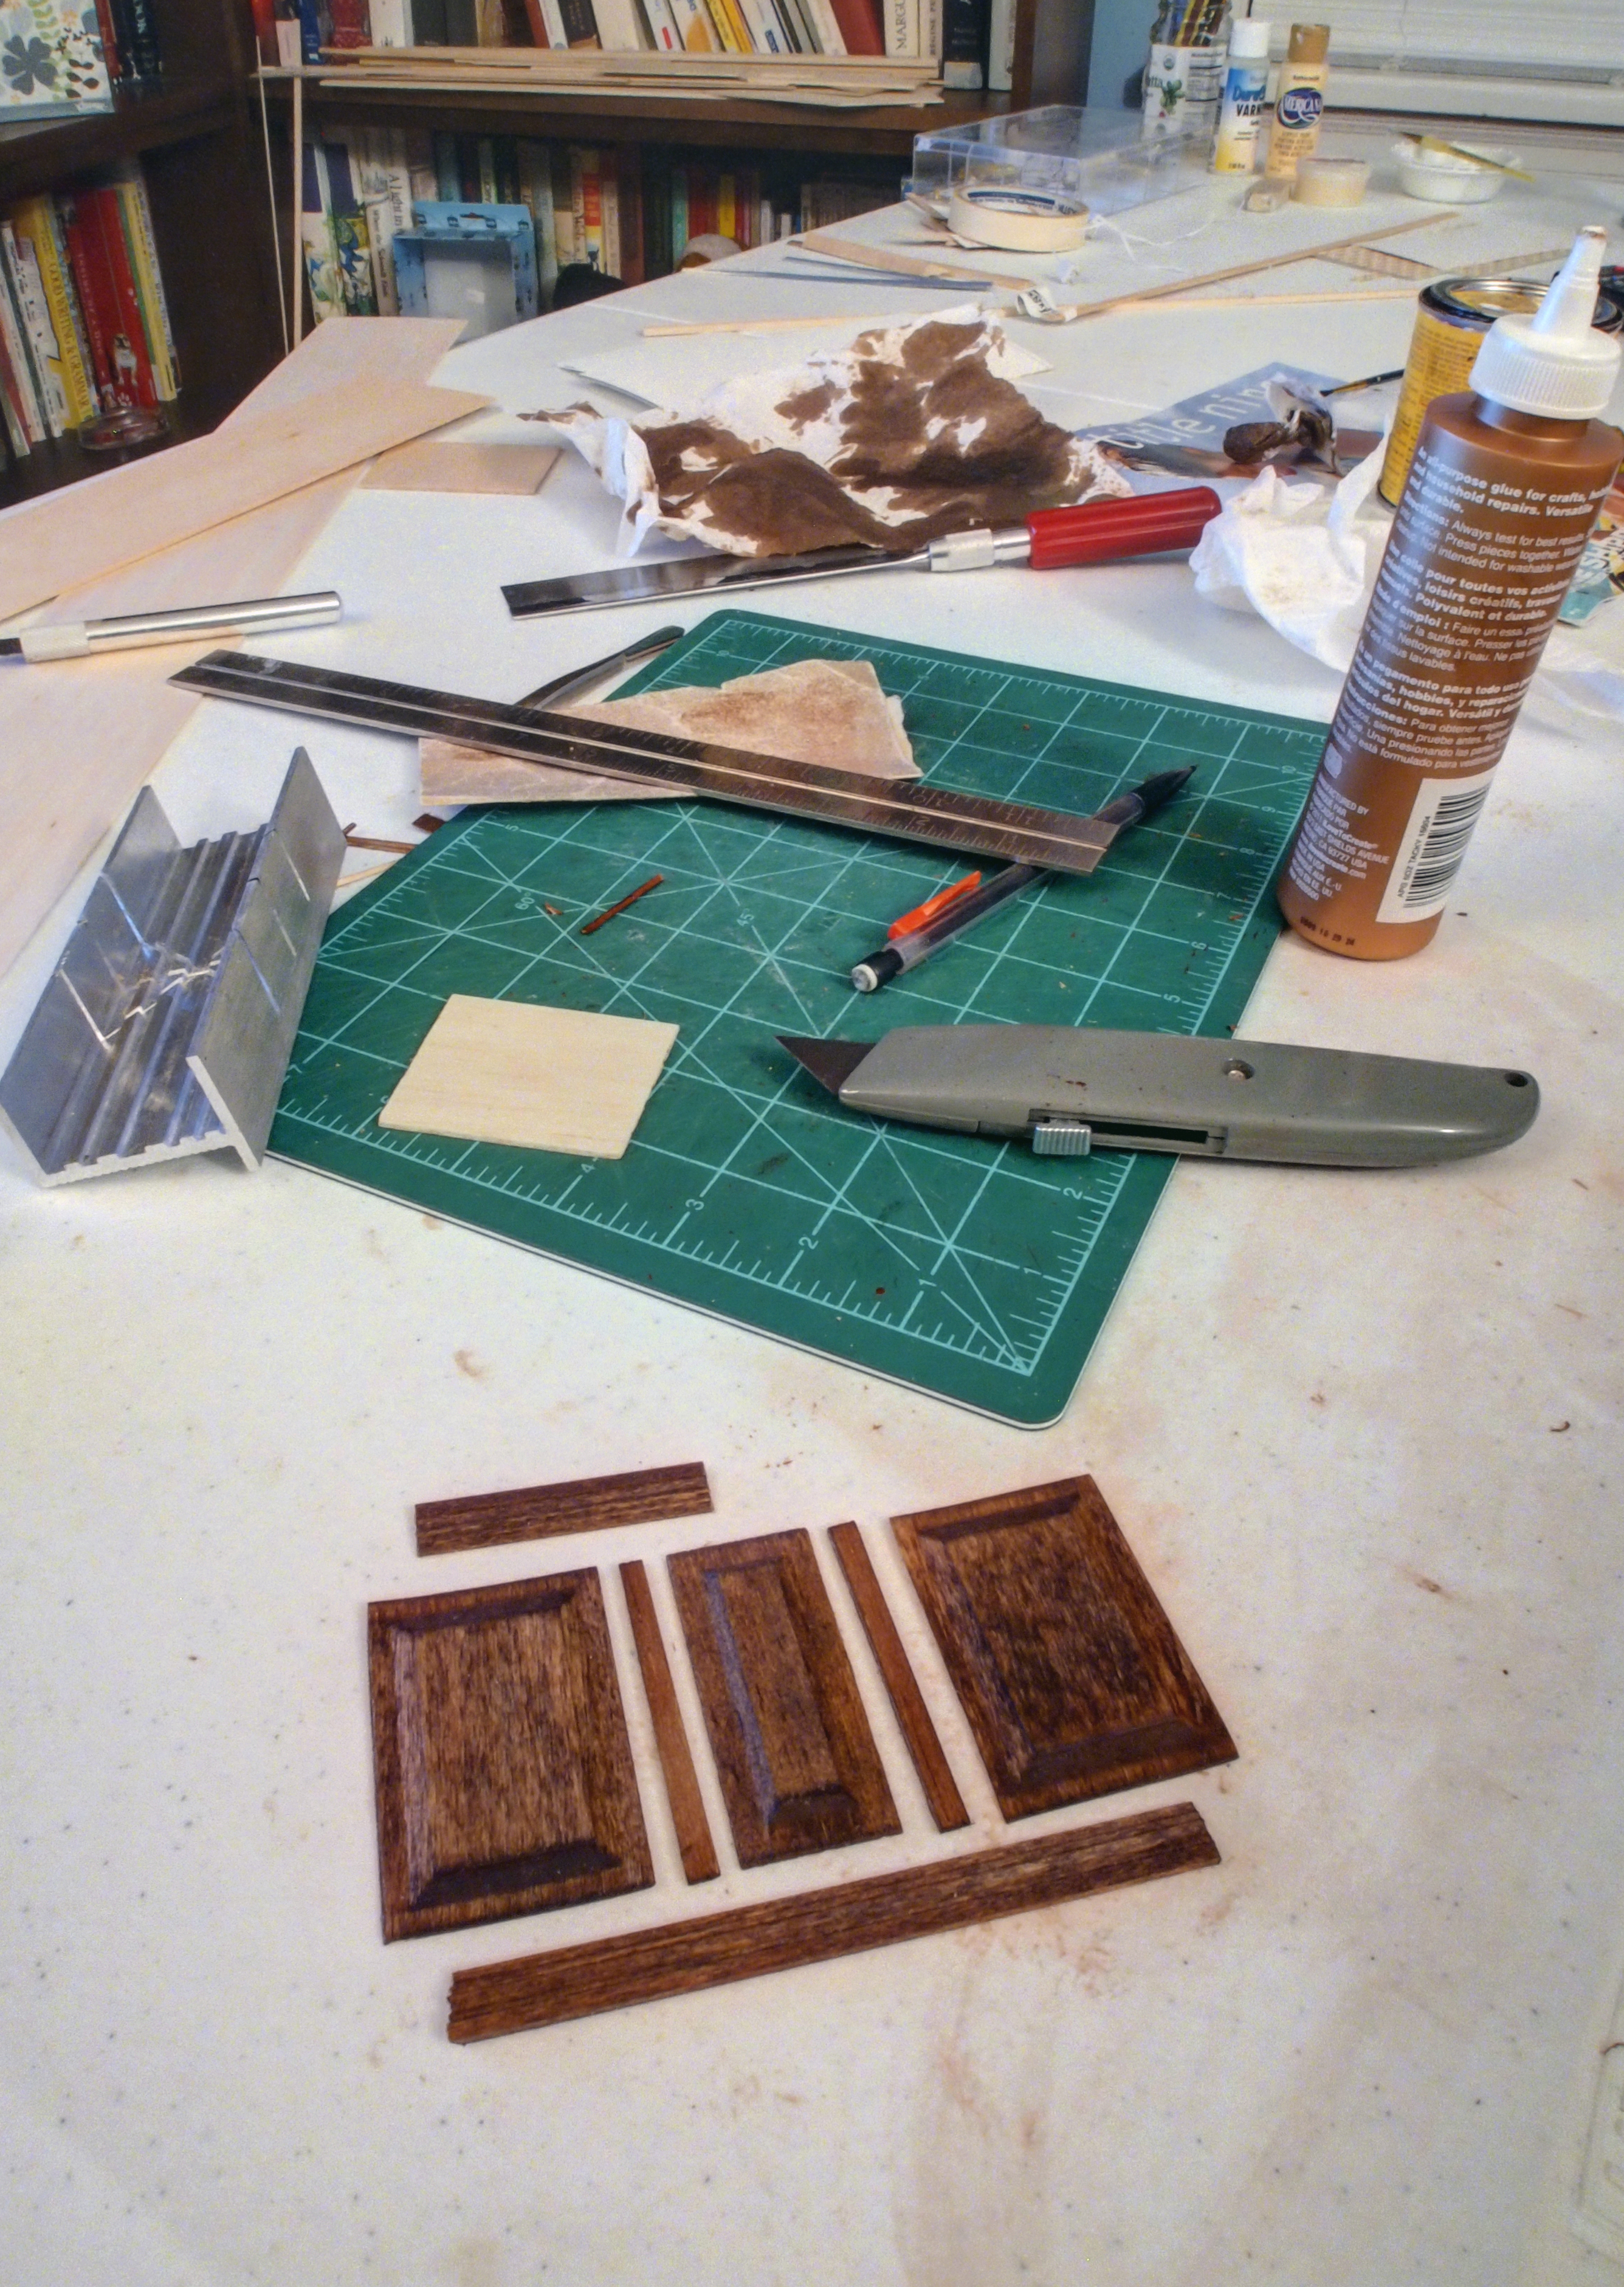
The bottom shelf liner was too wide, so I started by hemming it so it would fit.

OLYMPUS DIGITAL CAMERA

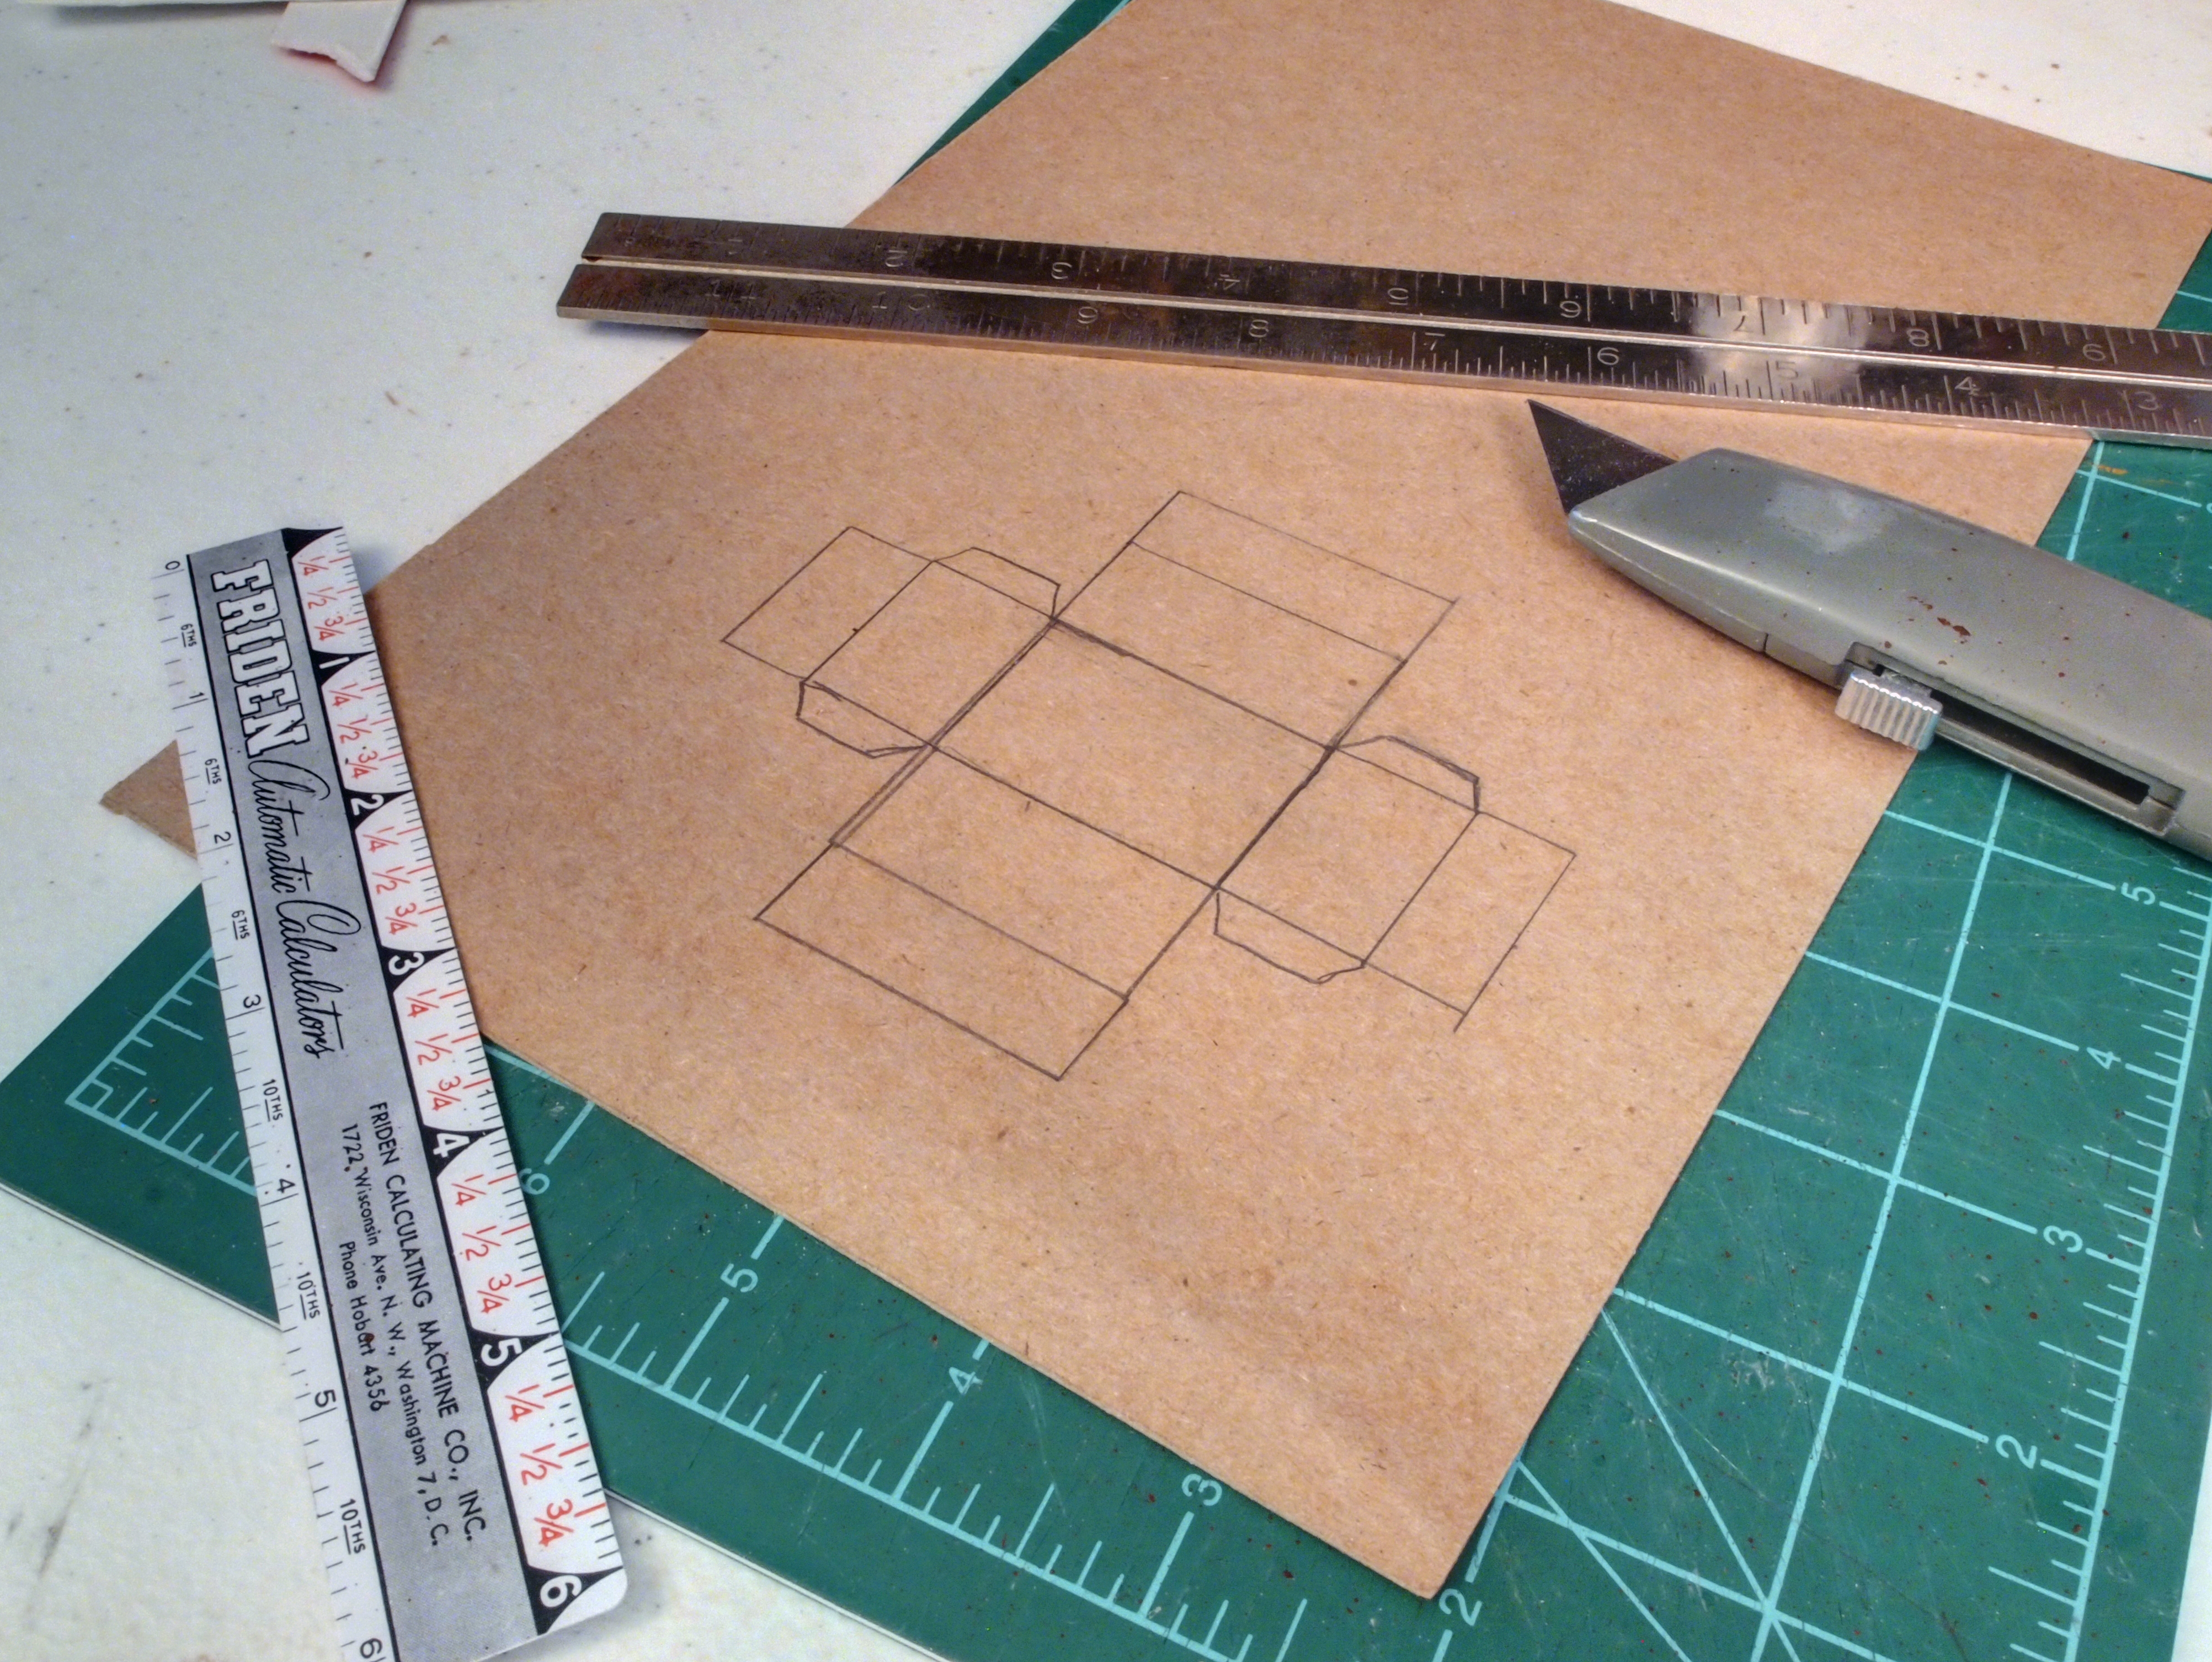
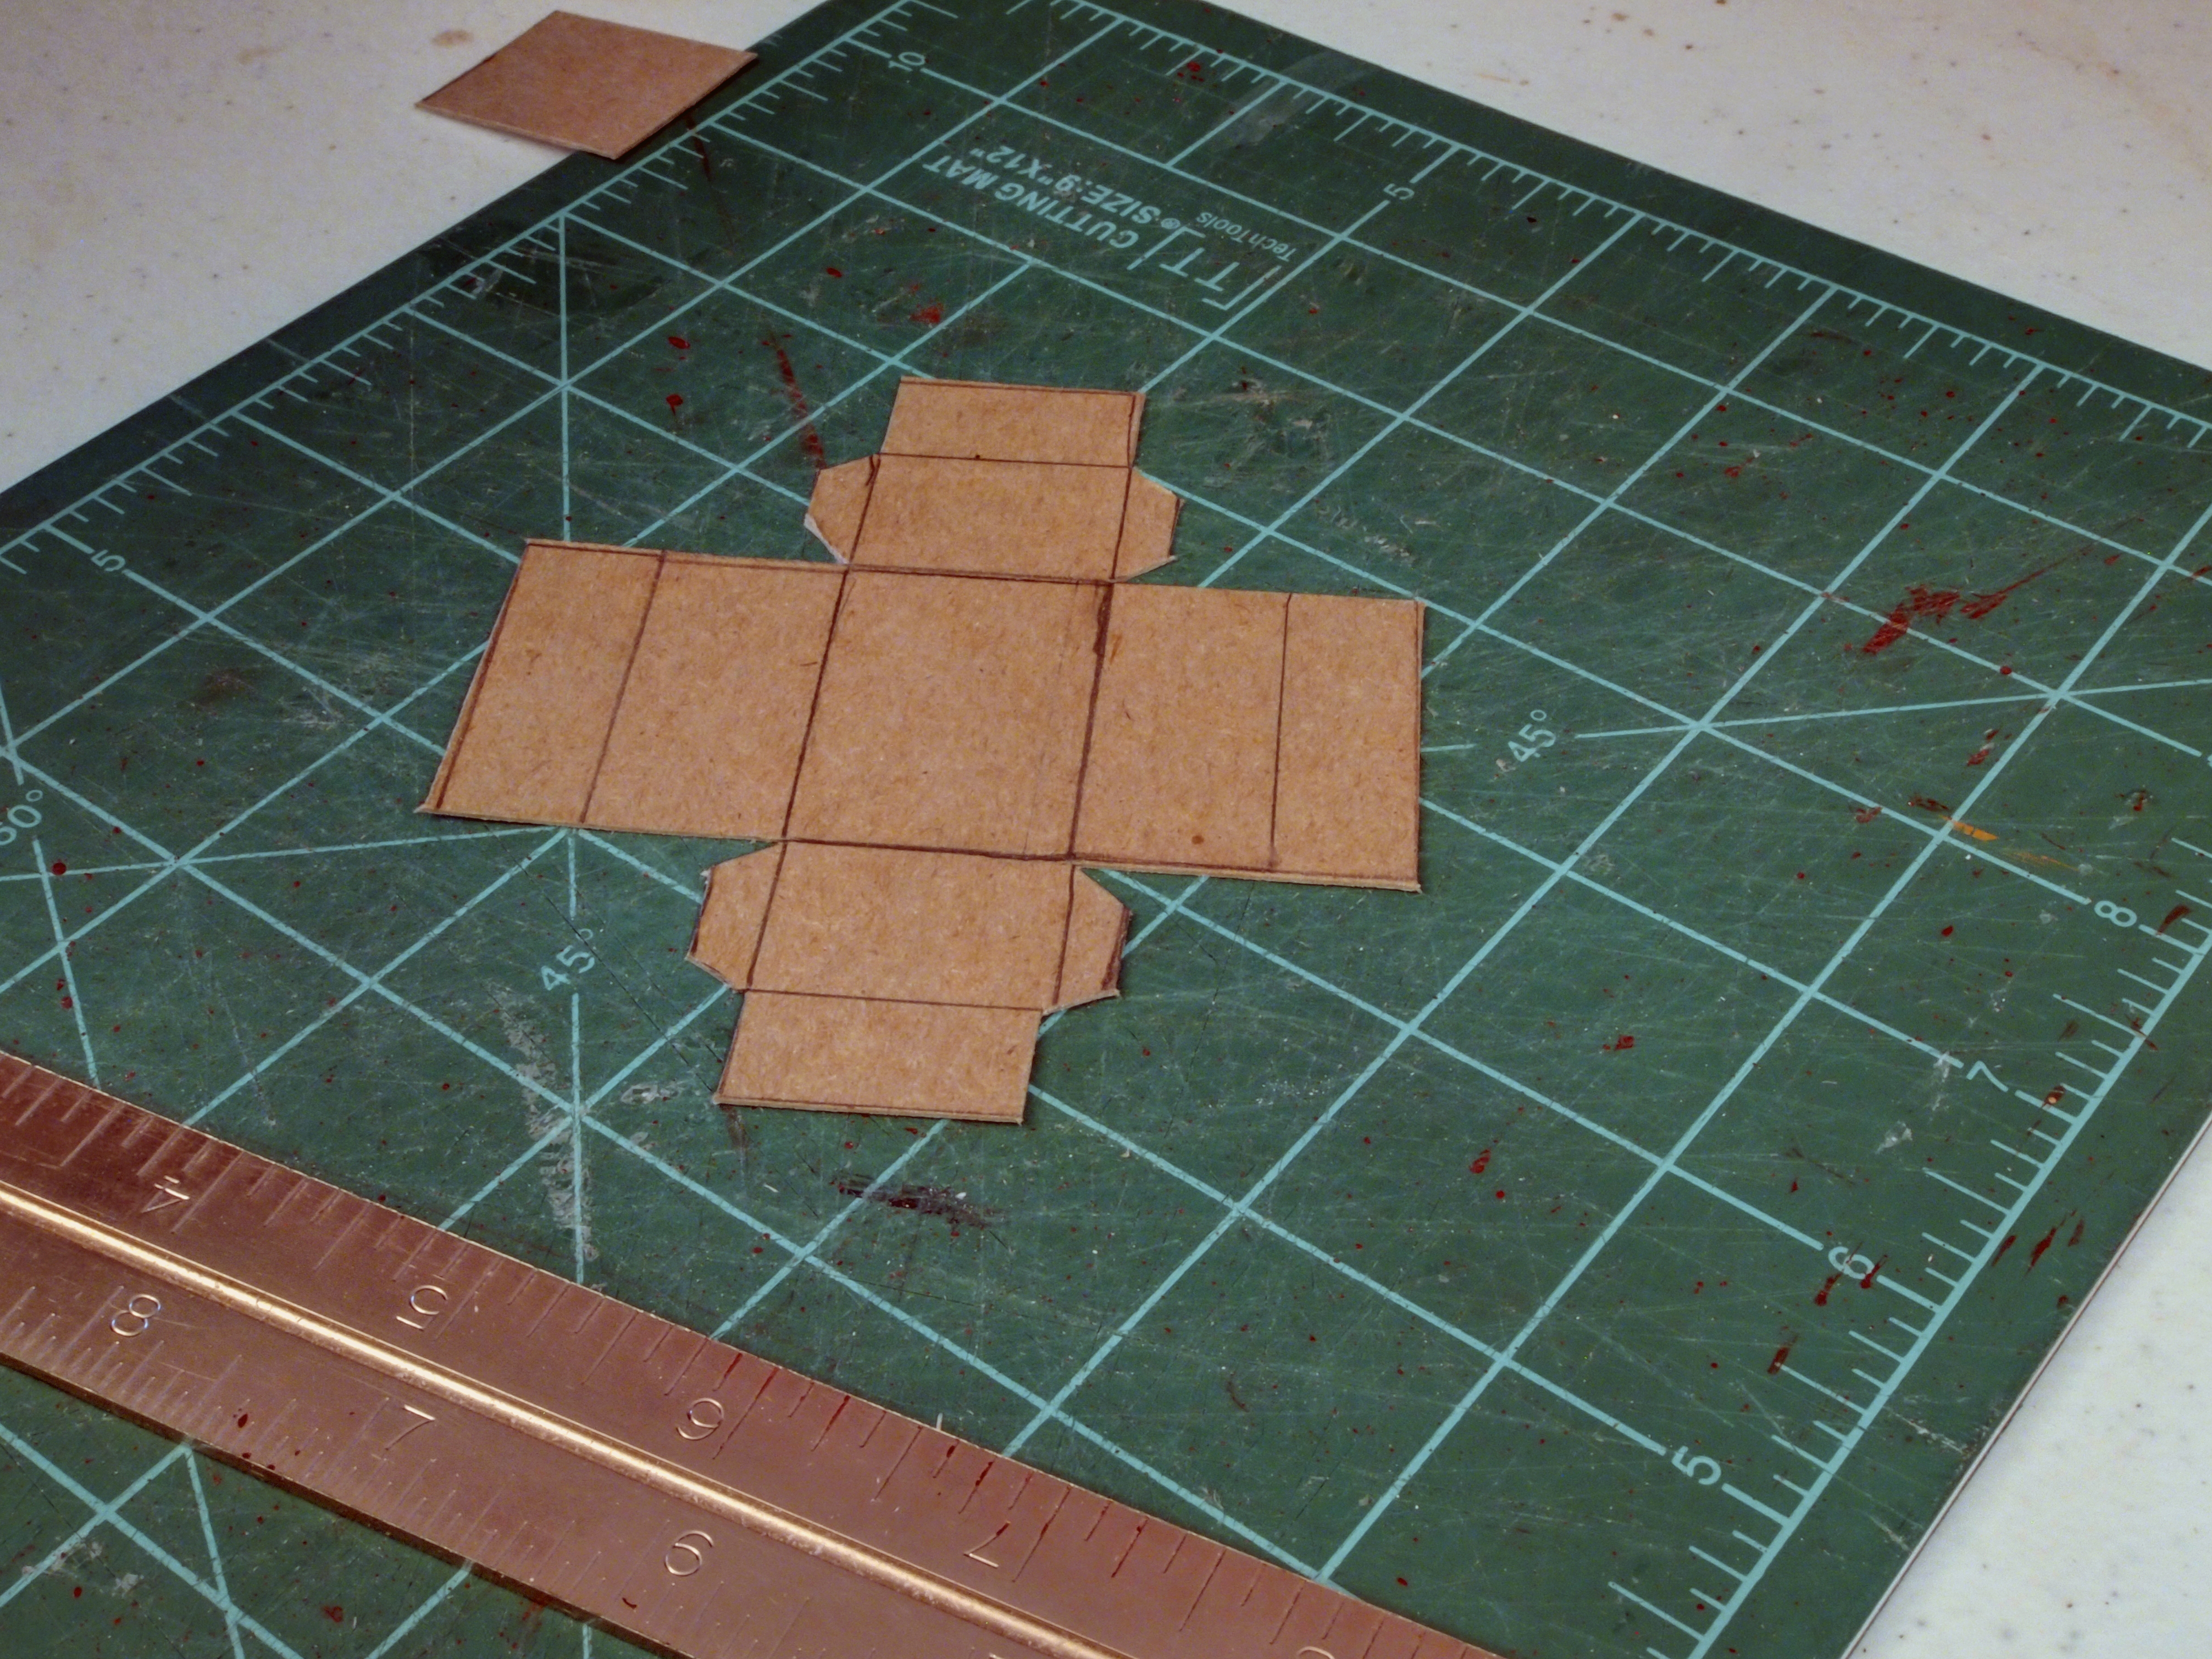
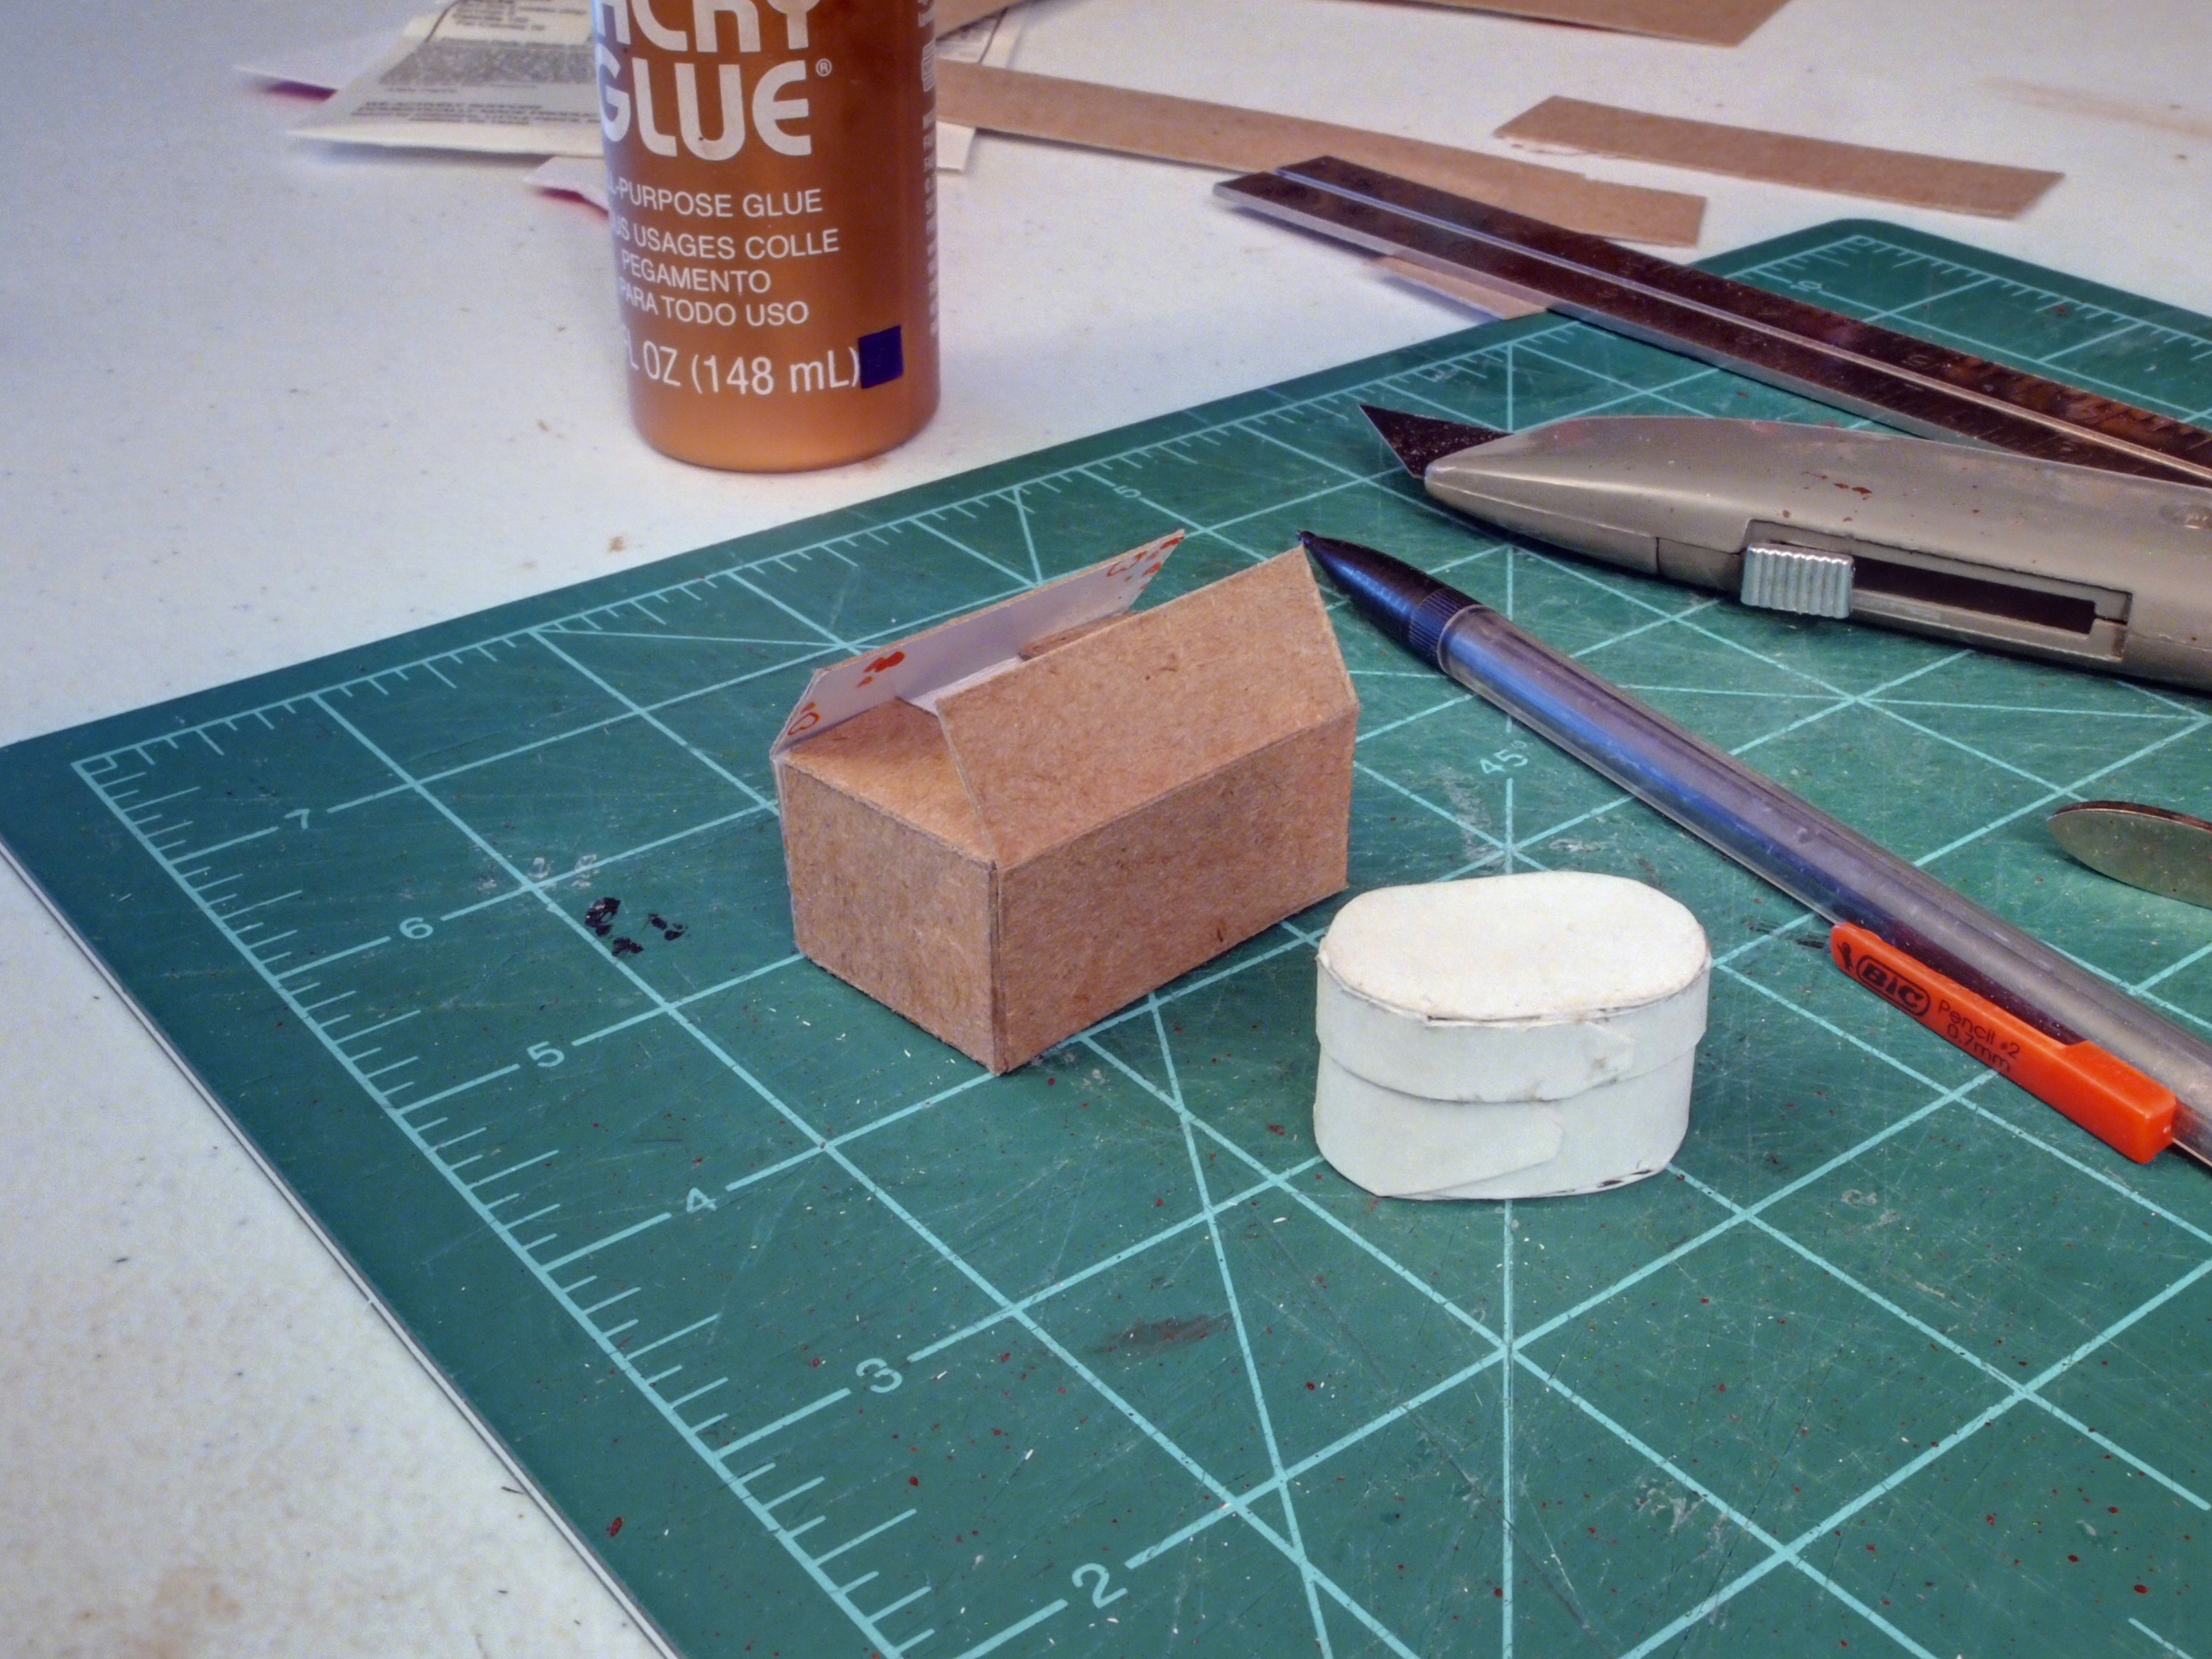
Then I took cardboard from a cookie box to cut and glue the bottom and the lid to a Shaker box.

OLYMPUS DIGITAL CAMERA

I also designed and cut out a cardboard box out of a cereal box. I figured every closet has at least one cardboard box in it somewhere…

OLYMPUS DIGITAL CAMERA

OLYMPUS DIGITAL CAMERA

OLYMPUS DIGITAL CAMERA

I painted the Shaker box…

OLYMPUS DIGITAL CAMERA

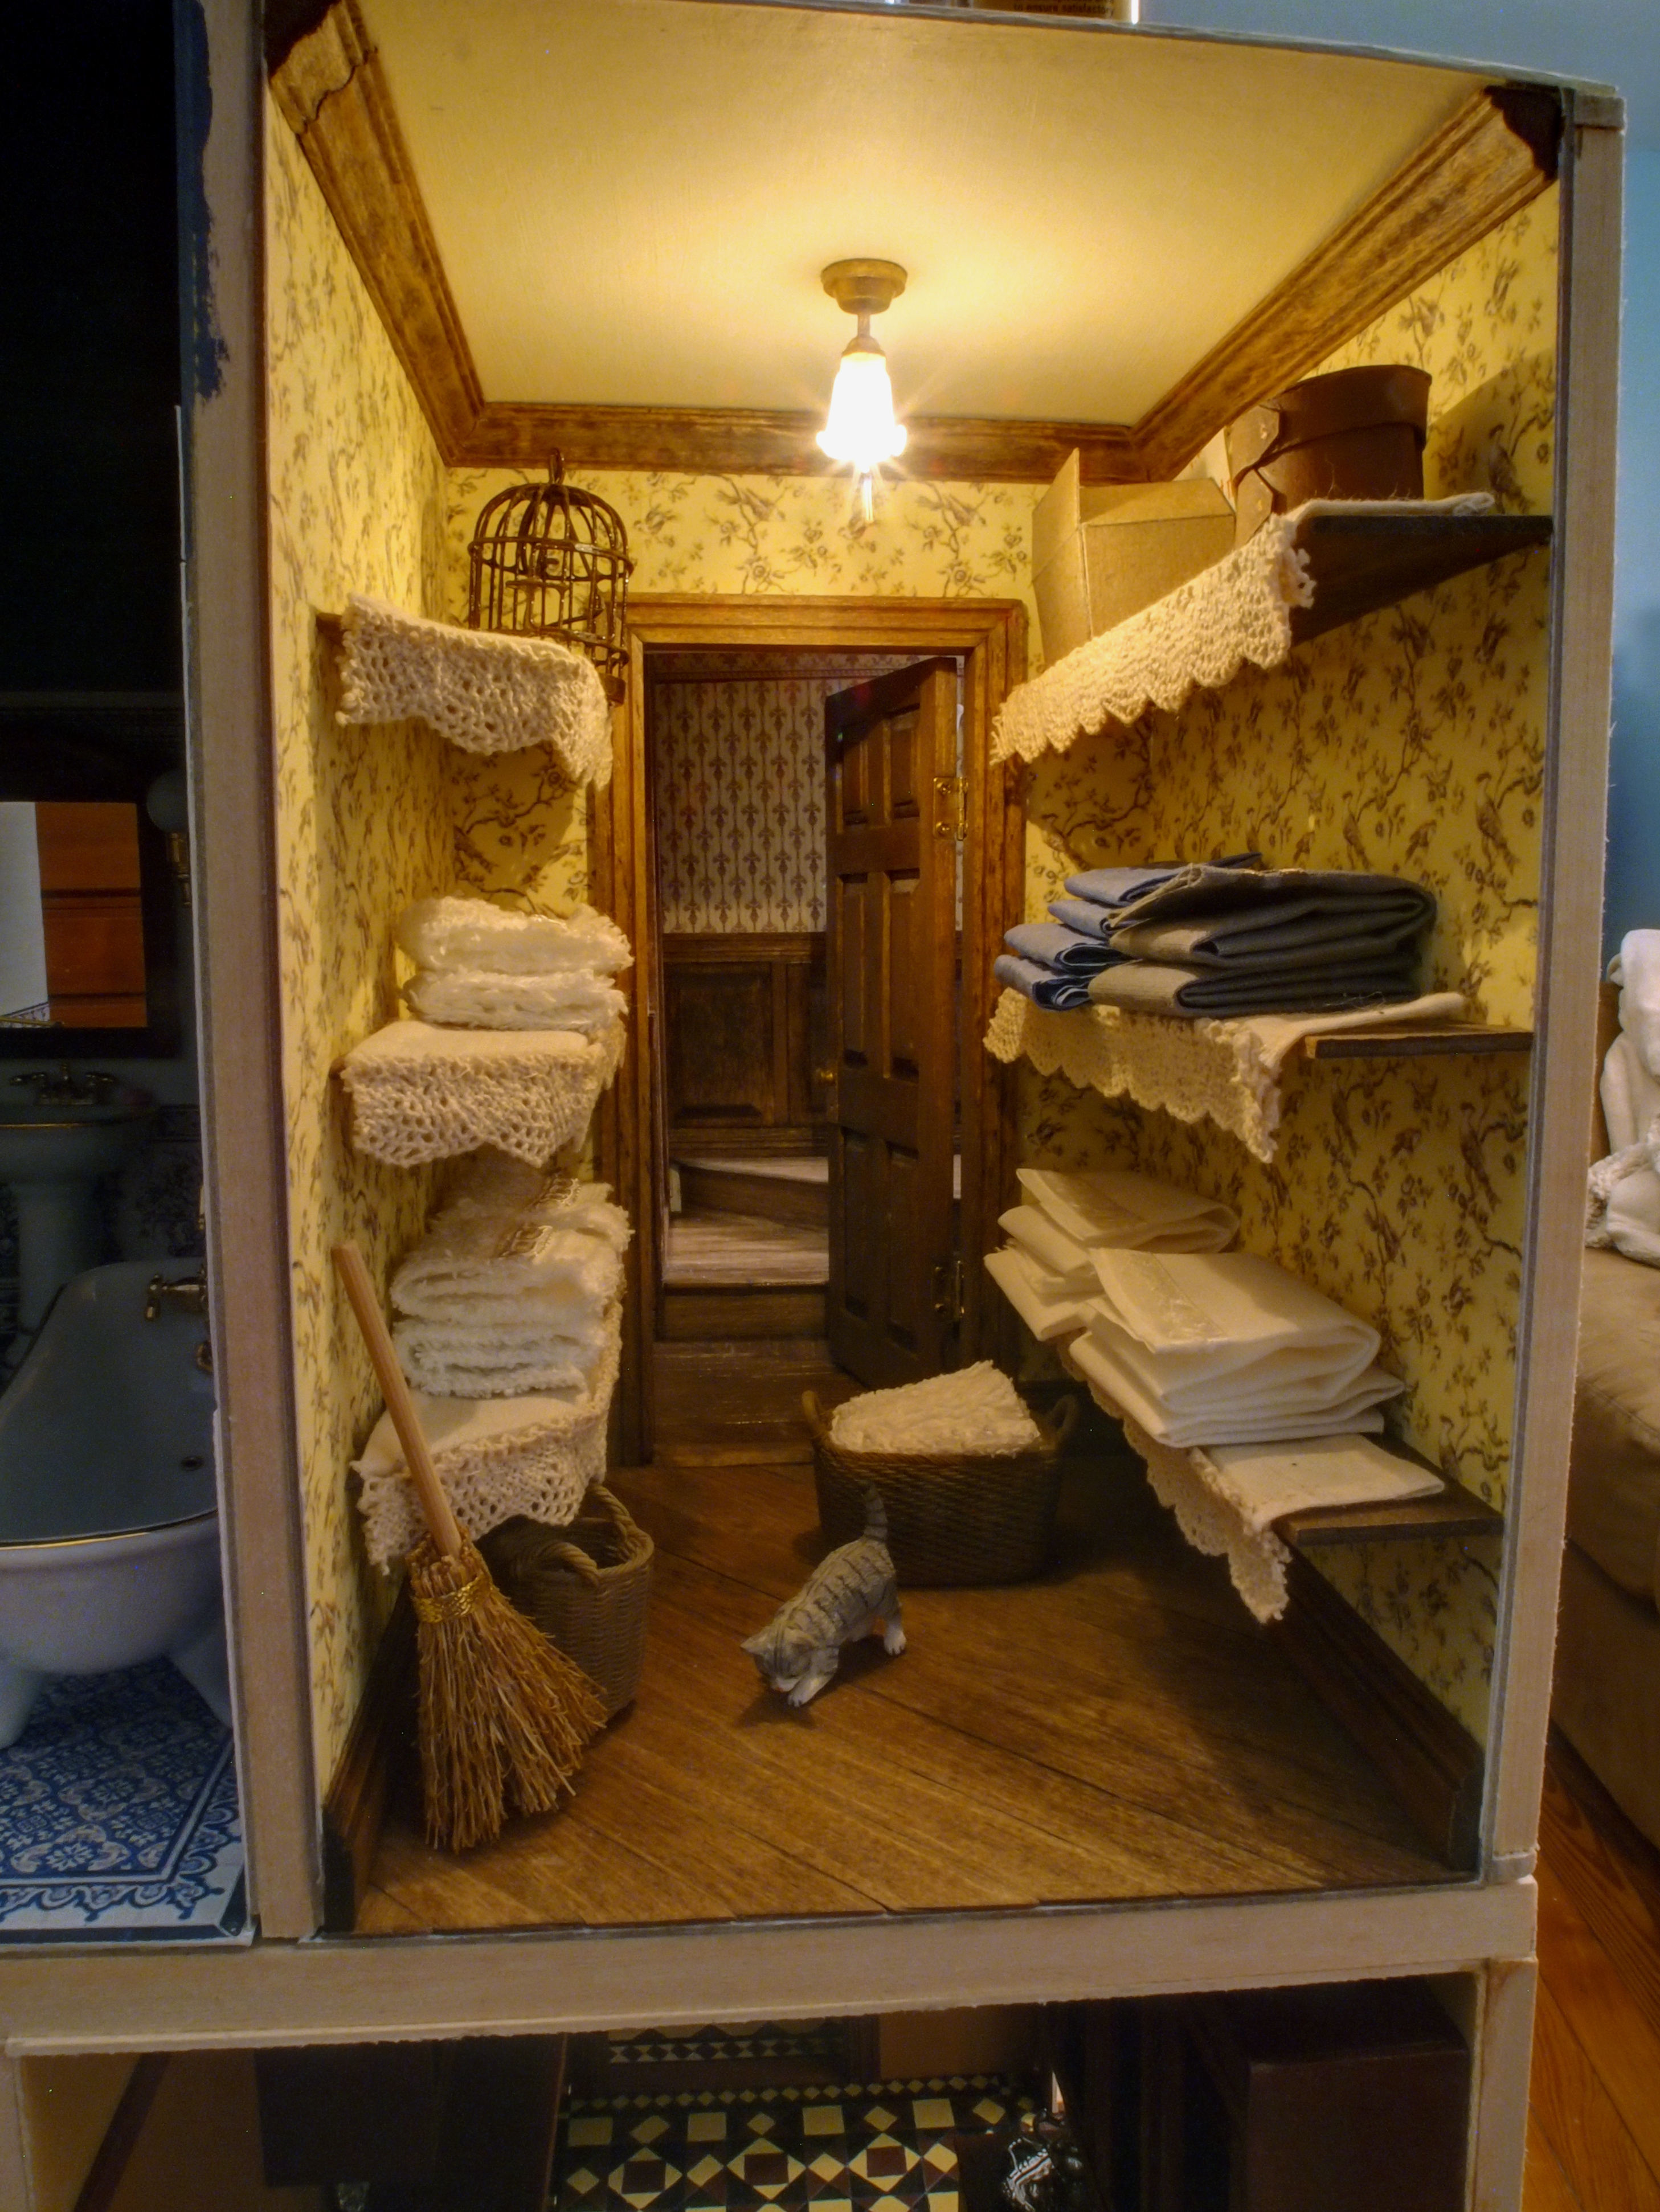
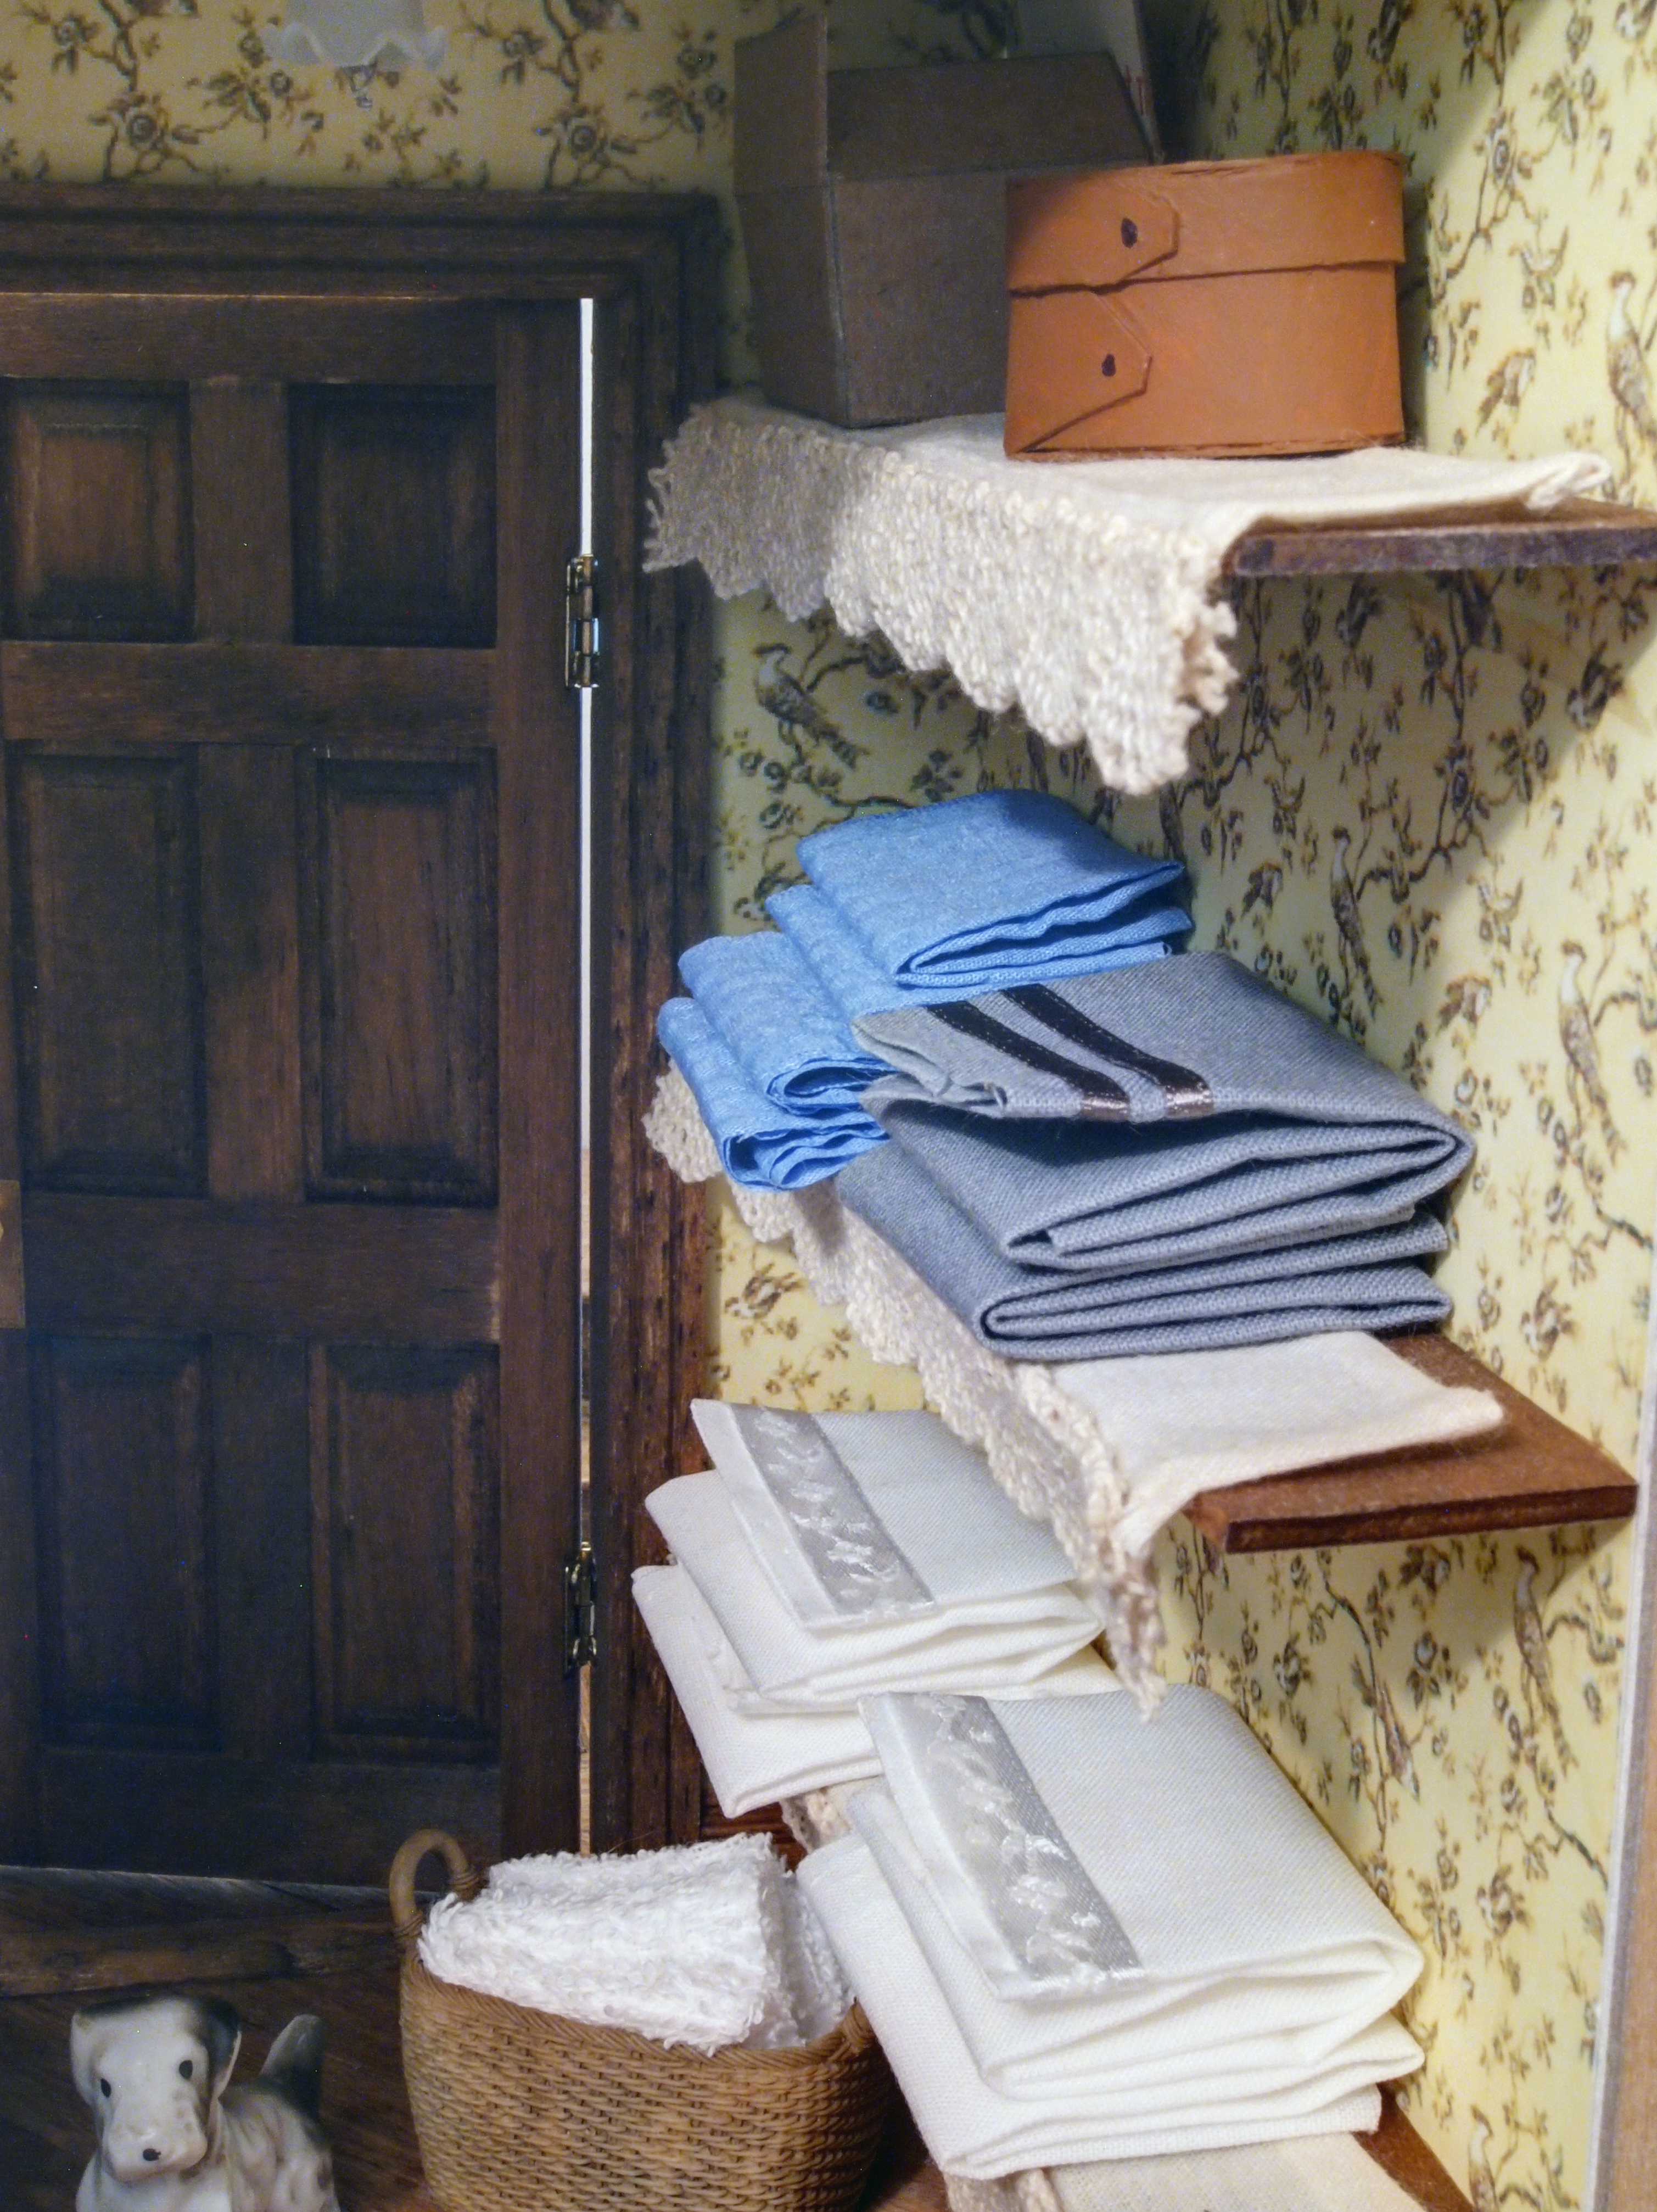
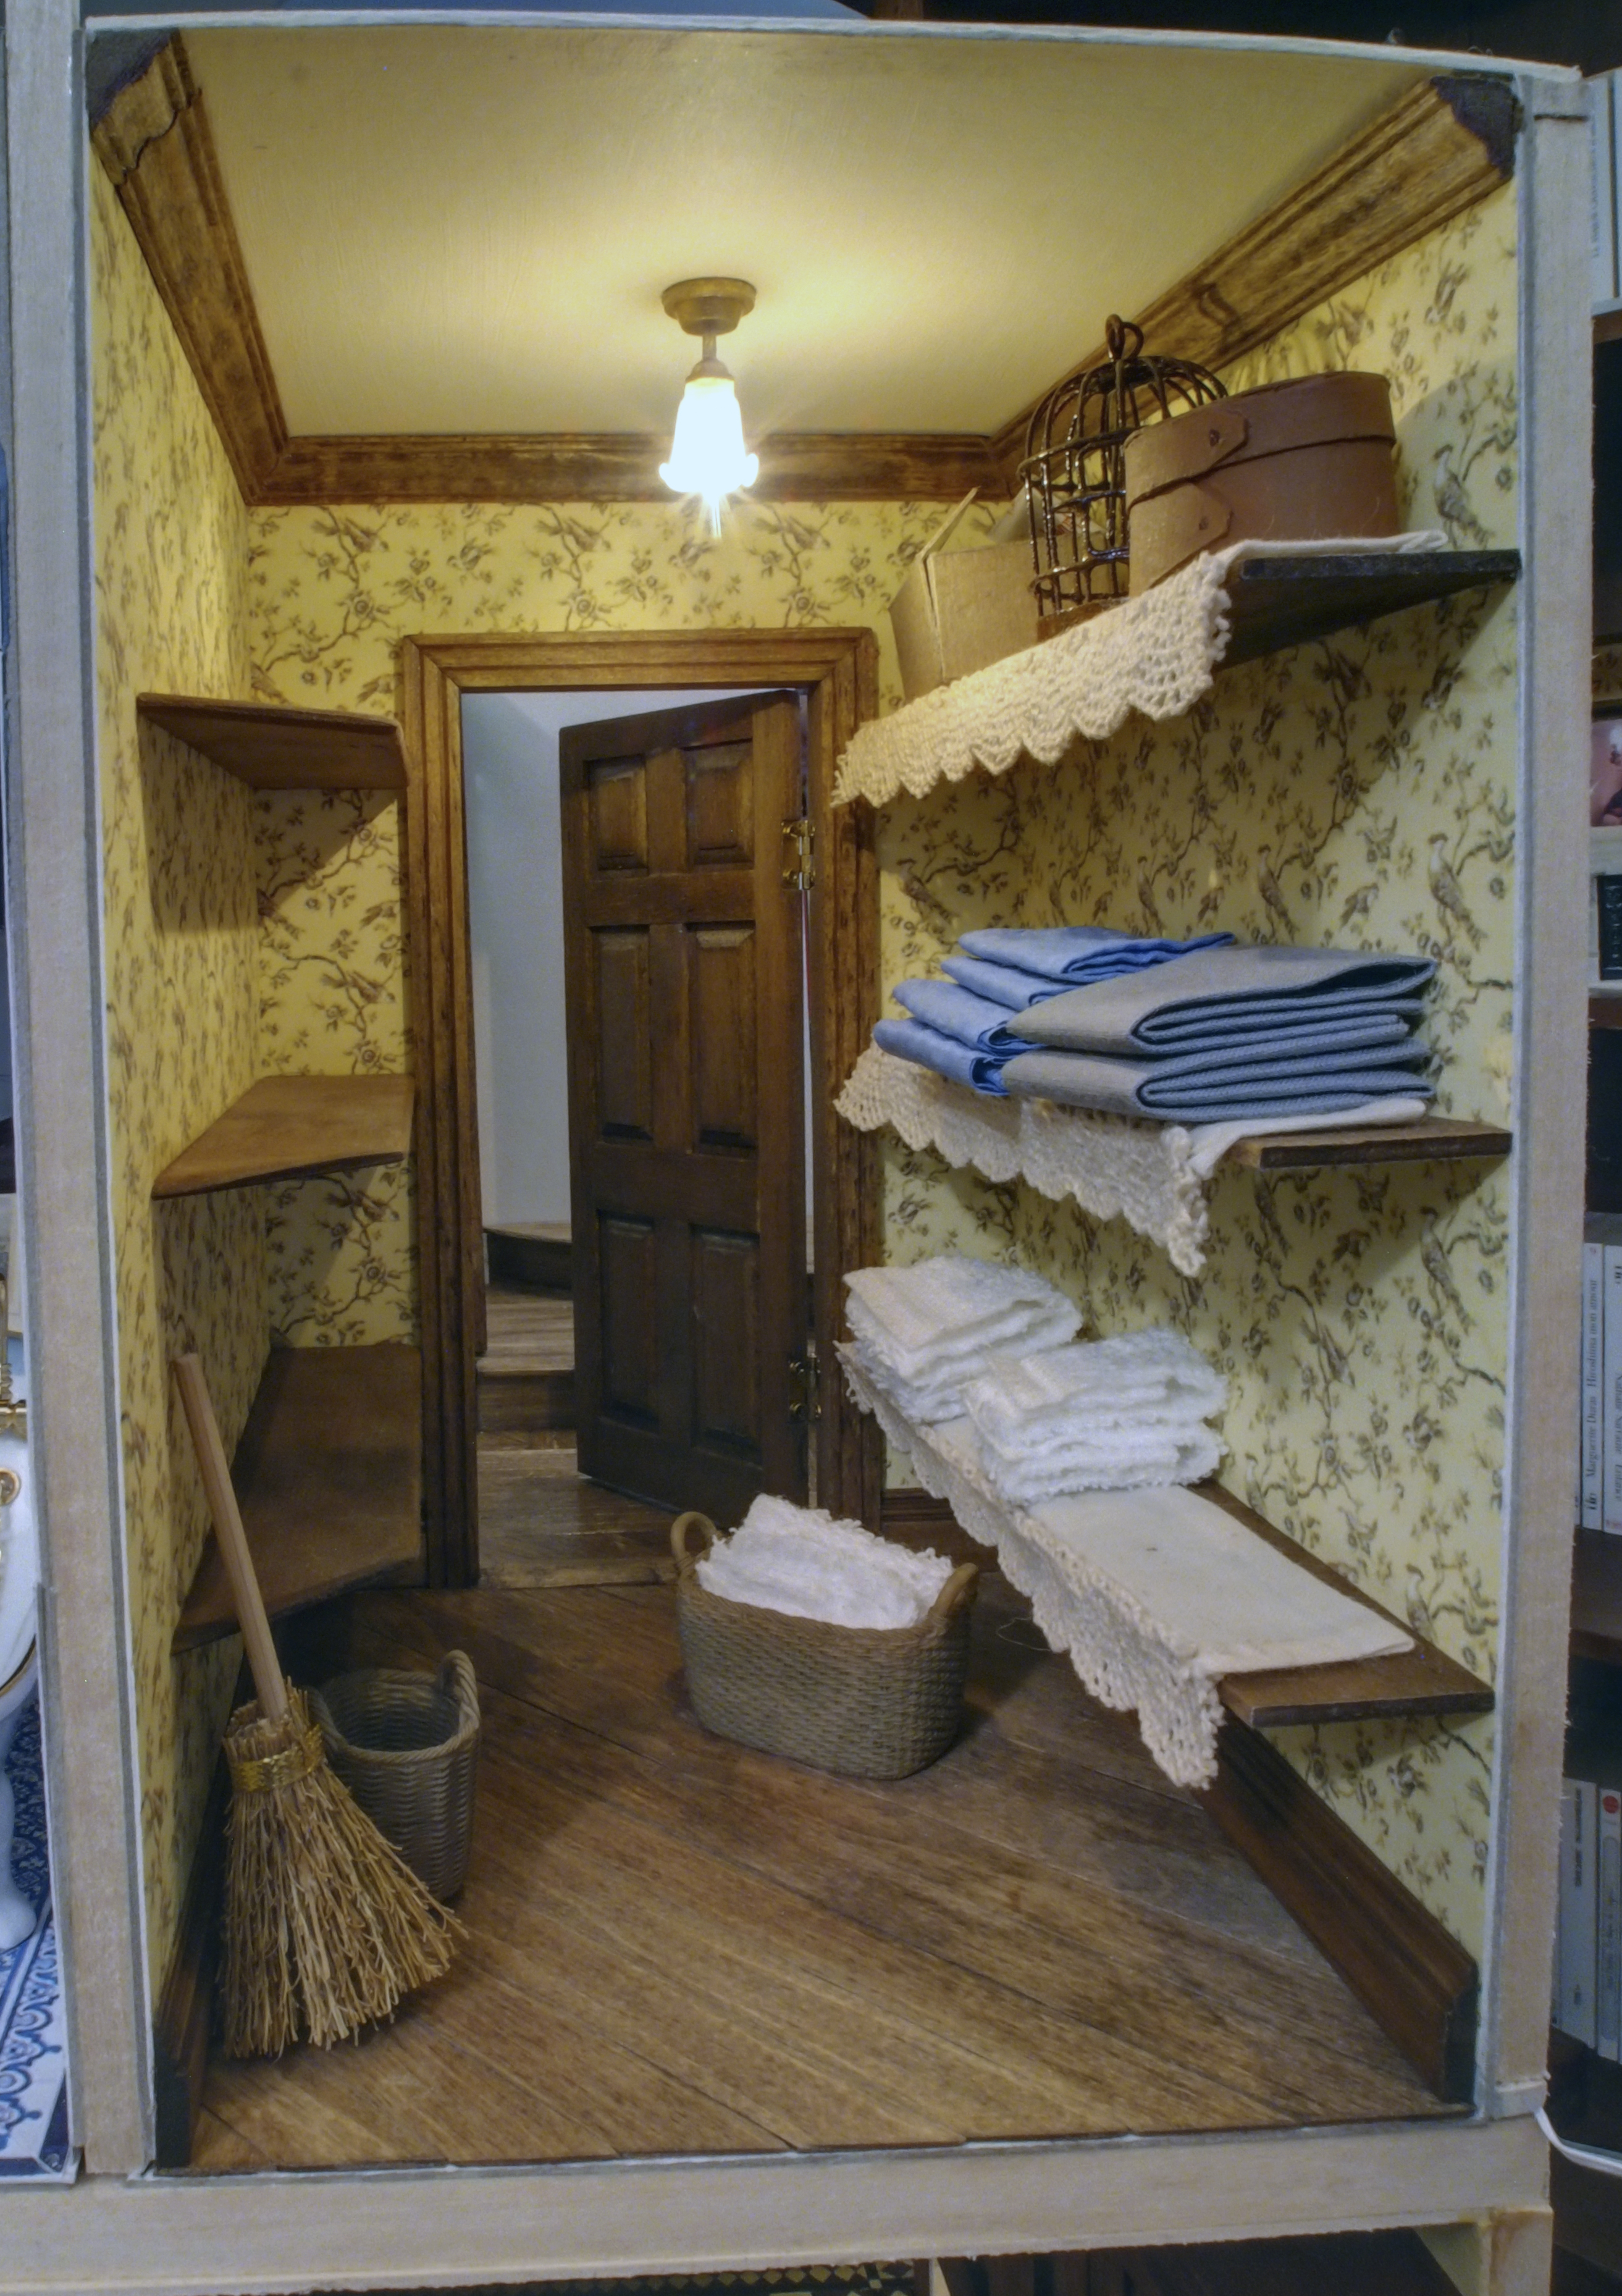
…and after adding a second coat of paint and a couple dots for nails, I placed the boxes on the top shelf.

OLYMPUS DIGITAL CAMERA

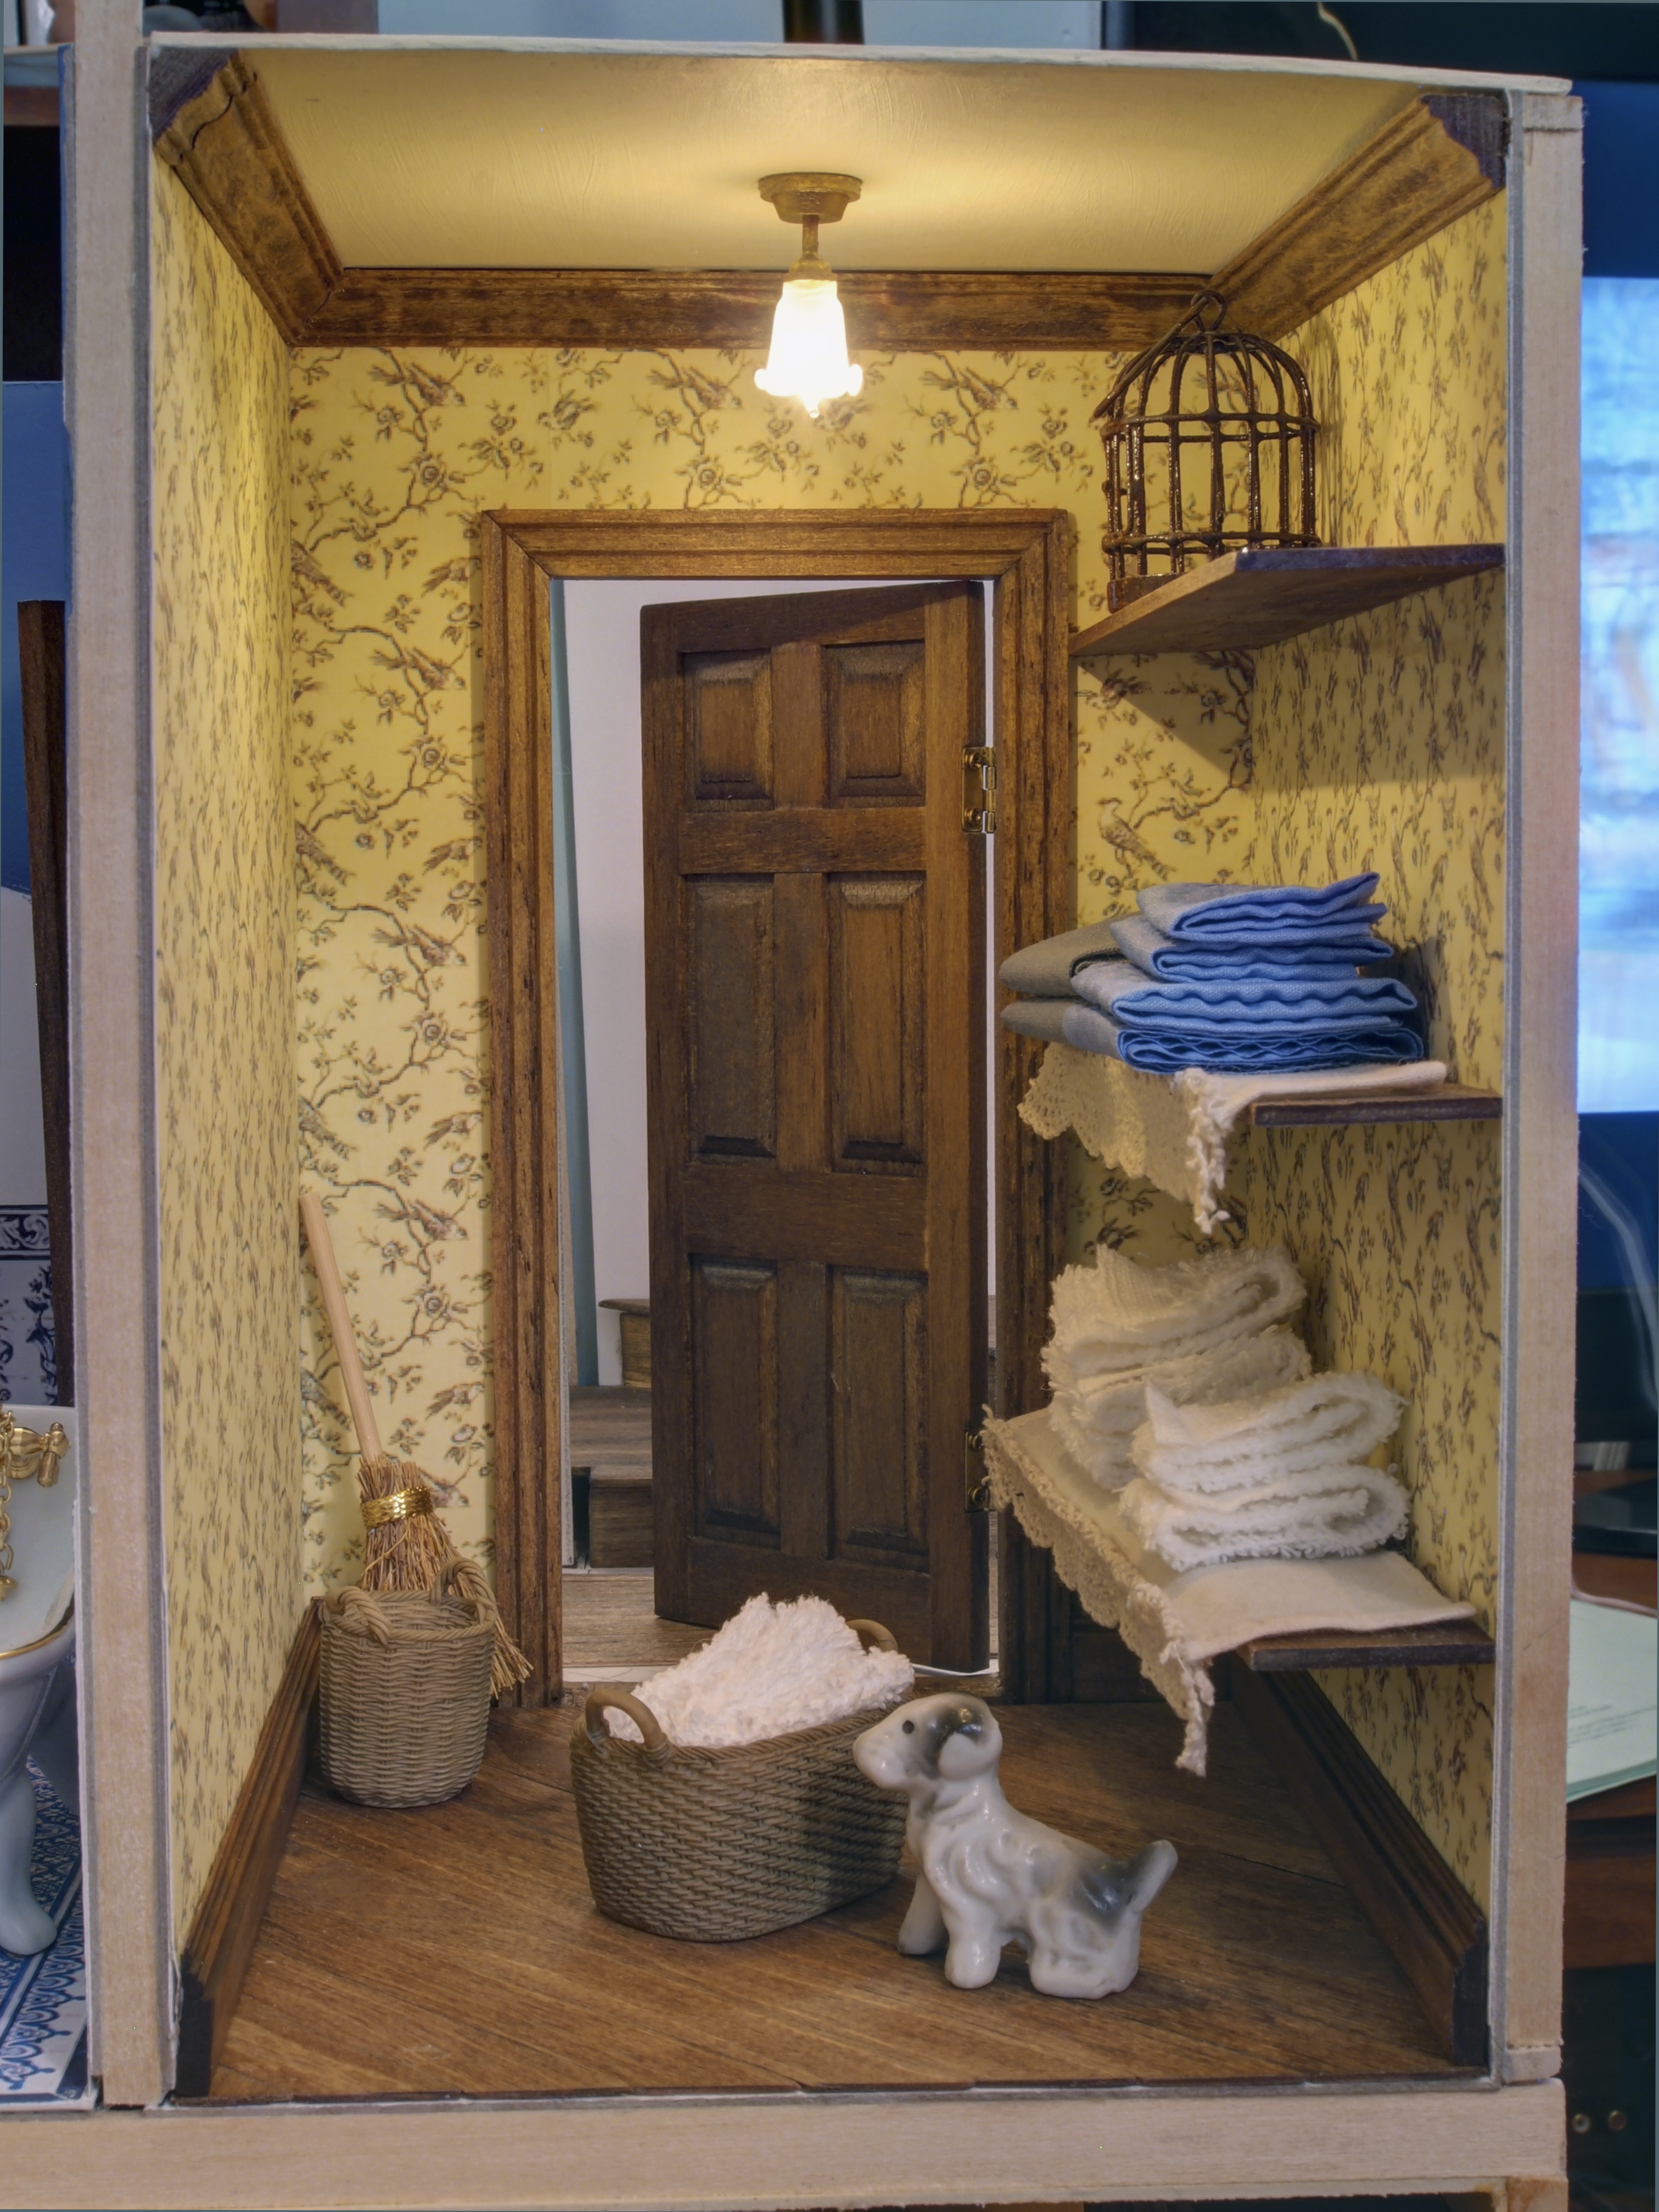
Next I cut out and stained the other three shelves for the left wall.

OLYMPUS DIGITAL CAMERA

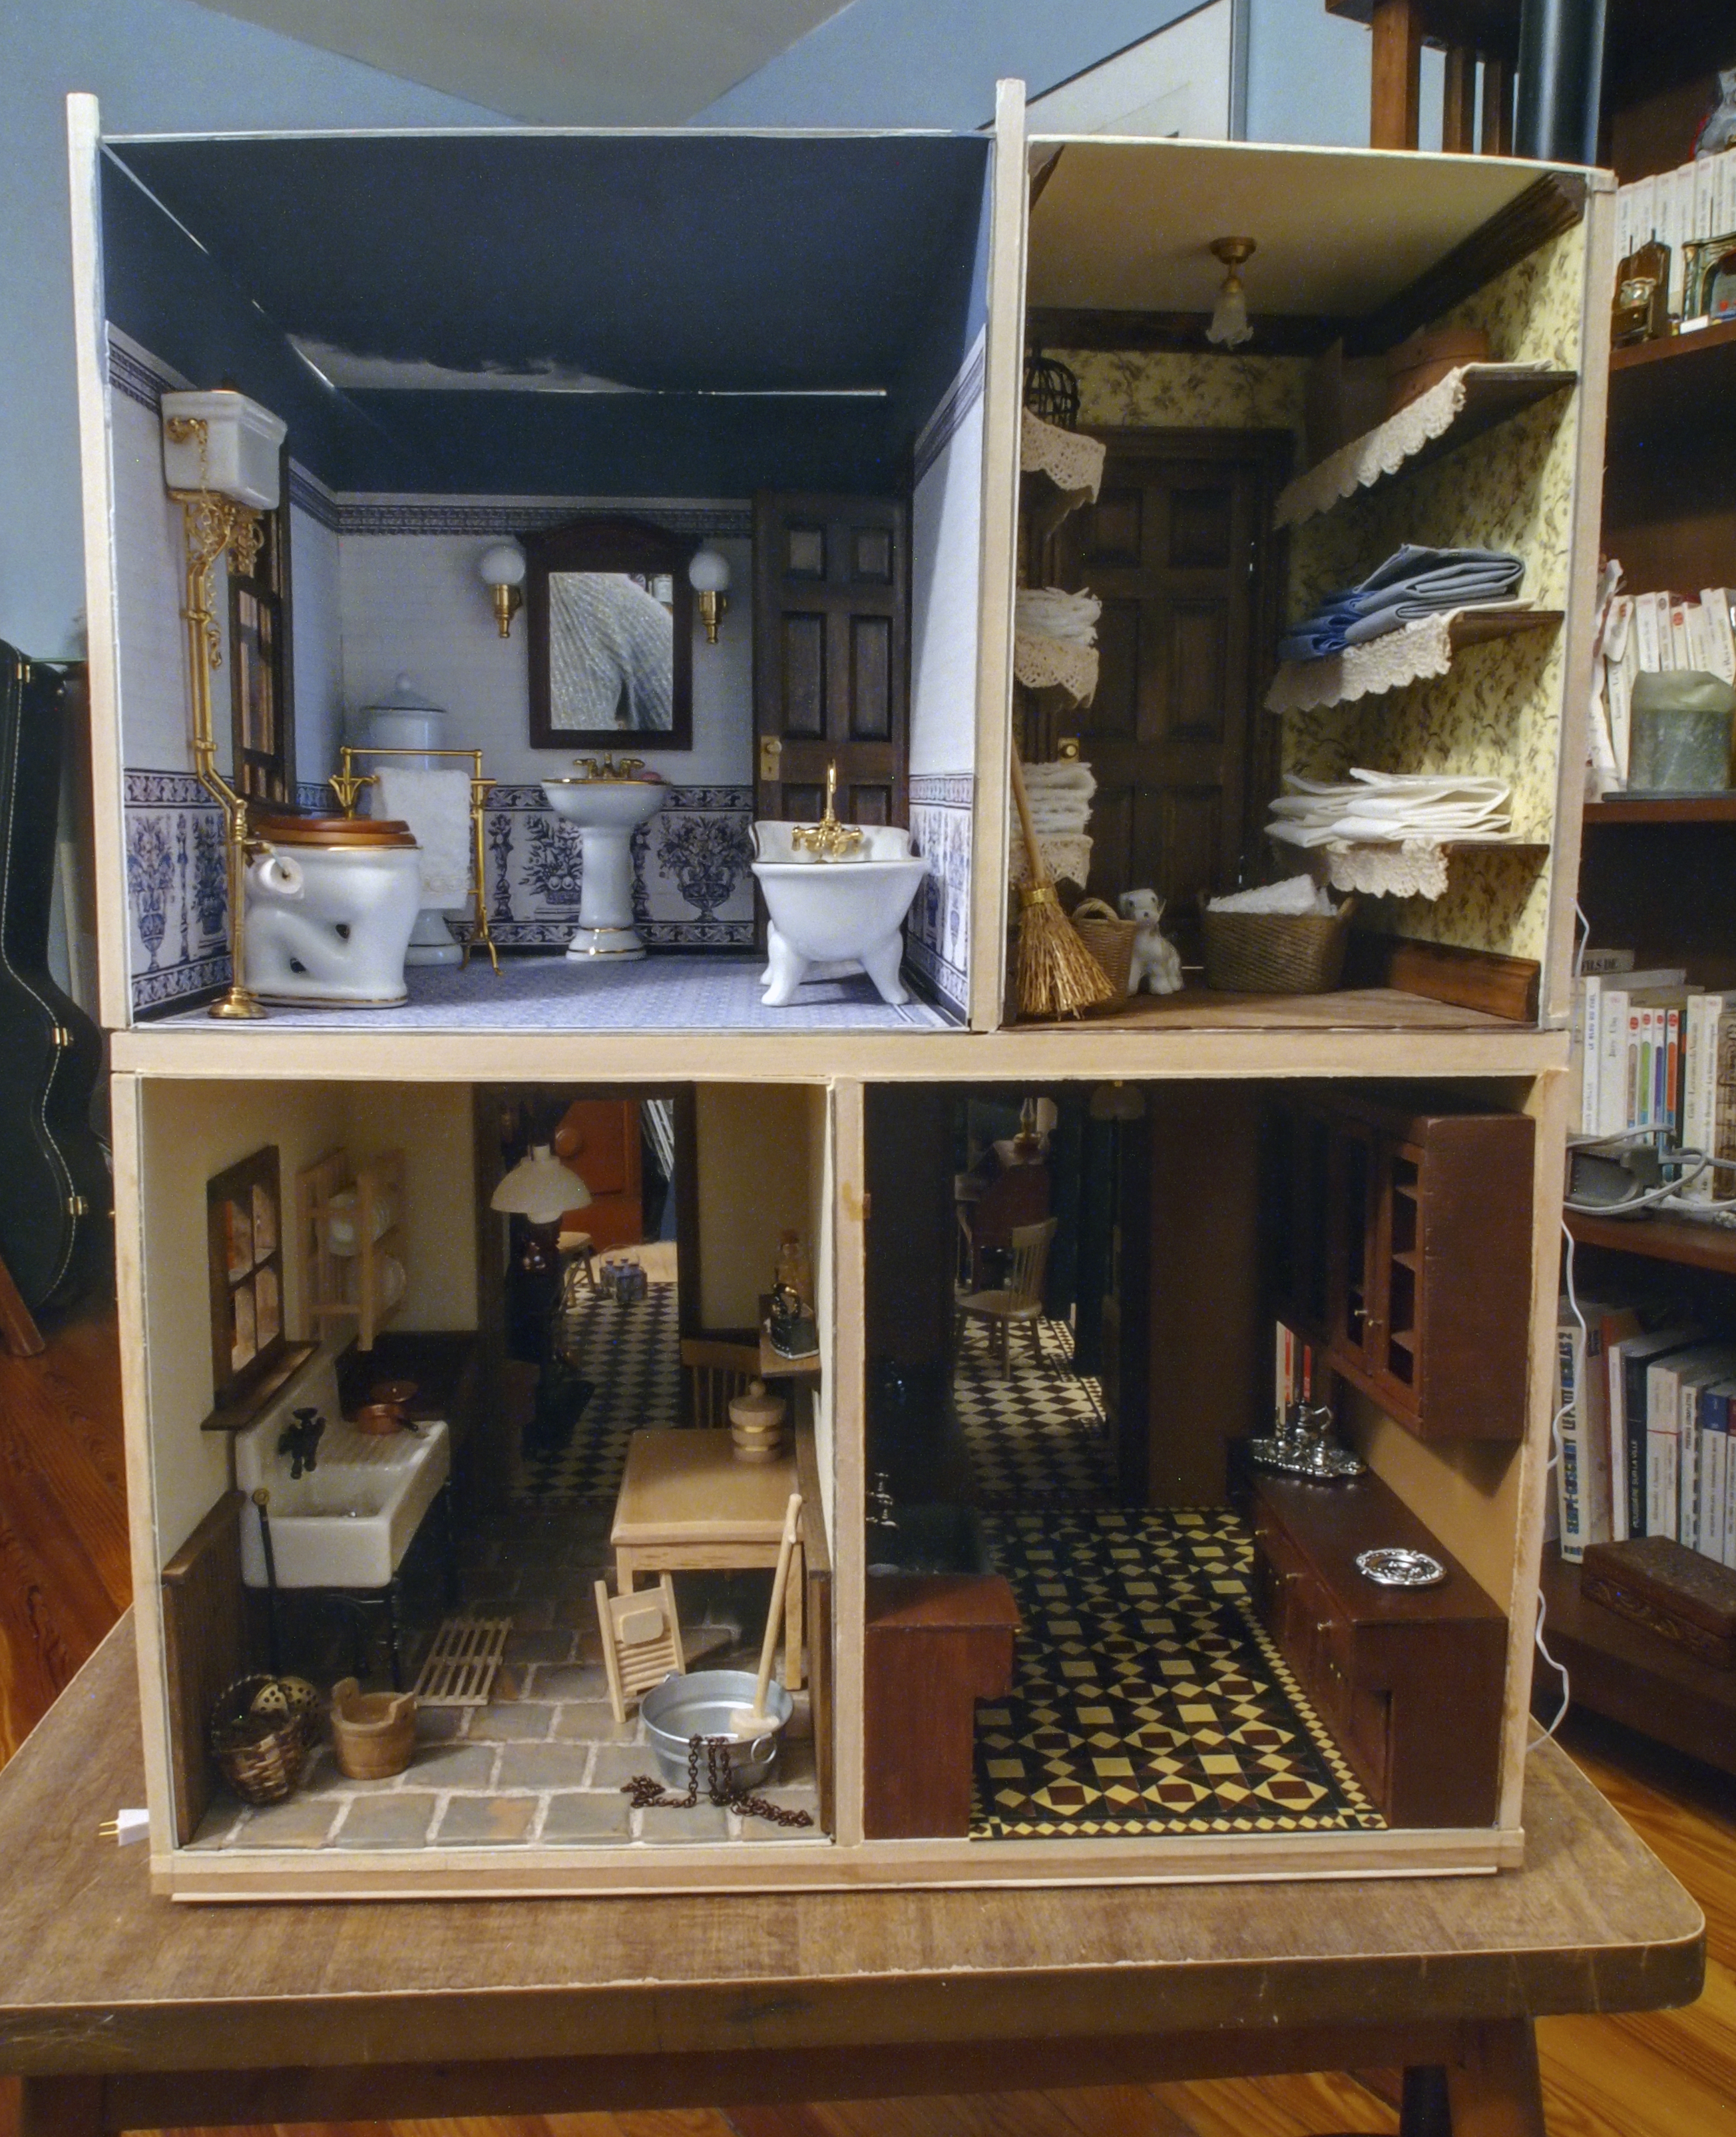
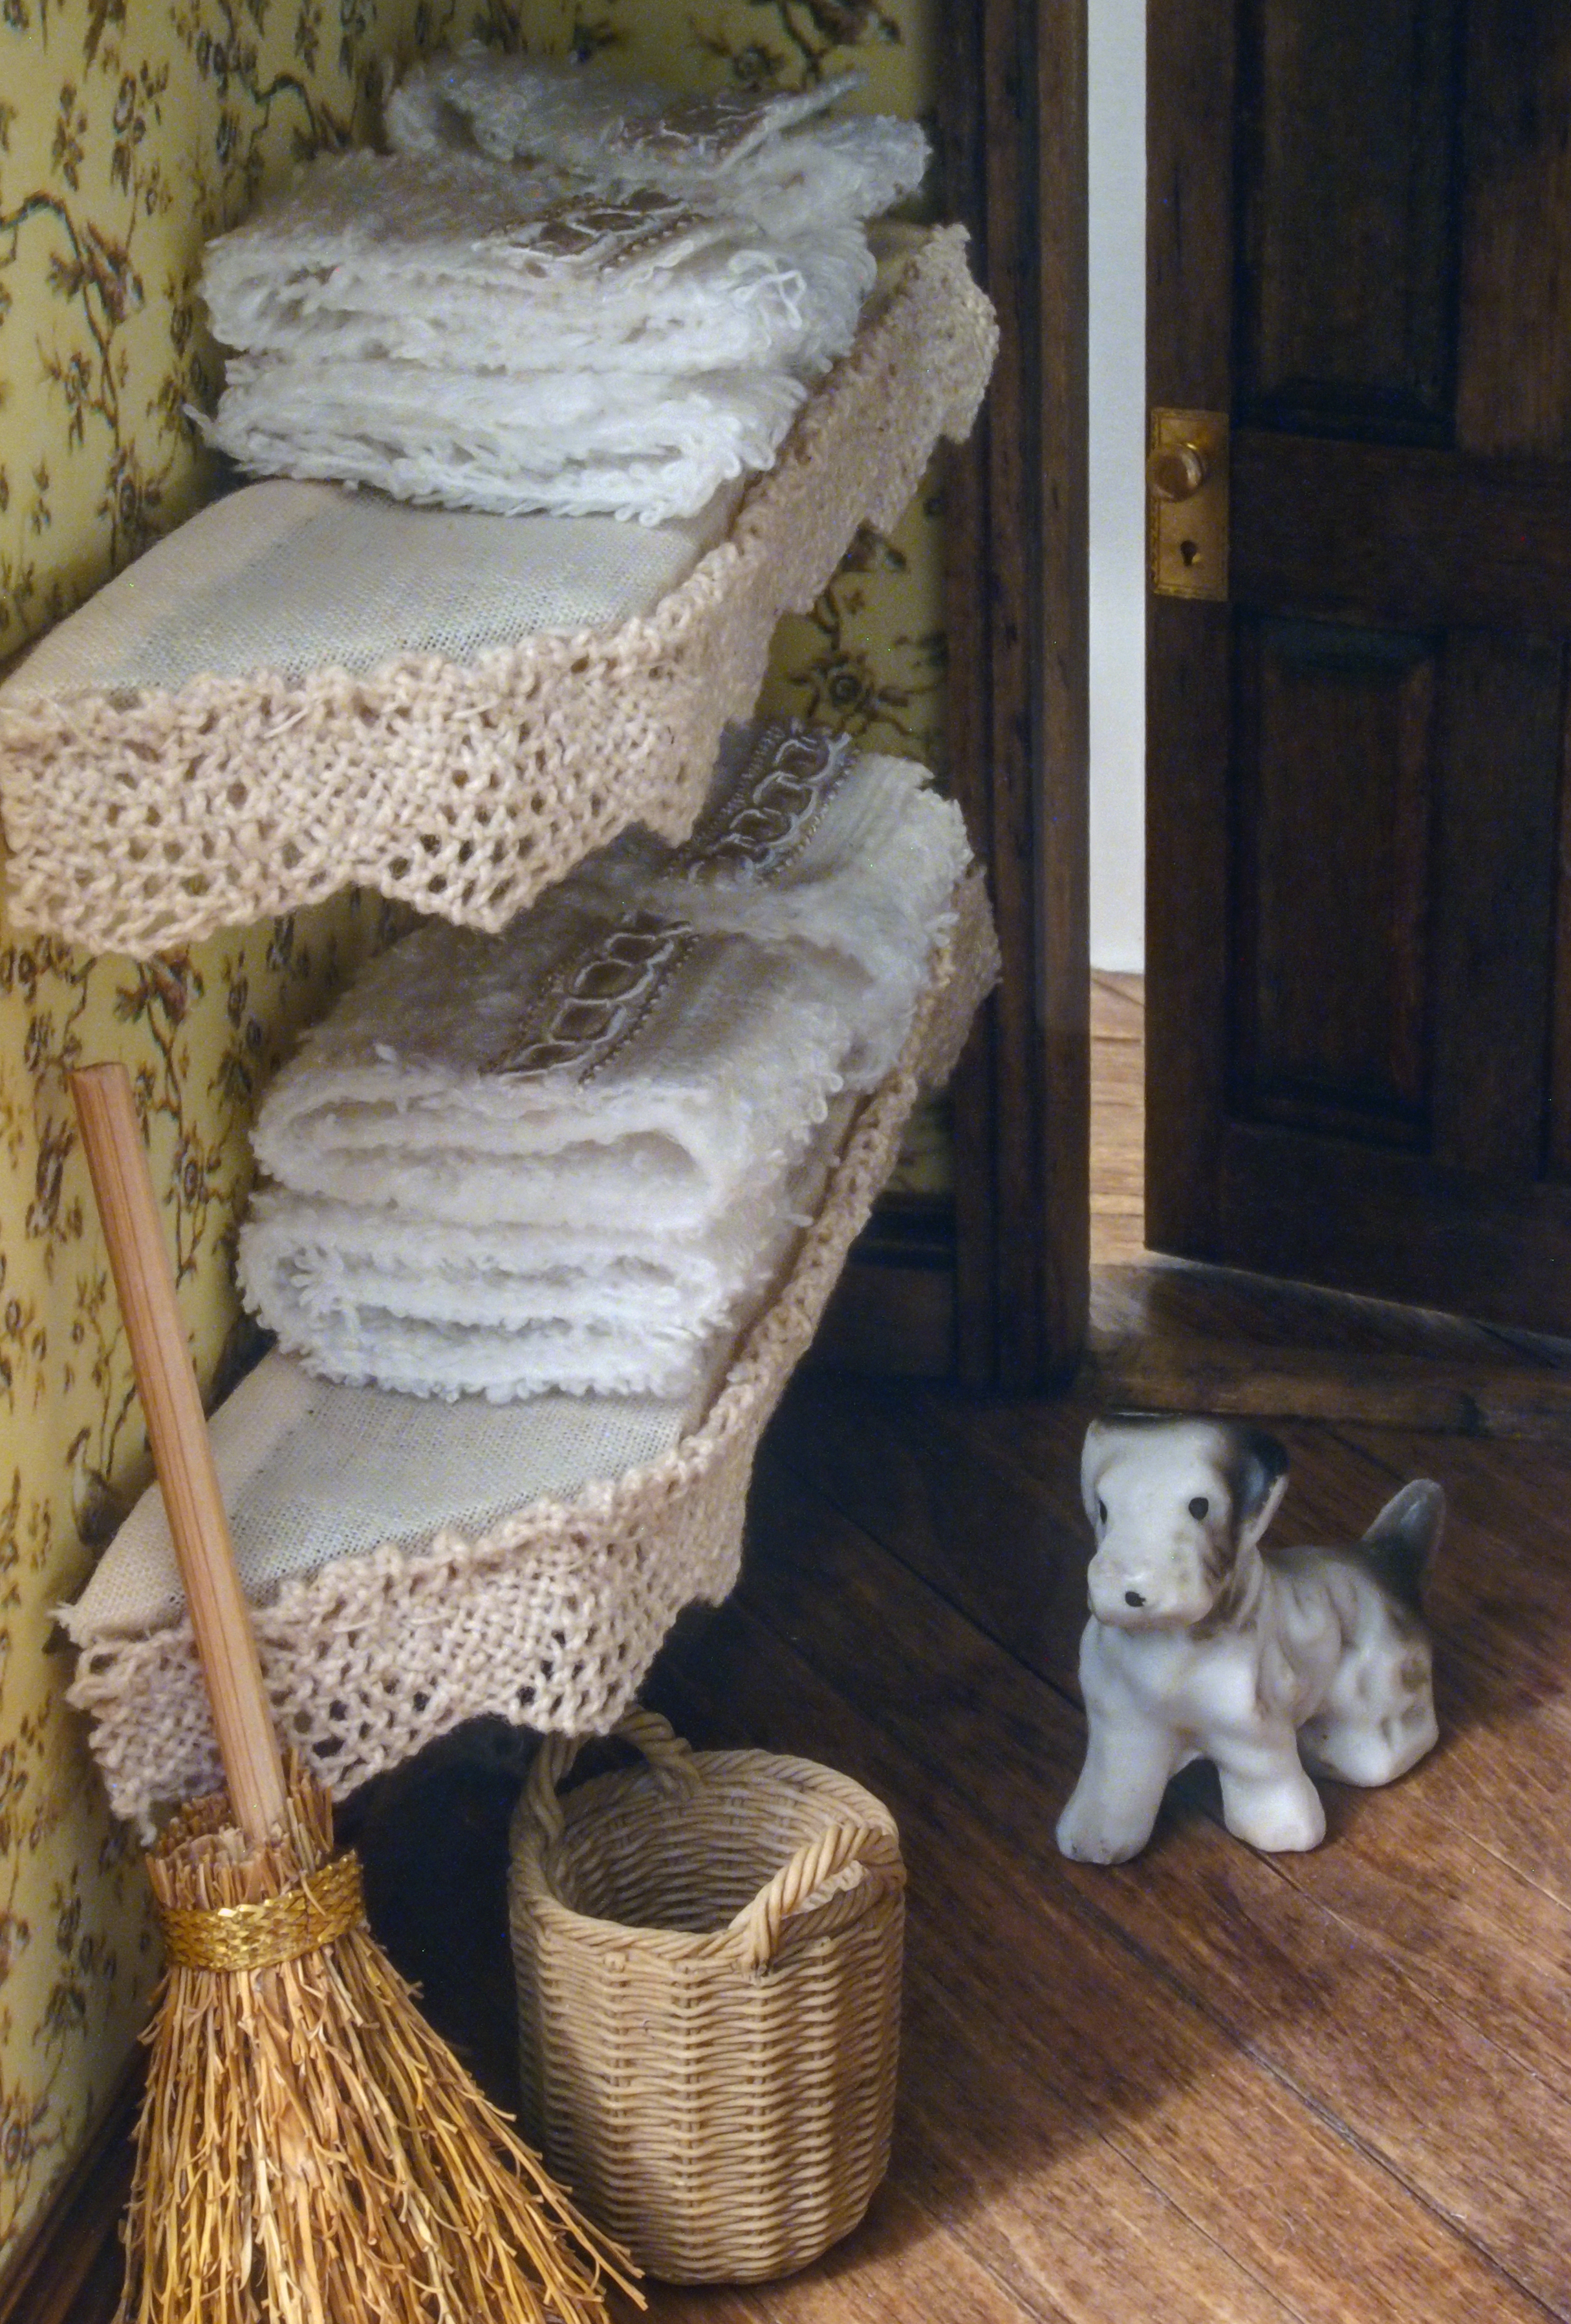
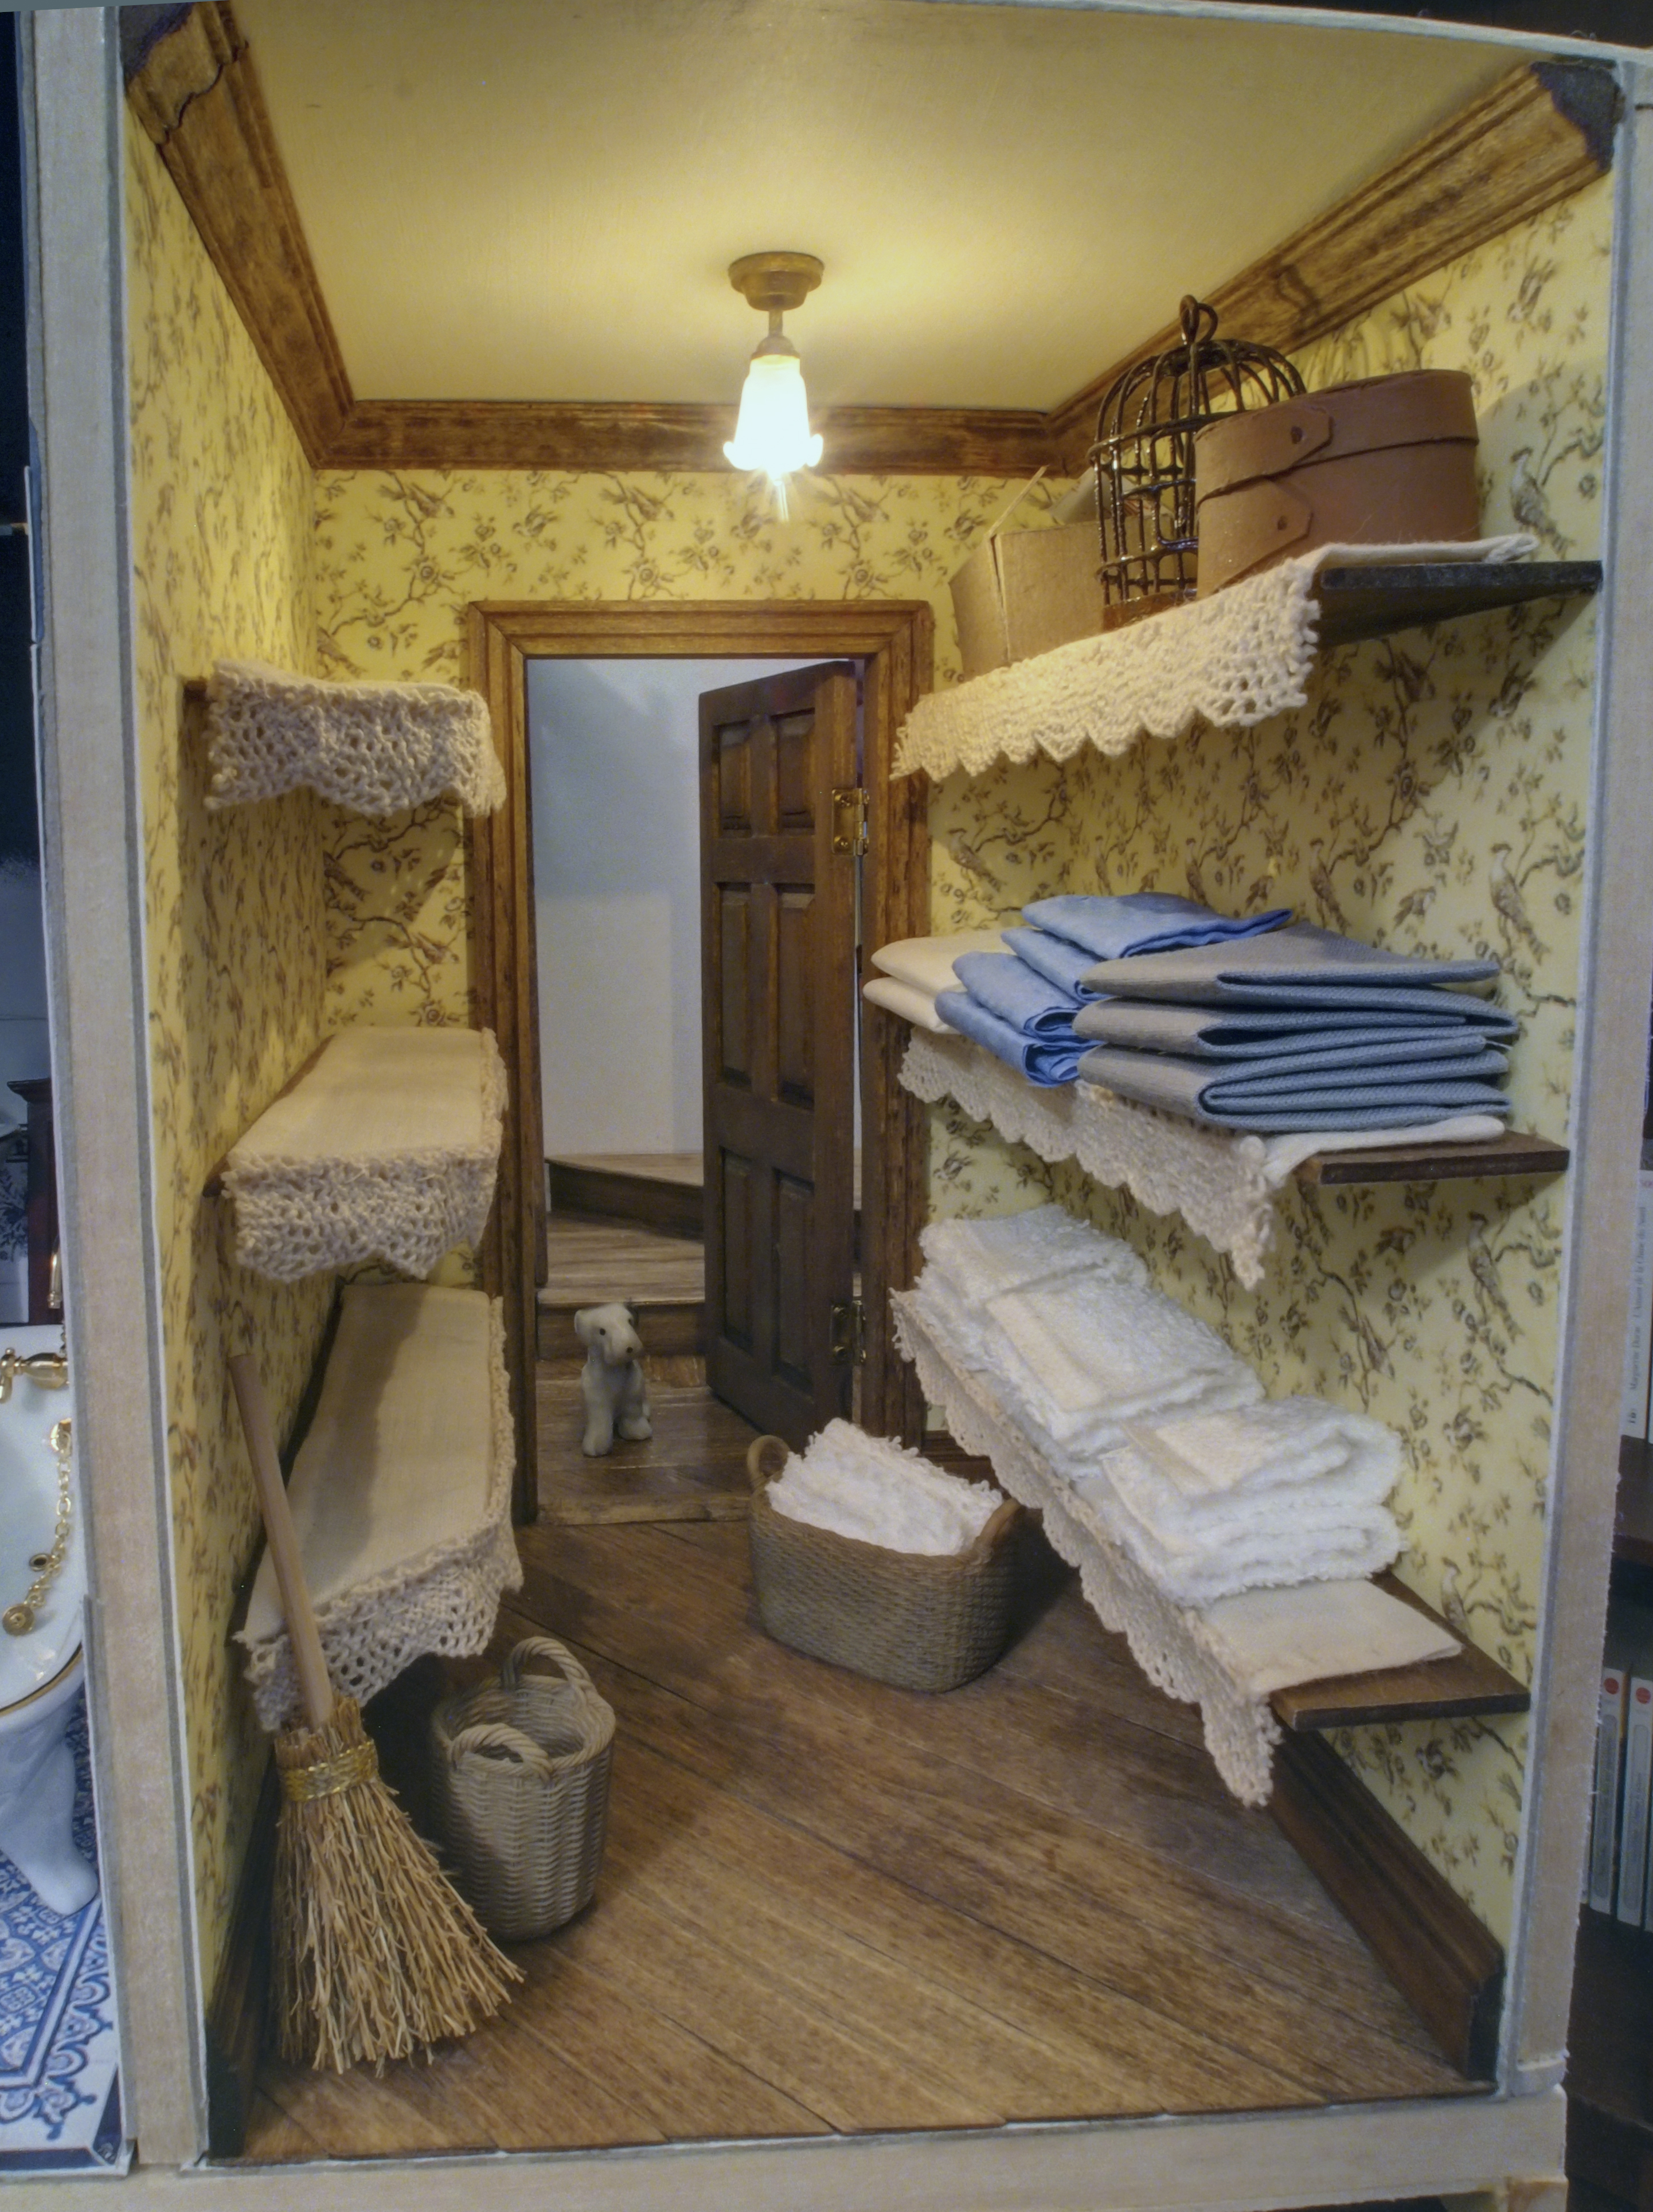
Sewed together a lacy shelf-liner for the top shelf on the right…

OLYMPUS DIGITAL CAMERA

OLYMPUS DIGITAL CAMERA

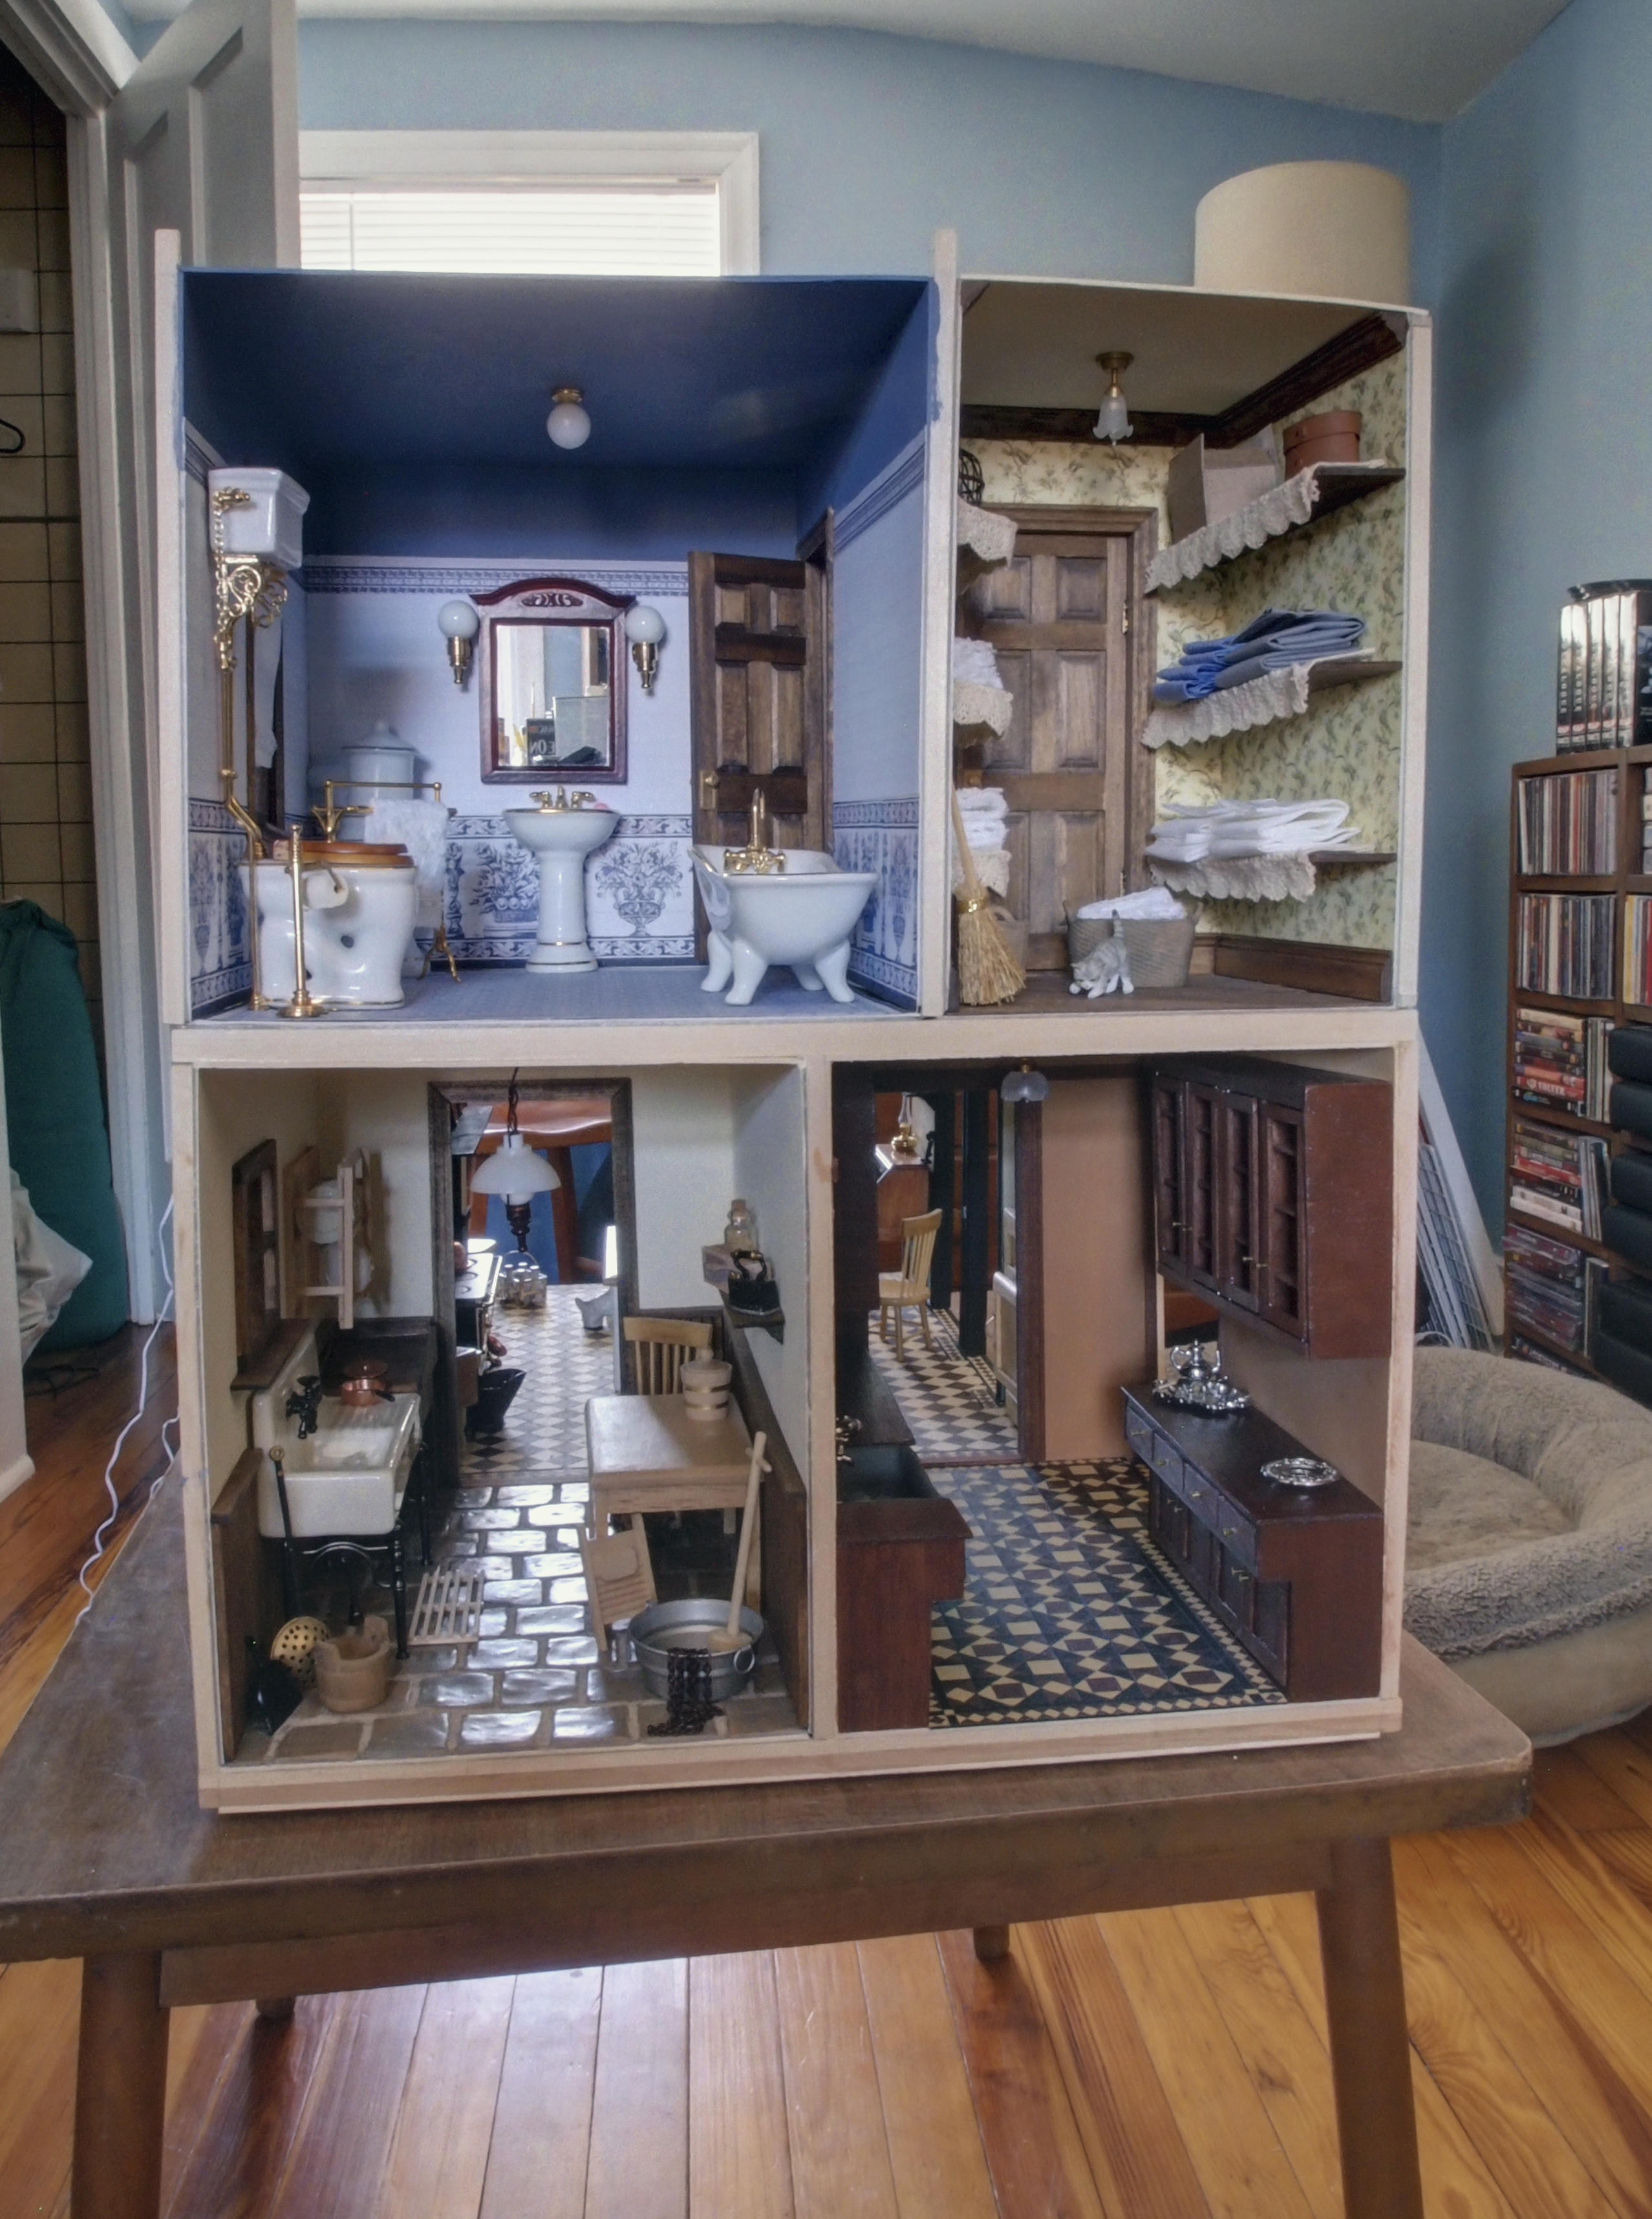
And made three more liners for the last three shelves, as well as cut out more towels and sheets…

OLYMPUS DIGITAL CAMERA

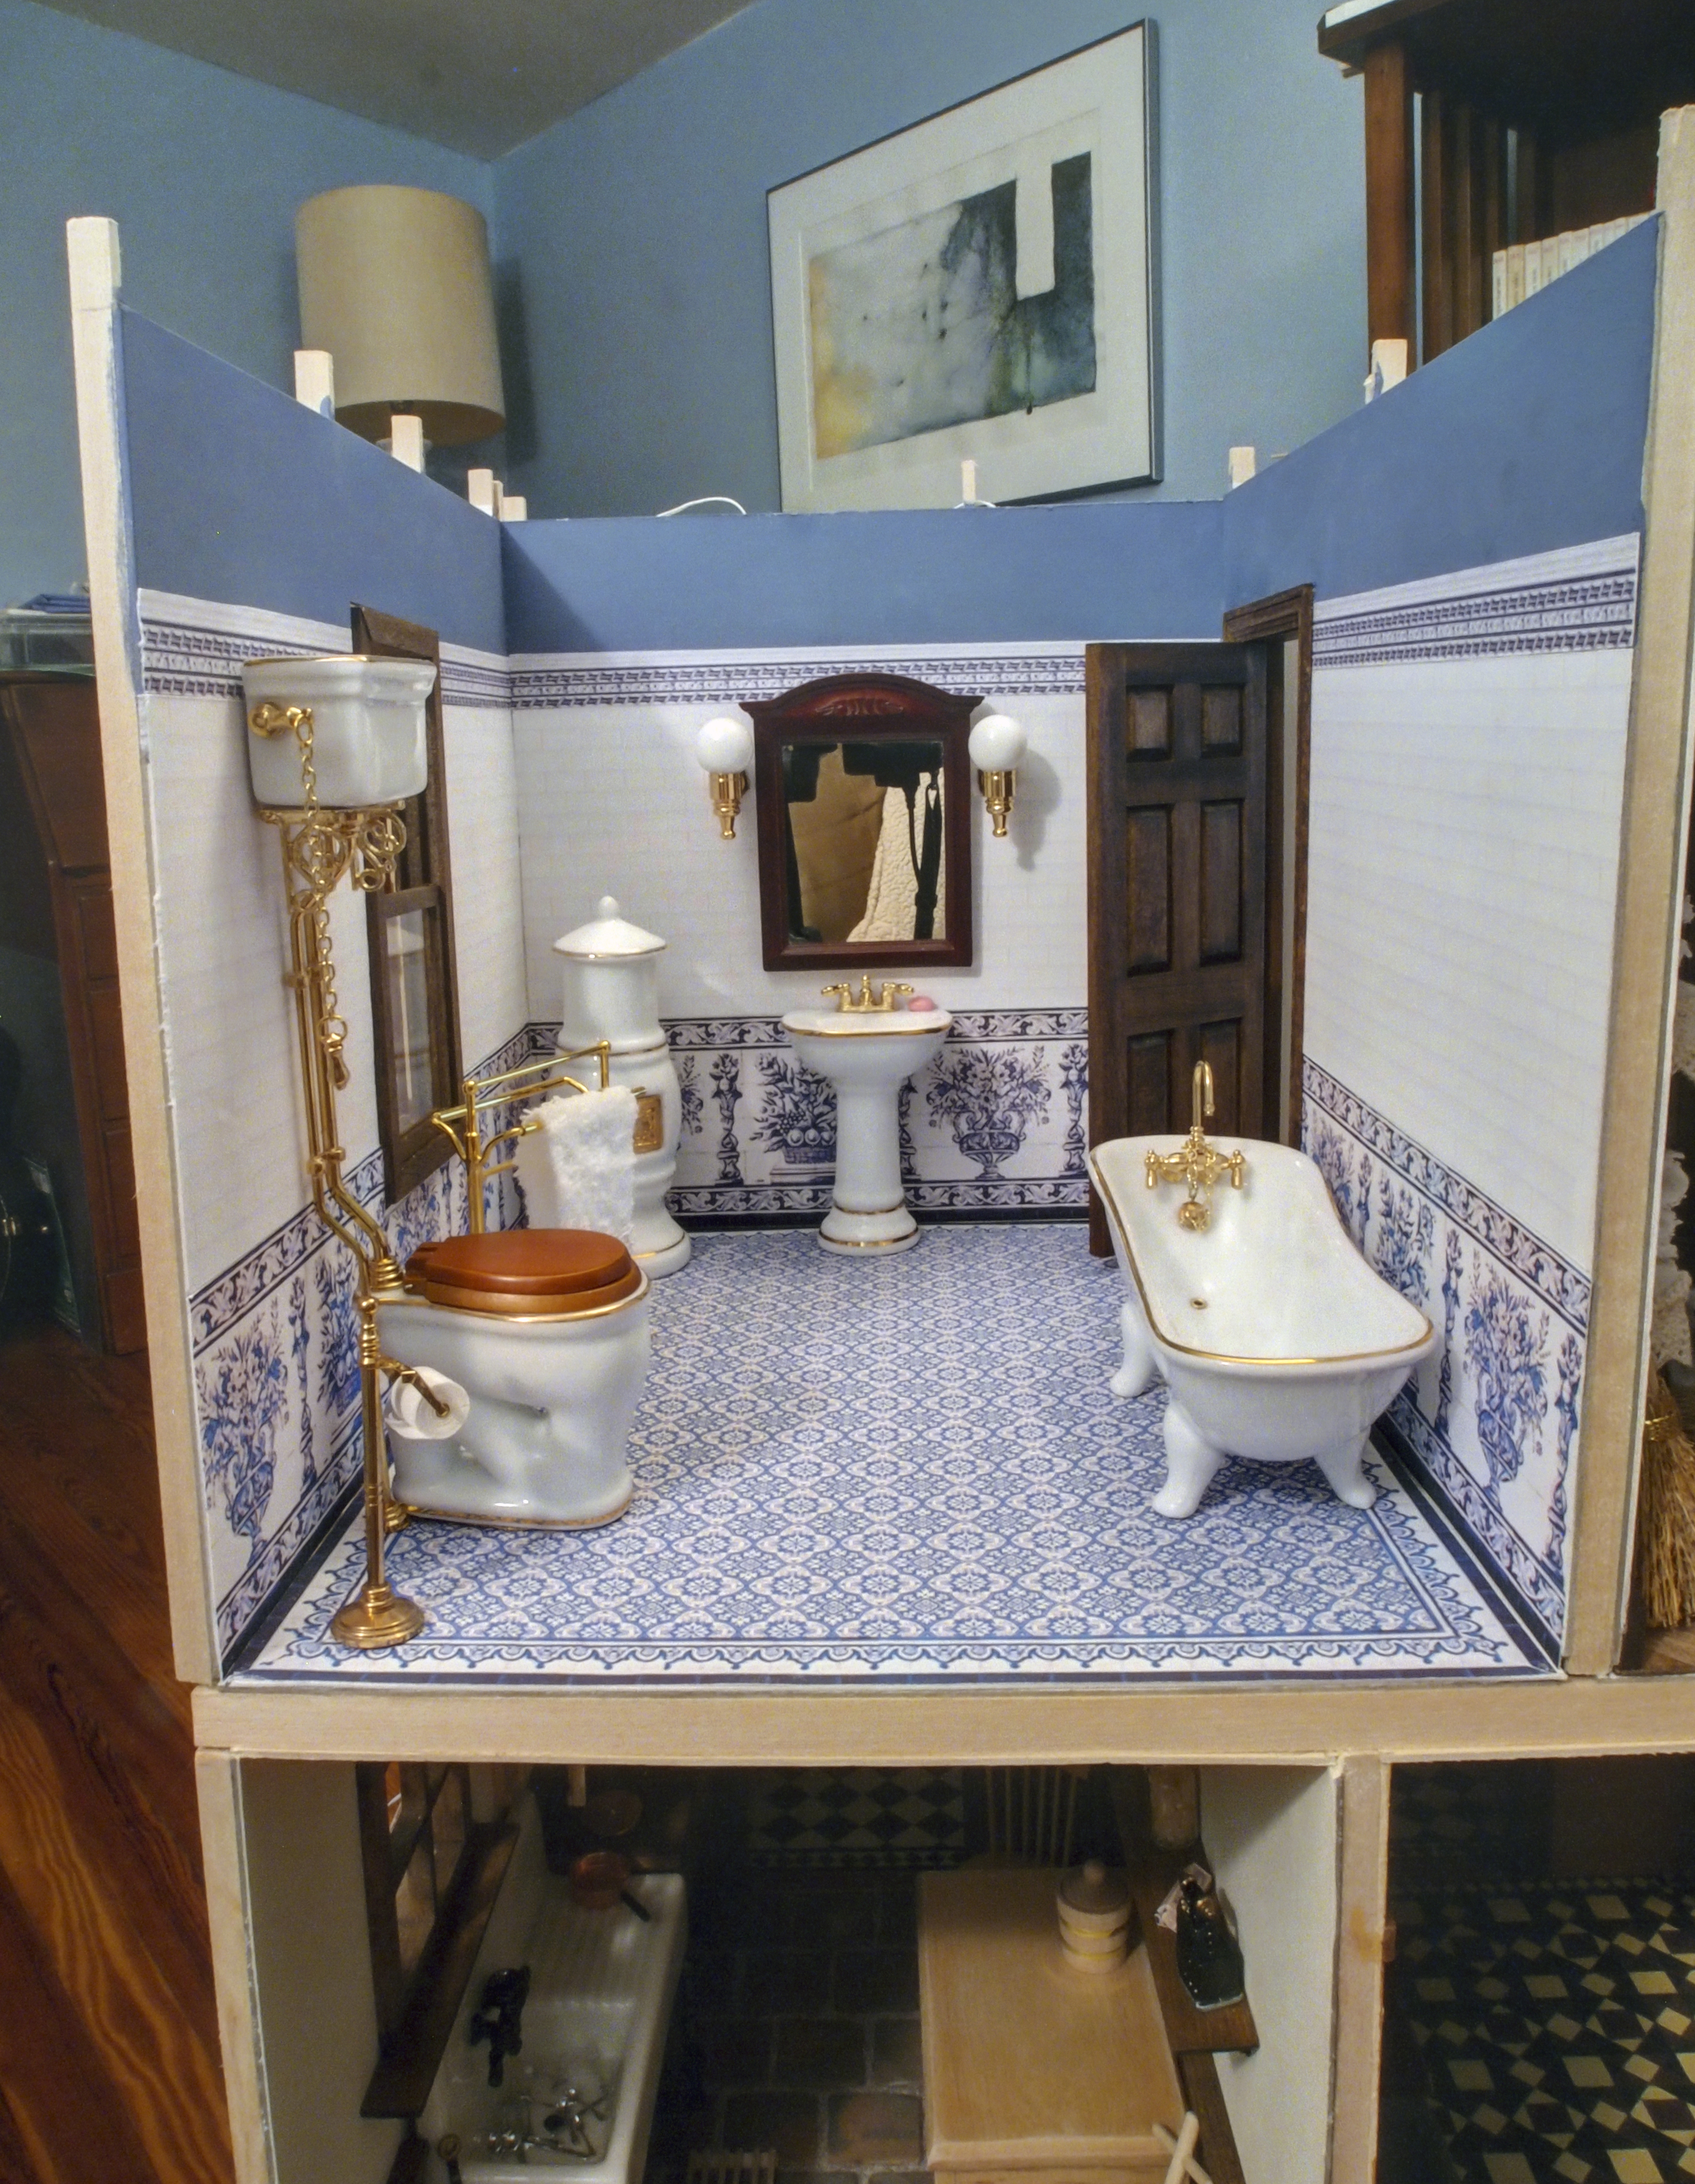
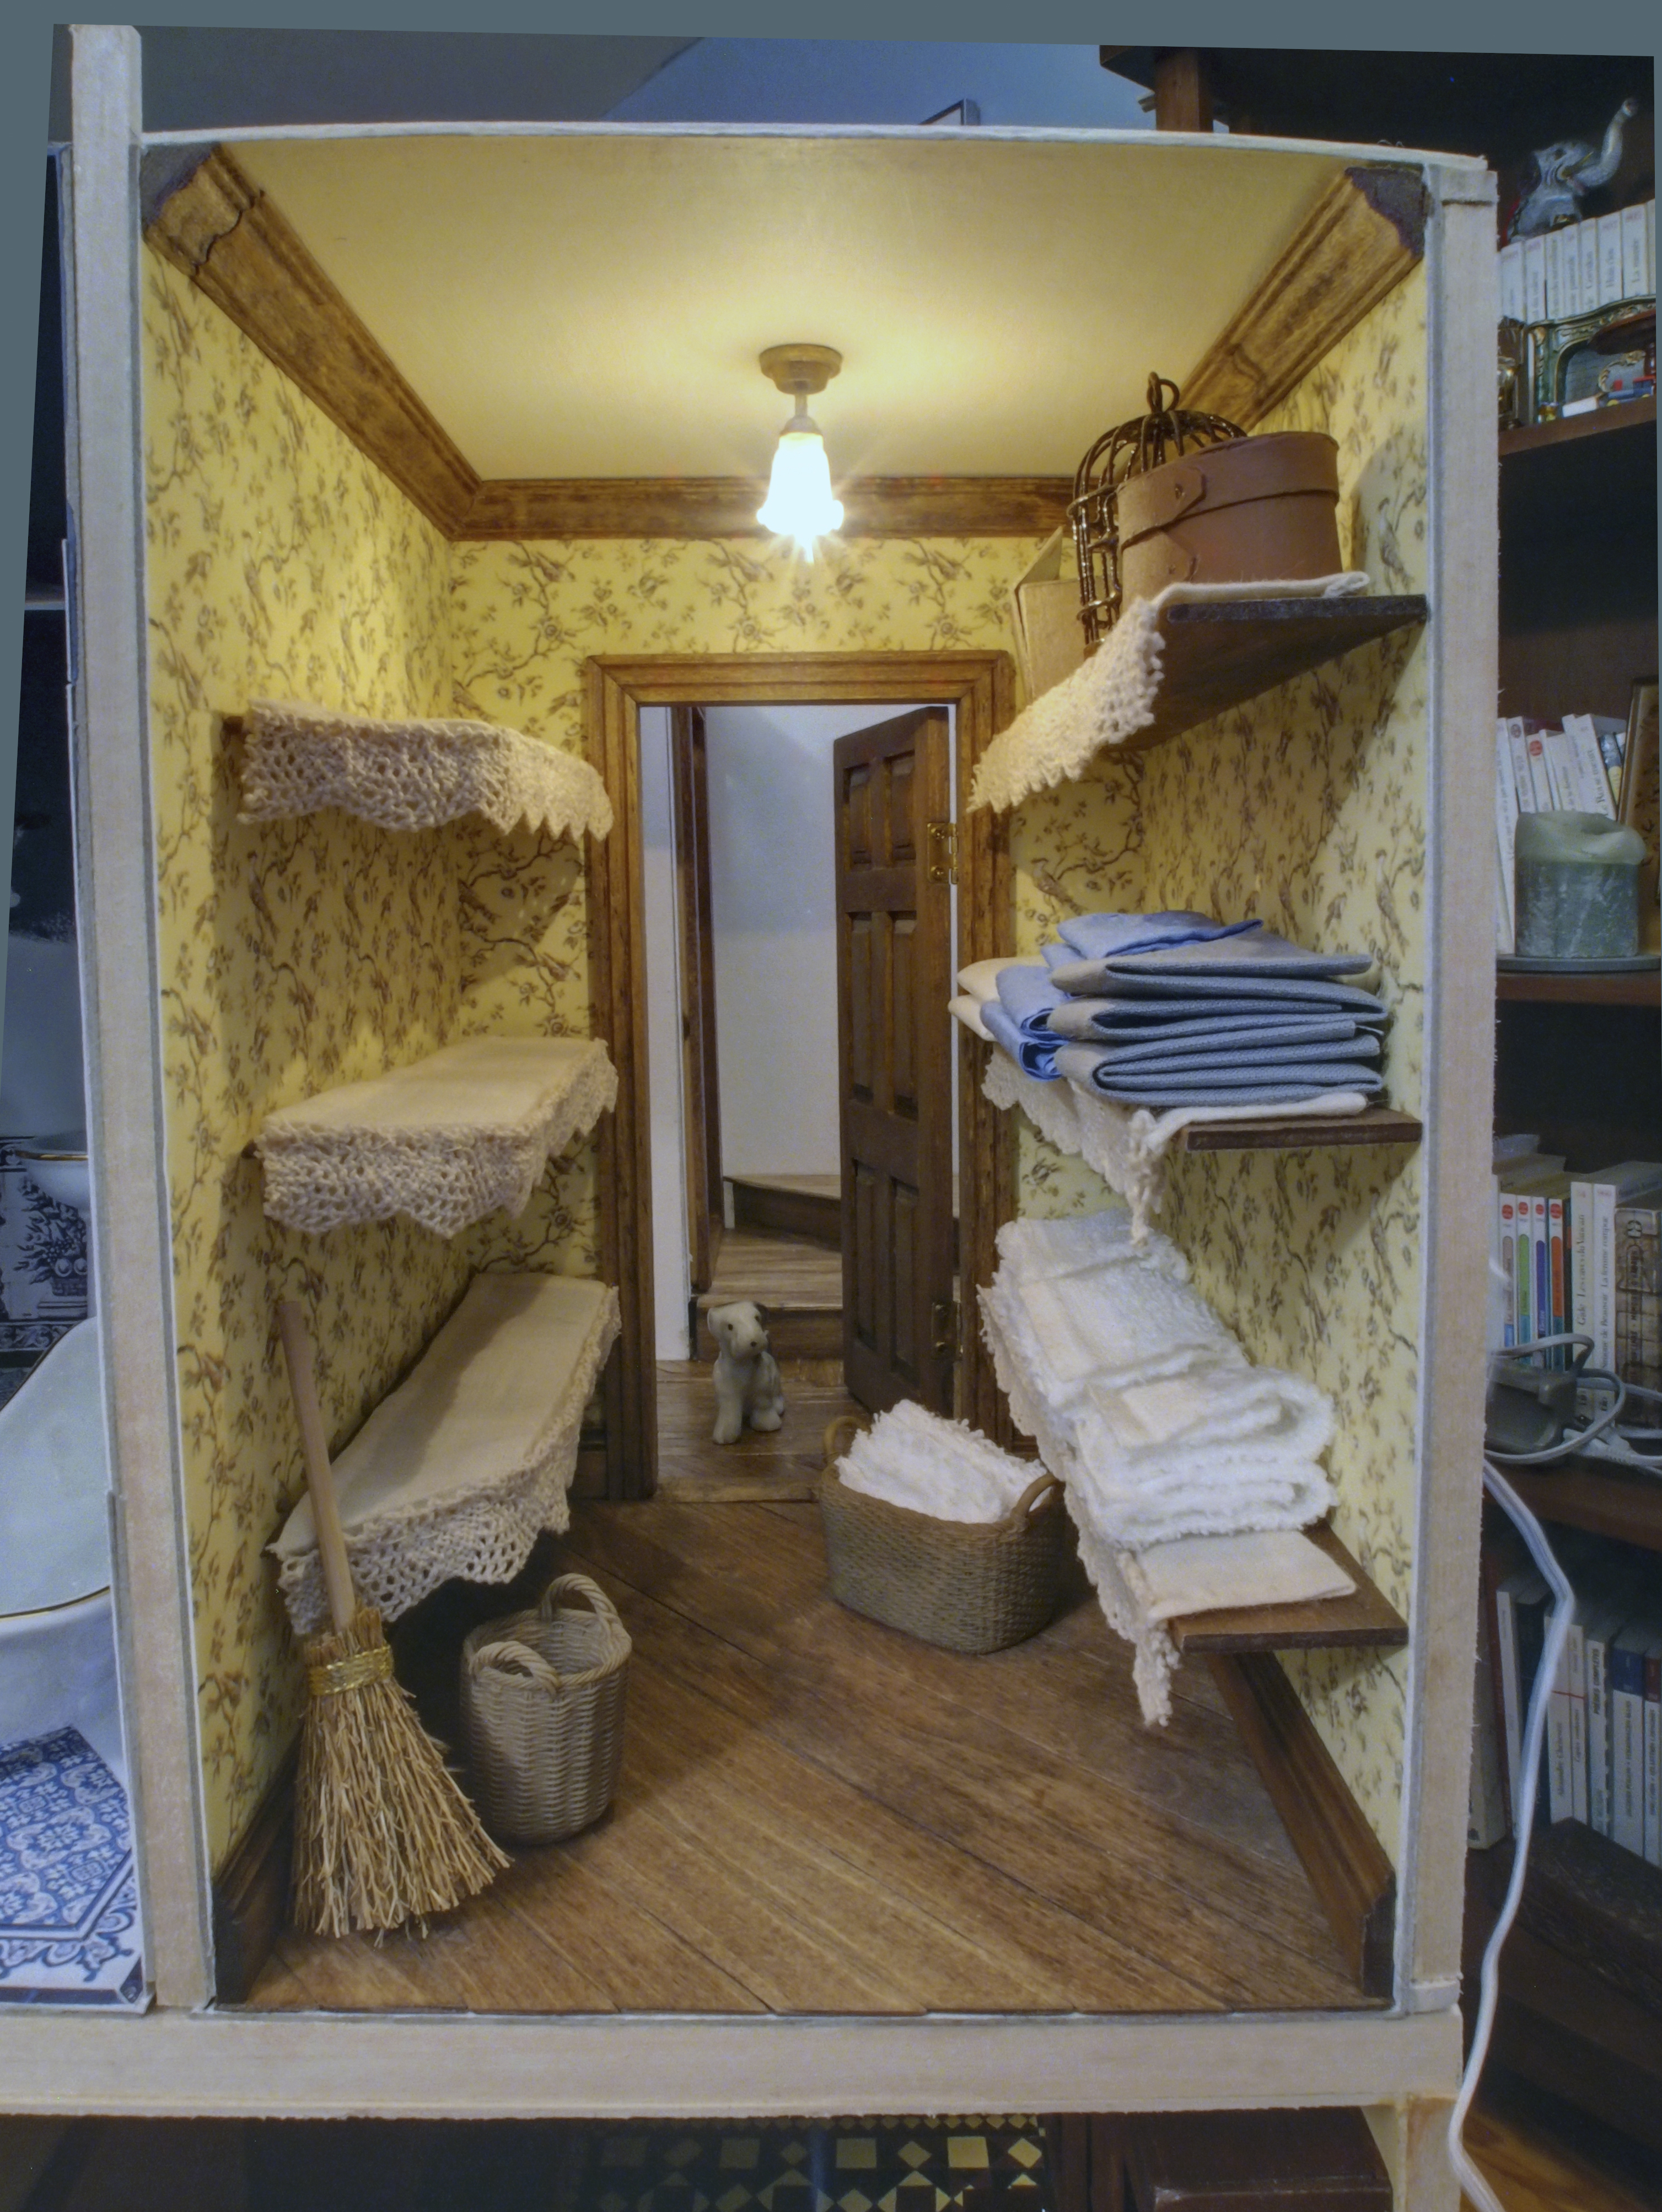
Still need to fill up the shelves on the left, but this room is pretty much done…

OLYMPUS DIGITAL CAMERA

And it’s past my bedtime now, so goodnight.